
How it Works
If Paid Memberships Pro is installed you can sync users by membership level, otherwise all users can be synced to one or more lists.
New to AWeber? Learn more or Sign Up.
Installation
- Make sure you have the Paid Memberships Pro plugin installed and activated.
- Navigate to Plugins > Add New in the WordPress admin.
- Search for “Aweber for PMPro”.
- Or, install this plugin manually, download the .zip file above then upload the compressed directory via the Plugins > Add New > Upload Plugin screen in the WordPress admin.
- Activate the plugin through the ‘Plugins’ menu in WordPress.
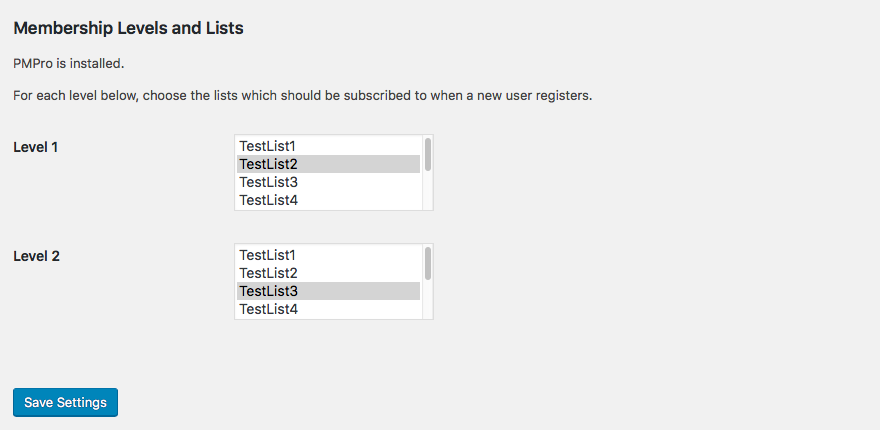
- Navigate to Settings > PMPro AWeber in the WordPress dashboard to authorize your app with AWeber and then assign users to lists based on Membership Level.
- To select multiple lists for All Users or per membership level, hold the CTRL button (or ⌘ Command key on Mac) and click each to multi-select your lists.
Action and Filter Hooks
This Add On includes one filter hook that allow you to customize the fields included when a user or member is added to your AWeber account.
`apply_filters( ‘pmpro_aweber_custom_fields’, array $custom_fields, object $list_user );`
Here is a recipe that demonstrates using this filter.
Screenshots

This is a Free Add On.
Create a free account or log in to gain access to downloads and documentation.