In this guide, we take you through the steps to import Paid Memberships Pro members into MailPoet.
This guide helps you start using MailPoet now, while also helping anyone that wants to begin using the integration (once released) to sync MailPoet subscribers and members as a one time event.
Video Tutorial: How to Import PMPro Members into MailPoet
View and Create MailPoet Lists
Navigate to MailPoet > Lists to see all existing lists in your site. For this demo, I created a new “Premium Members” list and include steps to import all existing Premium-level members.
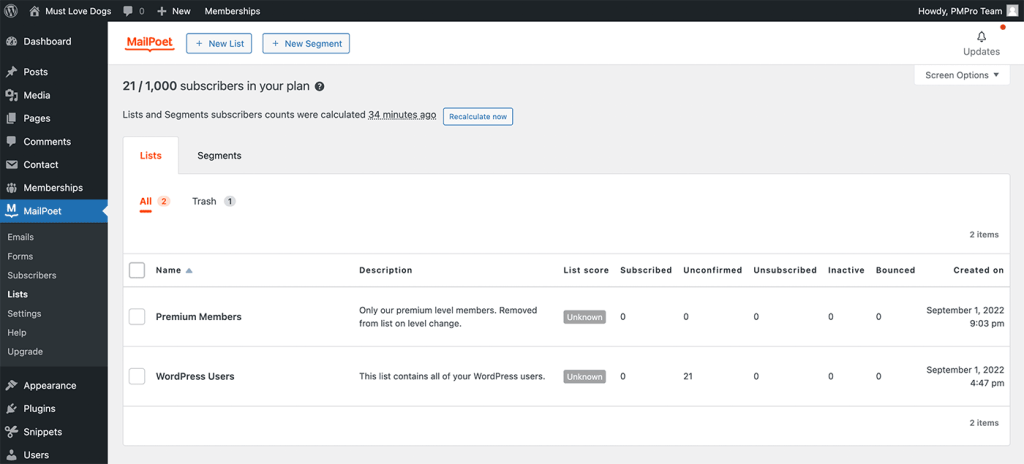
First, Create One or More Lists in MailPoet
- Navigate to MailPoet in the WordPress admin.
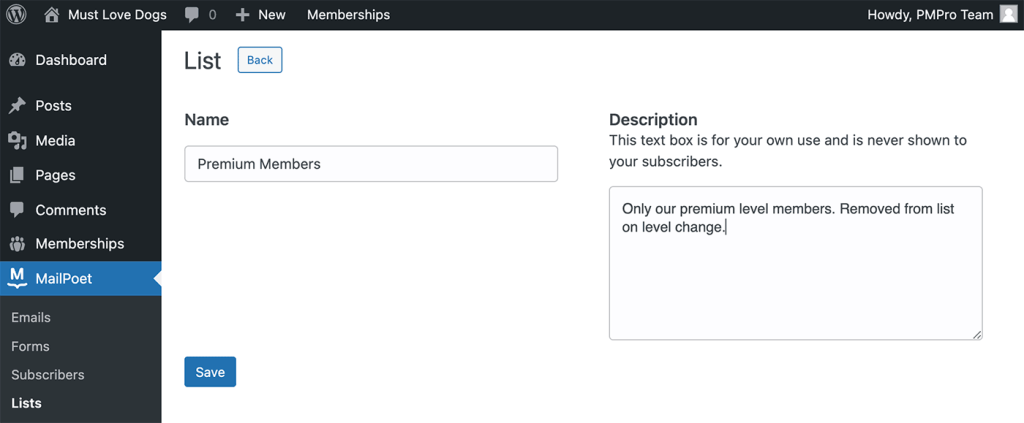
- Click the “+ New List” button to create your new list.
- Enter the list name and description (internal use only).
- You can create one list for all members or create a unique list for each membership level. The actual import steps support both options.
Export the PMPro Members List
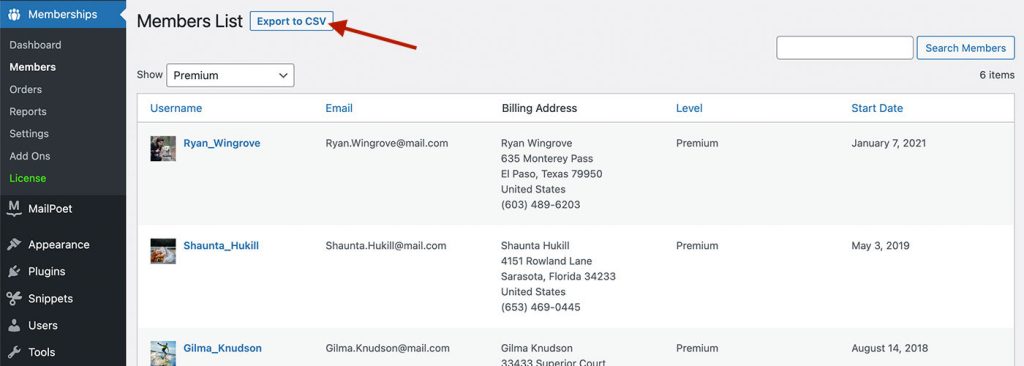
Navigate to Memberships > Members in the WordPress admin to access your Members List and download a CSV of member data.
- You can export all members or filter the list to show only members with a certain membership level.
- We recommend exporting a separate (filtered) members list CSV for each unique membership level if you are using different MailPoet lists per membership level.
- After selecting your filtered view of Member data, click the “Export to CSV” button.
Import the Members List CSV to MailPoet Lists
You’re ready to import members to MailPost. Navigate to MailPoet > Subscribers in the WordPress admin to access the MailPoet Subscribers settings page.
- Click the “Import” button and select the “Upload a File” option.
- Upload a single members list CSV file export from step 2.
- Click the “Next Step” button.
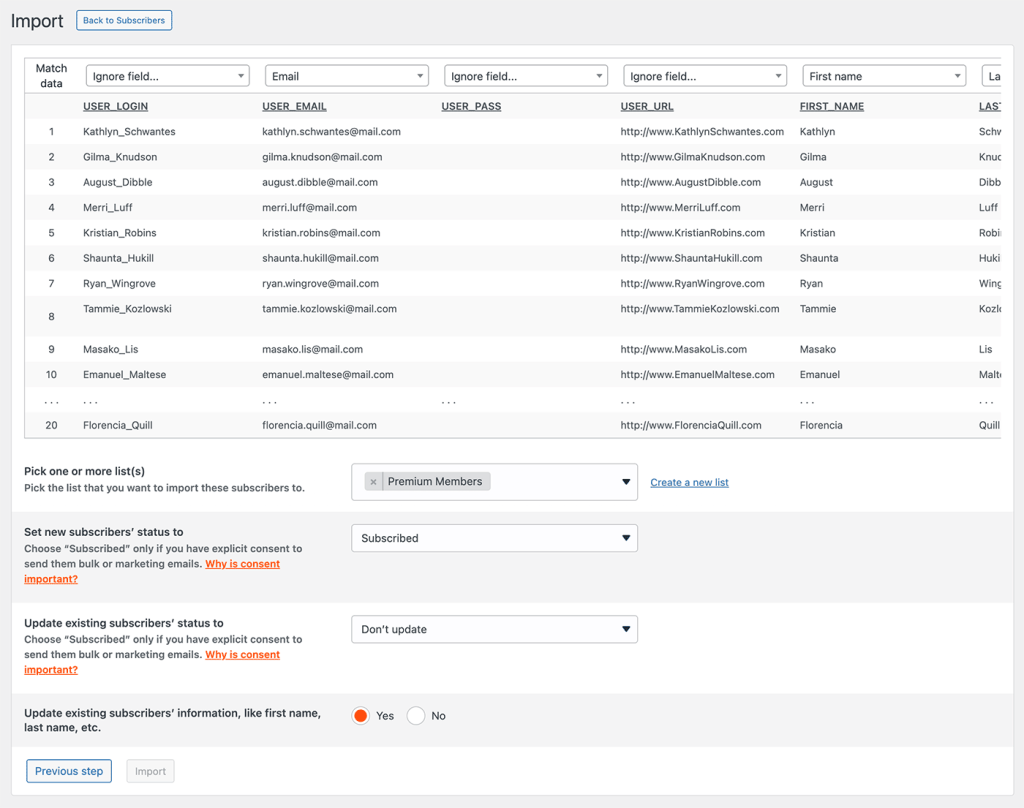
- The next screen allows you to assign the CSV data columns to MailPoet data fields.
- You may ignore any fields that are not needed or recognized in MailPoet.
- The most important fields to map are:
user_email→ Emailfirst_name→ First Namelast_name→ Last Name
- The remaining fields are optional.
- Note: you can also import custom user fields into MailPoet via this mapping step.
- After mapping your import fields, select the MailPoet list to add your members to.
- Select the subscriber status
- Check the box to optionally update existing subscribers.
- To complete the process, click the “Import” button.
You can repeat these steps for each unique members list export (membership level) if you are importing members to separate lists by level.
For more guidance on the MailPoet import process, see the MailPoet documentation on importing subscribers with CSV files.
Get Support From Our Team of Experts
Have a question about how to use this feature? Our Support Page outlines three ways to get support.
Our Max plans include hands-on help customizing your membership site and implementing new features. Upgrade to PMPro Max now »