In the world of WordPress, user roles and capabilities play an essential role in managing a website. These roles and capabilities determine the level of access and control each user has across various areas of your site, ensuring that only authorized users can perform specific tasks or make changes.
All of this helps you maintain a structured, organized, and secure environment for your online business.
This blog post will walk you through the basics of WordPress user roles and capabilities, reasons for updating them, and two methods you can use to update a WordPress user’s role or capabilities with ease.
Table of contents
- What Are WordPress User Roles and Capabilities?
- Why Update WordPress User Roles and Capabilities?
- Method 1: Edit the User Account in the WordPress Admin
- Method 2: Use a Plugin to Add Roles or Capabilities to a User
- How to Create a Role With Custom Capabilities
- Recap on Roles, Capabilities, and Your Membership Site
What Are WordPress User Roles and Capabilities?
In our post Understand the Difference: Roles and Levels for Membership Sites we talk in depth about the default WordPress user roles, custom roles and capabilities, and more. Here is a brief overview:
- In WordPress, capabilities are individual permissions that grant users the ability to perform specific tasks or access certain features.
- User roles are predefined sets of capabilities assigned to a particular user.
- You can create unique user roles tailored to your website’s needs by customizing user capabilities.
- This provides a more granular level of control and streamlines the management process by grouping users with similar responsibilities.
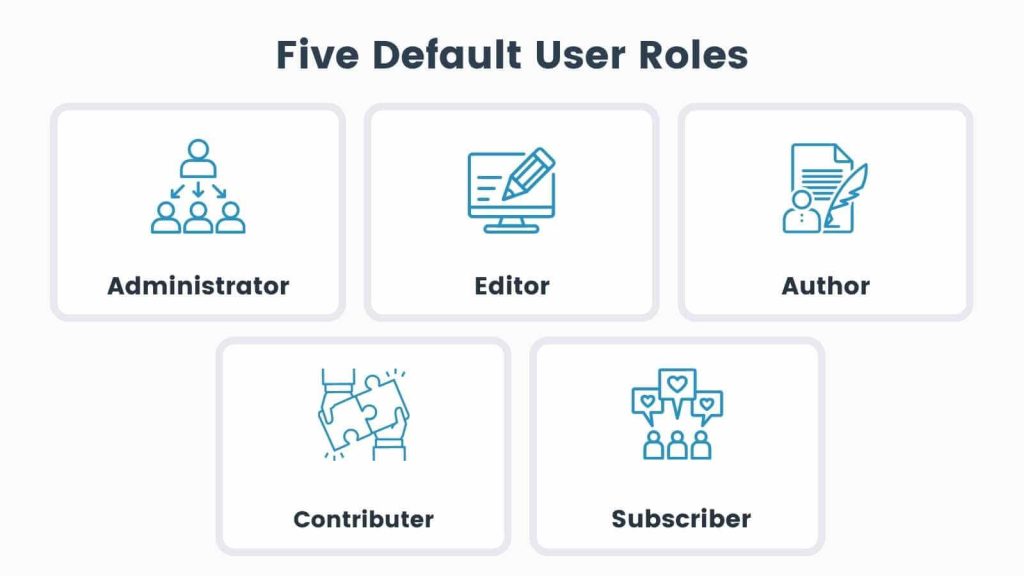
Default WordPress User Roles
WordPress comes with five default user roles, each with a unique set of capabilities:
Administrator
Users with this role have full control over the website, including the ability to add, edit, and delete content, manage themes and plugins, create and edit user accounts, and modify settings.
Administrators have the highest level of access and should be assigned to a limited number of trusted individuals. As the owner of your membership site, it is important to periodically review the administrator users from the All Users screen in the WordPress admin. Downgrade the access for any users that do not actively need this highly powerful role.
Pro Tip: Admins should always have very strong passwords. For ultimate security, consider requiring two-factor authentication on admin accounts.
Editor
Users with this role have the ability to manage and publish all content, including posts and pages created by other users.
Editors can also moderate comments, manage categories and tags, and upload media files, but they do not have access to website settings, themes, or plugins.
Author
Users with this role can create, edit, and publish their own content. They can also upload media files, but they cannot edit or delete content created by other users or manage comments, categories, or tags.
Contributor
Users with this role can create and edit their own content, but they cannot publish it. They also cannot upload media files or manage comments, categories, or tags. A contributor’s content must be reviewed and published by an Editor or Administrator.
Subscriber
Users with this role have the most limited access and can only read content on the website. They can manage their own profile, including updating their password and personal information, but they cannot create, edit, or manage any content.
This is the primary role for most users of your WordPress membership site, and the majority of sites should use Subscriber as the New User Default Role on the Settings > General screen in the WordPress admin.
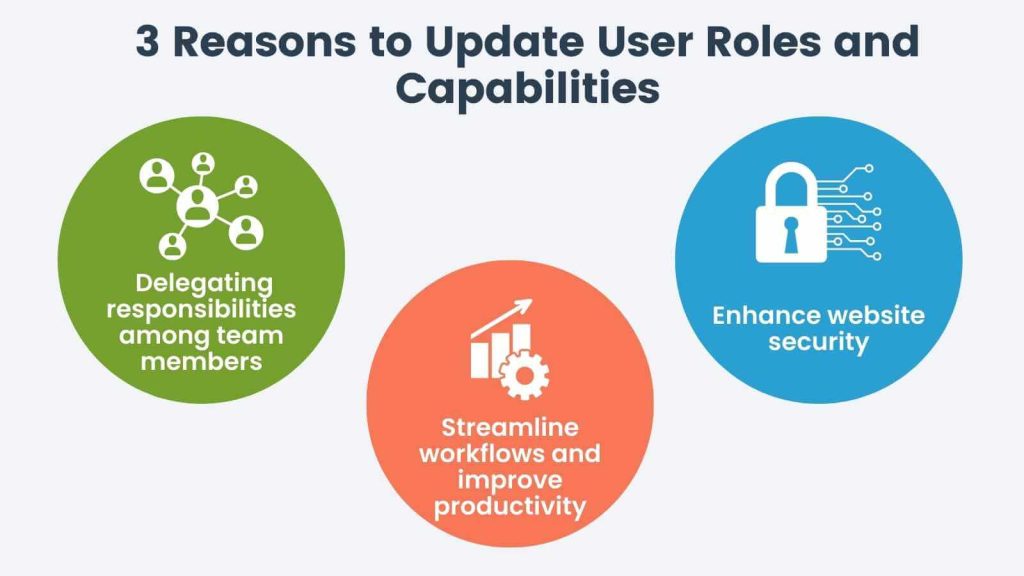
Why Update WordPress User Roles and Capabilities?
There are a variety of reasons why you might decide to update WordPress user roles or capabilities. Here are a few to consider:
With Growth Comes Change
As a website grows and evolves, its management needs may change, and updating user roles or capabilities can help accommodate these changes, ensuring smooth and efficient website administration. Here are a few reasons why you might decide to update WordPress user roles and capabilities:
- Delegate responsibilities among team members. A website owner may want to assign specific tasks to different individuals based on their expertise or job responsibilities. For example, you might want certain roles to be able to approve other members. Updating user roles helps your users fulfill their tasks without being overwhelmed by unrelated options or accidentally making unwanted changes to your website.
- Enhance website security. Restricting access to critical features or sensitive data based on user roles can minimize potential security risks. By limiting the number of users with high-level access, you can reduce the likelihood of unauthorized changes or data breaches, protecting your website from potential threats.
- Streamline workflows and improve productivity. By granting users access to only the necessary features, you can eliminate distractions and help team members focus on their specific tasks. This tailored approach can lead to more efficient workflows and improved collaboration among team members.
Now that we’ve discussed the reasons why you might want to update a WordPress user’s role or capabilities, let’s talk about how to do it.
Method 1: Edit the User Account in the WordPress Admin
WordPress is designed to have one role per user by default. To change a user’s role, you can edit the user account in the admin section.
To edit a WordPress user’s role:
- Log in to your WordPress admin dashboard.
- Navigate to Users > All Users.
- Locate the user you want to edit and click on their username.
- In the user profile, find the Role dropdown menu.
- Select the new role you want to assign to the user.
- Click Update User to save the changes.
If you want to give a specific user more capabilities, you will need custom code or a plugin.
Method 2: Use a Plugin to Add Roles or Capabilities to a User
There are several plugins available that can help you add roles or capabilities to a WordPress user’s account. Here are two popular options:
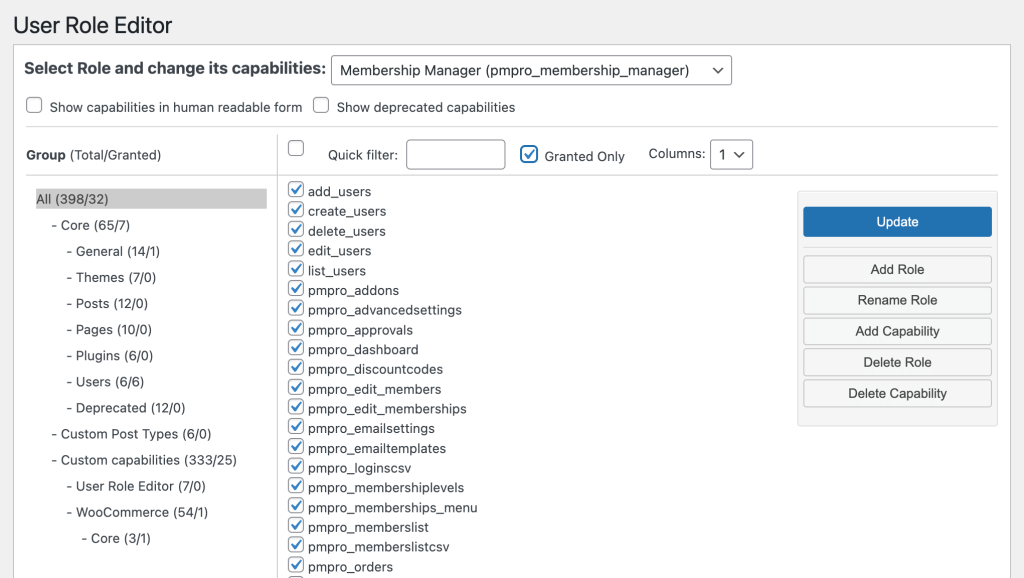
User Role Editor Plugin
The User Role Editor plugin is a versatile tool for managing user roles and capabilities in WordPress. With an easy-to-use interface, it allows website administrators to create custom roles, modify existing roles, and assign granular capabilities to individual users.
This plugin simplifies the process of tailoring access and permissions, giving you better control over your website’s management and enhancing overall security.
To update roles and capabilities:
- Install the User Role Editor plugin. Don’t forget to activate it.
- Once activated, edit the desired user.
- Locate the Additional Capabilities section.
- Add the capability you would like to give the user. For example, add the Membership Approver capability to grant the user the ability to approve other members when using our Approval Process for Membership Add On.
If you require two or more roles per user or need granular capability access, this plugin is a solid choice. To grant granular capabilities, simply navigate to the Edit User page, click “Edit” in the Capabilities section. If you’re using our Approvals Add On, for example, you can add the “pmpro_approvals” capability to a single user using this screen.
Roles for Membership Levels Add On
The Roles for Membership Levels Add On for Paid Memberships Pro enhances the functionality of your WordPress membership site by automatically creating a new role for each existing or newly added membership level.
The custom roles generated by this plugin inherit the basic capabilities of the “subscriber” role, but they can be adjusted to fit your specific needs.
Ultimately, you can sync membership levels with user roles to the degree that even other plugins that manage capabilities and access by role can be integrated with your membership.
All of this streamlines user management and access control, and helps you create a personalized and organized experience for members on your site.
Membership Manager Role Add On
Paid Memberships Pro offers an Add On that creates a new user role called Membership Manager. This role is kept in constant update with the latest capabilities a user will need to manage the admin area. This includes capabilities for your membership settings and members list, without the need to give a user complete administrator access.
- Some sites use this Add On as-is to make sure team members can access all areas of the PMPro admin.
- Other sites use this Add On to see the baseline capabilities needed for someone to access everything in PMPro. They then create a custom role based on the Membership Manager with more limited capabilities. To do this, we recommend using the free User Role Editor plugin to create a custom role.
How to Create a Role With Custom Capabilities
As your team grows, you may find yourself at a place where you need to manage user roles and capabilities at a very specific level. The User Role Editor plugin offers a flexible way to create custom roles—no coding required.
Here is how you can either duplicate the Membership Manager role or create a new custom role using the User Role Editor plugin:
Step 1: Install and Activate the User Role Editor Plugin
Before you can customize any roles, install and activate the User Role Editor plugin on your WordPress site.
- Navigate to your WordPress dashboard.
- Go to Plugins > Add New and search for “User Role Editor.”
- Click Install Now and then Activate once the installation is complete.
Step 2: Duplicate the Membership Manager Role
If you already have the Membership Manager Role Add On, you can duplicate this role to create a new one with the same capabilities.
- In the WordPress dashboard, go to Users > User Role Editor.
- Select the “Membership Manager” role from the drop-down list at the top of this screen.
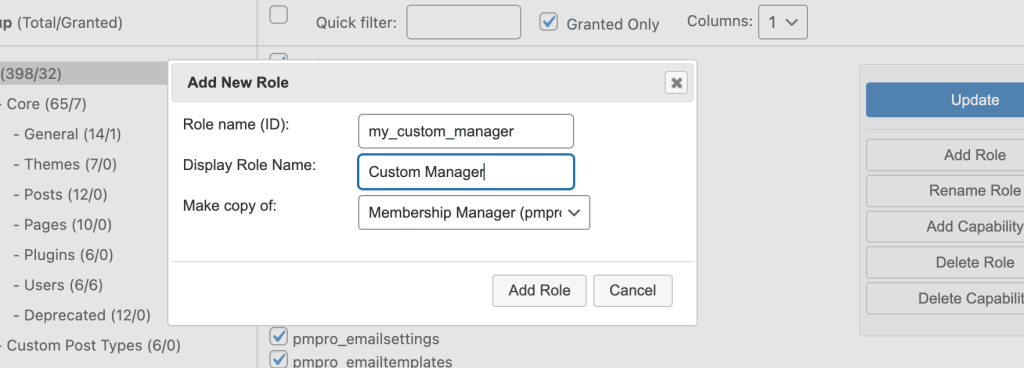
- Click Add Role. This will bring up a popup where you must enter a role ID (no spaces) and display name.
- In the Make copy of field, select “Membership Manager.”
- Click Add Role.
You now have a new custom role that has all the baseline capabilities as the current Membership Manager role. From here, you can edit the new custom role’s capabilities to limit user access exactly how you would like.
Step 3: Assign or Modify Capabilities For Your Custom Role
You now need to adjust what this custom role can actually see and change in the PMPro admin. For most sites we work with, they want to give full member management access, but remove access to change settings, like the connected Payment Gateway or editing a level’s pricing.
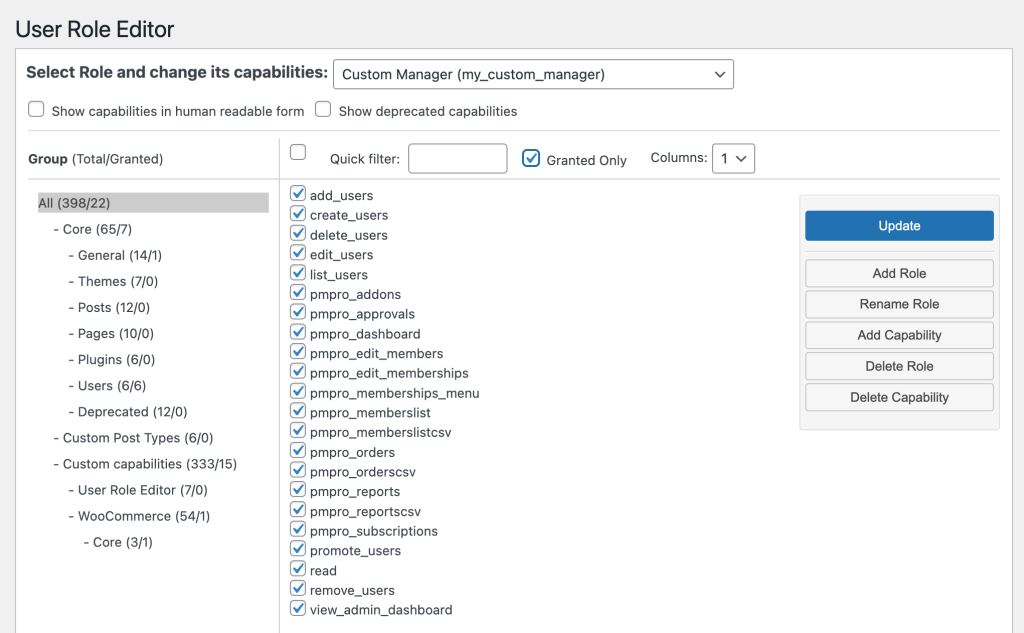
- In the WordPress dashboard, go to Users > User Role Editor.
- Select the new custom role you just created from the drop-down list at the top of this screen.
- With the new role selected, scroll through the capabilities list.
- Remove any capabilities you do not want users with this role to have.
- Add any additional capabilities you wish to assign. For instance, if you use an approval process, ensure the role has appropriate Approver Role capabilities.
- Click Update to save the changes.
That’s it. Your new custom role now has the exact level of access you need them to have, and nothing more. The last step is to assign this newly created role to the correct users.
Step 4: Apply the New Role to Users
- Navigate to Users > All Users.
- Click on the username to edit the user you wish to modify.
- In the user profile, find the Role dropdown menu and select your new custom role.
- Click Update User to save the changes.
The next time this user logs in, they will be able to access new areas of the WordPress admin. Their access is defined by the custom capabilities for their new role.
Using User Role Editor plugin with PMPro gives you detailed control over what different team members can do within your membership site.
By duplicating existing roles or creating new custom ones, you can be sure that each team member has the capabilities they need to perform their roles efficiently without compromising your site’s security by giving them too much access.
Recap on Roles, Capabilities, and Your Membership Site
Updating a WordPress user’s role or capabilities can be a straightforward process when you know which method to use. Whether you edit the user account directly in the WordPress admin or use a plugin, these methods will help you manage your website more effectively.
If you want to customize how users access your WordPress site, chances are that a membership plugin has many of the features you need. Download Paid Memberships Pro today and get a complete set of tools that will help you create a robust and personalized membership experience.
Free Download: The AI-Powered Membership Site Blueprint
Download the free guide: Learn how to plan, build, and grow a membership site using AI as your strategic partner: from buyer persona to launch and beyond.


