The Memberships > Settings > Payments admin page allows you to control the payment gateway settings for your Paid Memberships Pro site.
Payment Settings
Within your WordPress Admin, navigate to Memberships > Settings and select Payments to start configuring your payment gateway(s).
If you are charging for membership, you will need a Payment Gateway. If you don’t have a payment gateway, click here for information on gateway options with Paid Memberships Pro.
Global Settings
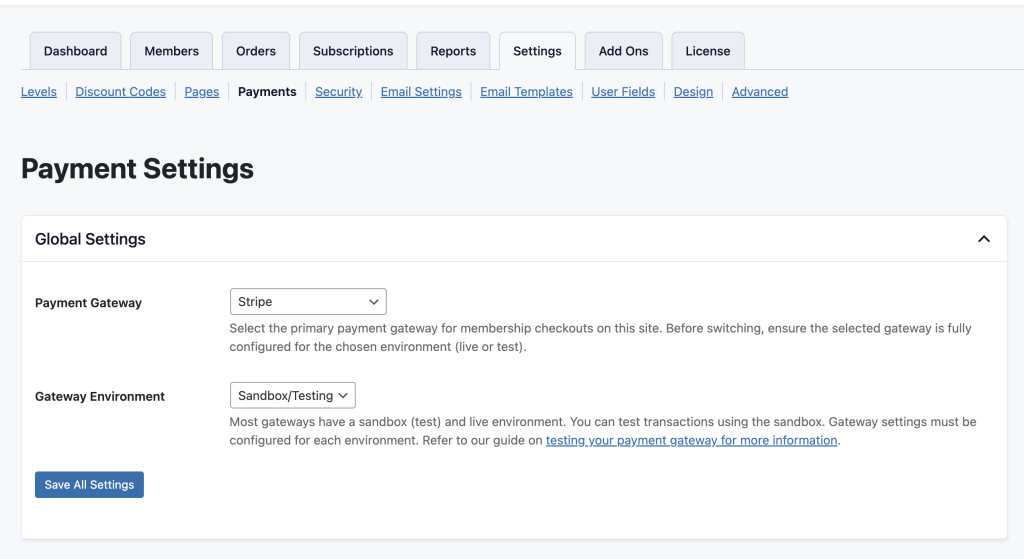
The Global Settings section manages the configuration for how payments are handled on your membership site.
Payment Gateway: Select the primary payment gateway that will be used for membership checkouts. Before switching to a different gateway, make sure it is fully set up and tested in the appropriate environment (live or sandbox).
Gateway Environment: Choose between Sandbox/Testing and Live mode. Most gateways offer a sandbox environment to simulate transactions without processing real payments. Ensure you have configured all necessary settings for both environments, as they may require separate API keys or credentials.
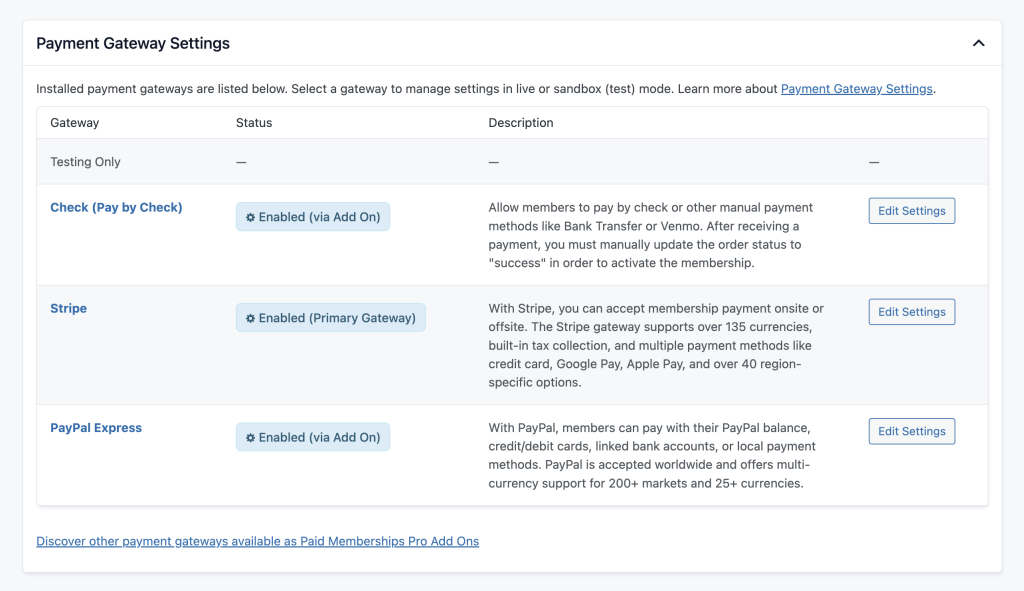
Payment Gateway Settings
The Payment Gateway Settings section displays all payment gateways installed on your site. Each gateway entry displays its status (enabled or disabled), a brief description of its capabilities, and an option to Edit Settings.
Select “Edit Settings” to view the specific fields for your chosen Gateway. Refer to our gateway documentation for specific settings.
Other Settings
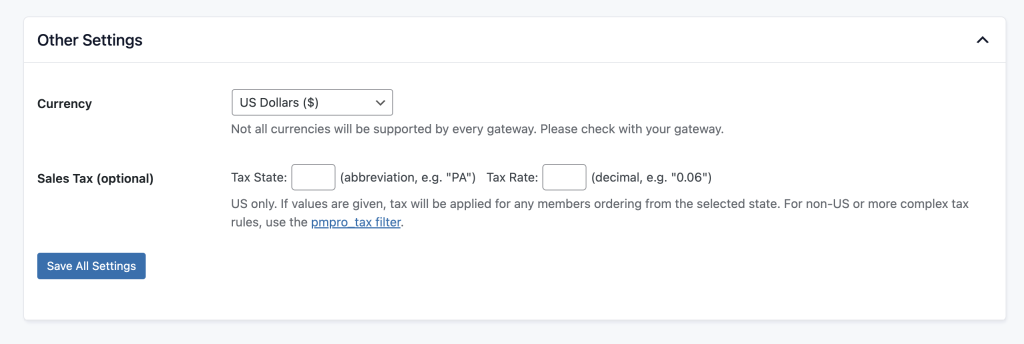
This section includes a few fields related to general checkout settings for your default currency and processing sales tax.
- Currency: Select the default currency for your site. Payments made in other currencies will be automatically converted by your gateway account. If your chosen currency is not in this list, you can add it using the pmpro_currencies hook as demonstrated in this guide.
- Sales Tax: For US-based membership sites, you can configure a tax rule directly on this settings page. Always check with your accountant or your state tax office to see if tax is required and the tax rate for your memberships. For more information on non-US taxes or VAT, see: the following guides: Non-US Taxes and VAT Add On.
Get Support From Our Team of Experts
Have a question about how to use this feature? Our Support Page outlines three ways to get support.
Our Max plans include hands-on help customizing your membership site and implementing new features. Upgrade to PMPro Max now »
Last updated on April 1, 2026

