With Paid Memberships Pro, adding user profile fields to your membership site is simple and highly effective. Our User Fields feature enables you to:
- Learn more about your customers
- Find out how customers discovered your website
- Organize members by type or interest
- Help members to connect with each other
In this post, we will show you how to add additional fields to your membership site in Paid Memberships Pro—whether you want to add them to a checkout form, on user profiles, or keep them for admin use only.

Table of contents
- The Value of User Profile Fields
- How to Add User Profile Fields to Your Membership Site
- Steps to Add User Fields
- User Registrations and Paid Memberships Pro
- User Profile Fields: Sitewide Personalization Ideas
- Frequently Asked Questions About WordPress User Fields
- User Fields Documentation: Additional Reading
The Value of User Profile Fields
There are a variety of ways you can capture user fields to improve your membership site. For example, you might collect additional information about your users, such as their:
- Location
- Demographic information
- Preferences
- Goals
These things can help you understand your users better, optimize your sales process, personalize the user experience, and make the most of your marketing efforts.

Collecting information through User Fields isn’t just about gathering data — it’s about creating personalized experiences. Once you understand your audience, you can deliver tailored content, resources, and opportunities that resonate with each individual member.
—David Parker, Lead Developer at Paid Memberships Pro
For example, you can use the information you collect to personalize your email marketing, which can lead to better relationships with your customers—and more sales.
Here are a few more examples of additional fields that give you useful information:
- Finding out customer income levels can help you price your products and services.
- User locations can help you personalize their content with local resources and information.
- Preferences help you optimize just about everything, from your marketing to the content you display to users.
- Fields that ask questions like “How did you hear about us?” help you identify your best marketing channels.
Even if your website is not related to ecommerce, additional fields can help you identify opportunities for expanding your audience and creating content that will attract people to your site.
How to Add User Profile Fields to Your Membership Site
The easiest way to add profile fields is by using the User Fields feature in Paid Memberships Pro. This feature allows you to collect custom fields:
- During the membership checkout process.
- On member profiles (visible to users).
- For admin-only viewing purposes.
With Paid Memberships Pro, creating and managing user fields is simple, powerful, and completely customizable.
Steps to Add User Fields
After you have installed, activated and set up Paid Memberships Pro, you can add User Fields to your membership site.
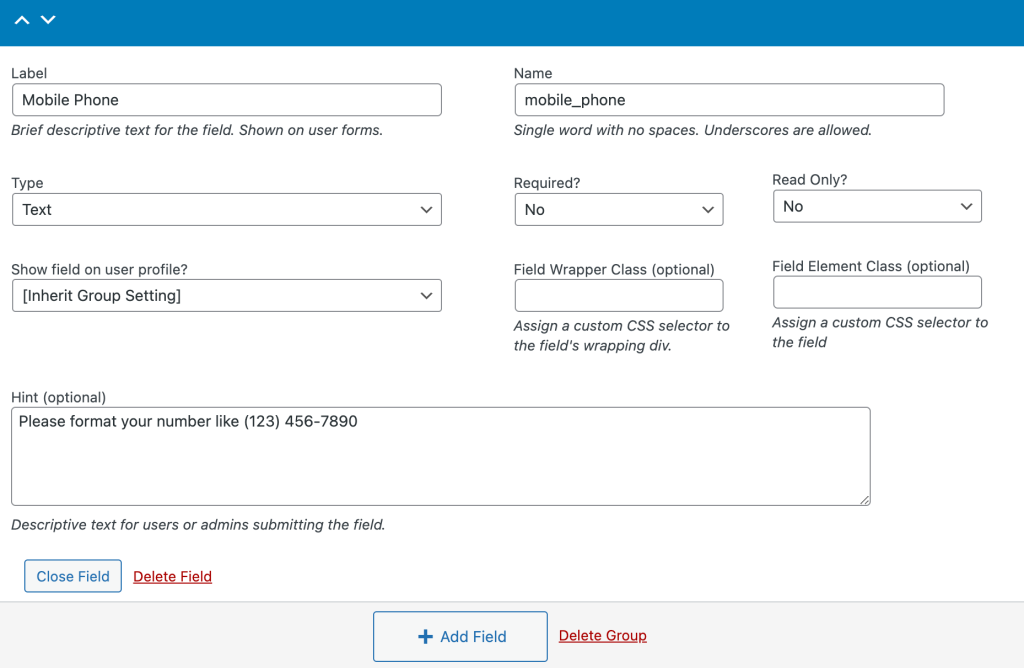
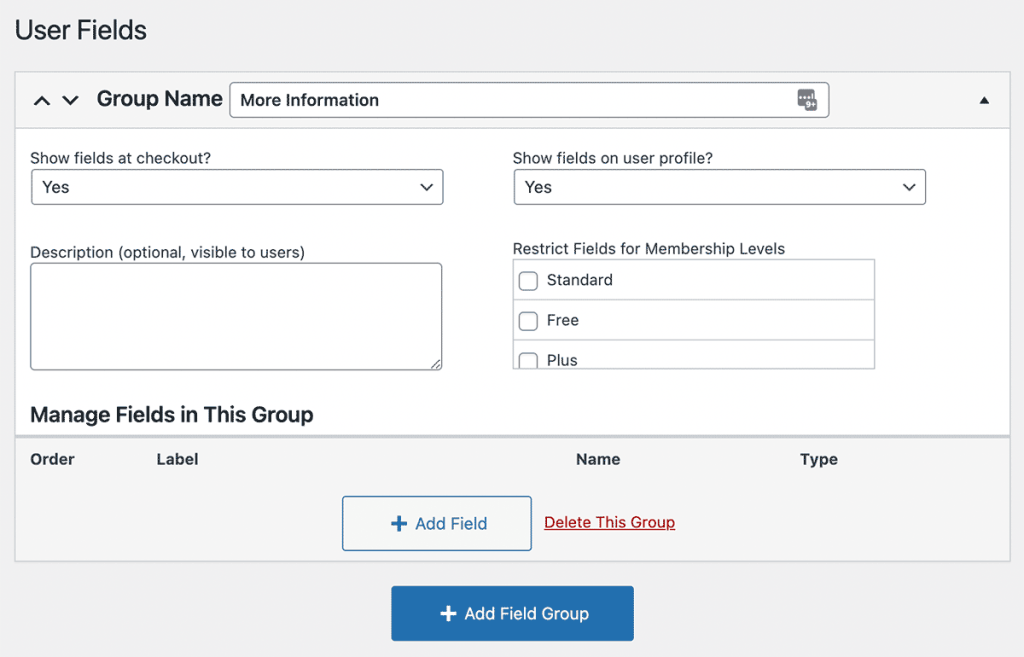
Navigate to Memberships > Settings > User Fields to create field groups and individual fields. You can use the default More Information field group, or create a new field group.

Common User Field Types
Text fields. Collect free text responses that users type into a one-line field.
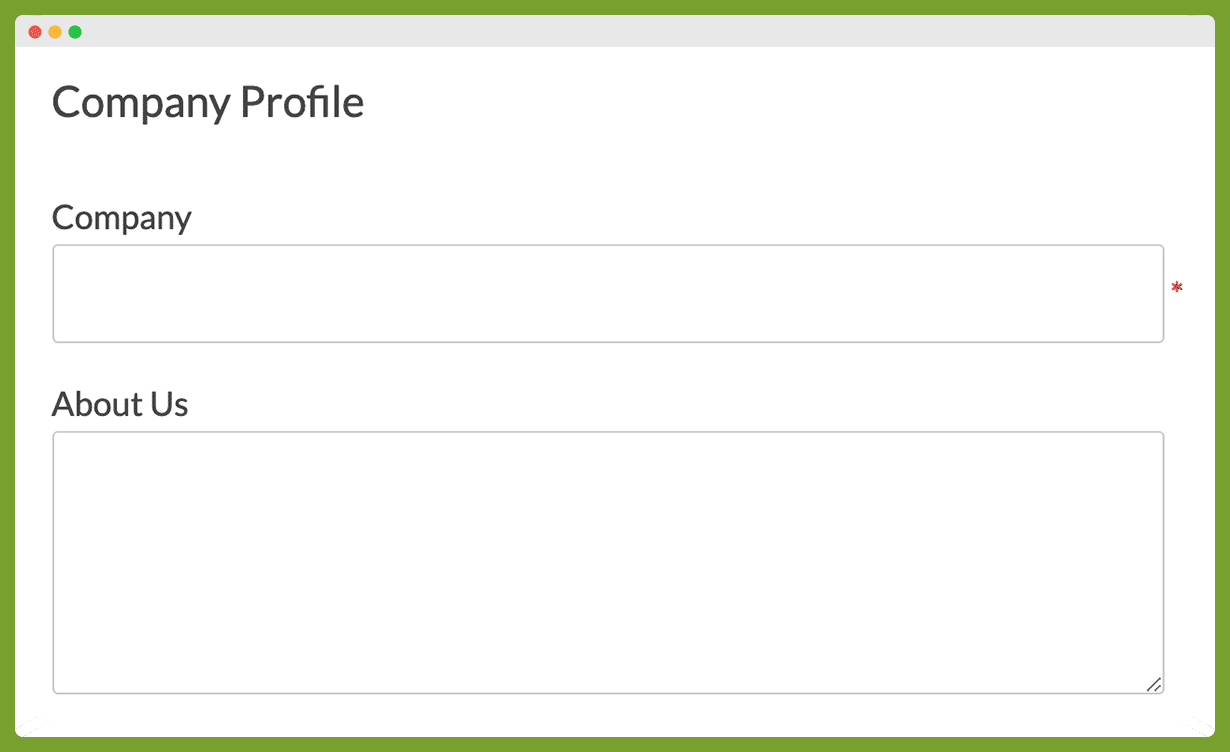
Textarea fields. Collect long-form free text responses that users type into a larger field.

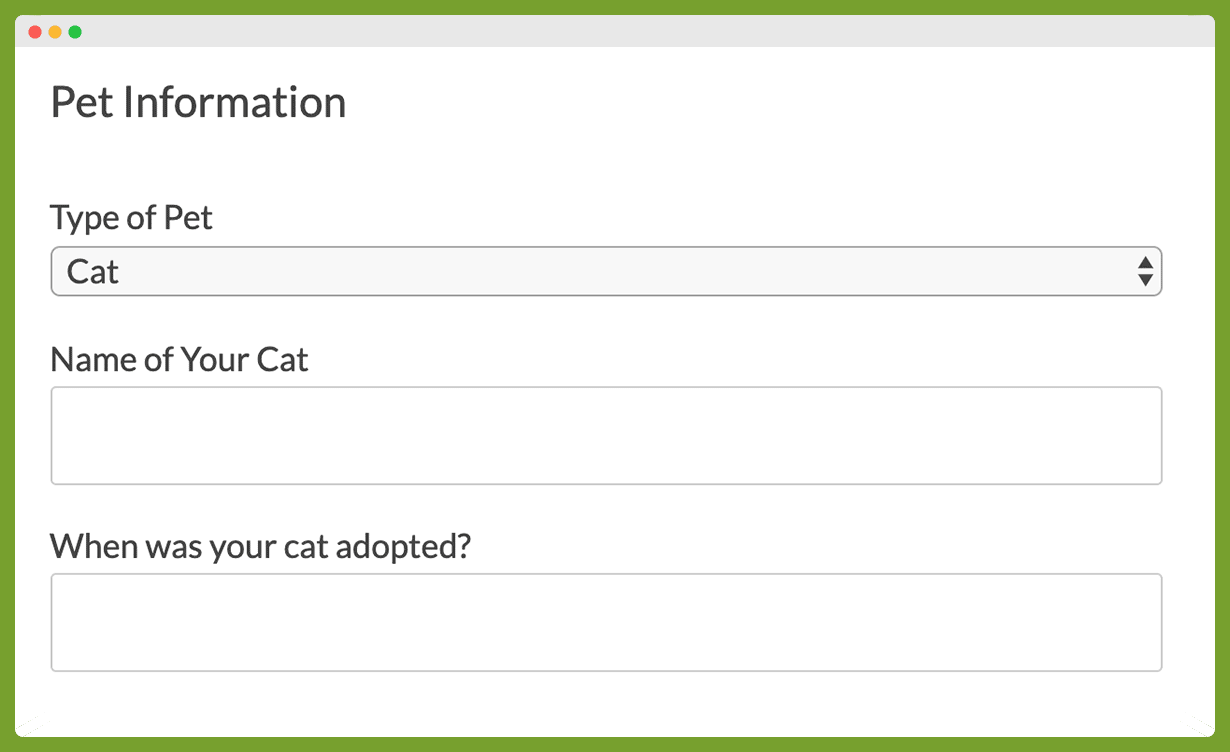
Dropdown (select) fields. Allow users to select one option from a dropdown menu.

You can also create advanced field types like:
- Radio buttons
- File uploads
- Multi-select fields
- Conditional fields
Video: How to Add User Profile Fields
Capture User Fields in Frontend Forms
User Fields are shown in a lot of places—giving you the ultimate membership customization you need to capture user profile information in forms on your site.
There are three primary places that profile forms show in your membership site:
- On the one-page Membership Checkout form.
- On the frontend User Profile Edit screen.
- In the admin (for admins only) on the Edit Member and WordPress User Edit screen.
Remember to choose whether or not you want to show the field on the user profile in the “Field Group” settings. You can also choose whether or not you want to show the field on the checkout page in these settings.

Where User Fields Are Stored
If diving in to data structures is not your thing, skip to the next part.
With Paid Memberships Pro, your data stays within your WordPress database. Here’s where you will find it:
- wp_users table: Basic user information.
- wp_usermeta table: Additional profile fields.
- wp_terms table (if using taxonomies): Category-like groupings for user data.
This ensures your data is accessible, portable, and fully under your control. Integrate your user data with tools like email marketing platforms or automation services for even more powerful applications.When you use Paid Memberships Pro with WordPress, all the data is your data. You own and manage every aspect of your data right within your WordPress site.
You can use this data in so many ways throughout WordPress. More importantly, though, you can use this data in combination with loads of integrations.
Paid Memberships Pro does not store user information in custom tables. Storing information in custom tables would make it difficult to move data around or use it for advanced techniques like:
- Sending additional user profile fields to your email marketing tool like Kit or Mailchimp.
- Creating Zapier automations to send user data to other third-party connected platforms.
- Designing custom public or members-only user directories and profile pages.
User Registrations and Paid Memberships Pro
At Paid Memberships Pro, we have designed our platform to handle all aspects of user registration seamlessly. Once you have set up PMPro, the plugin ensures that every member is registered with the correct membership level and custom profile fields you configure.
If your site requires default WordPress user registration or you are using another plugin that needs to integrate with PMPro, we provide a simple code snippet to adjust PMPro’s default behavior. This ensures compatibility while maintaining control over your membership processes.
Disabling Public User Registration
For sites that prefer private or invite-only registration, Paid Memberships Pro offers built-in options to restrict access. With just a few settings adjustments, you can limit account creation to admin-only or customize the user registration flow to suit your needs.
Follow these steps to restrict registration:
- Go to Memberships > Settings in your WordPress admin.
- Edit the free membership level you set up earlier.
- Under “Other Settings,” select Hide this level from the membership levels page and disable registration.
- Next, edit your Membership Levels page and remove the default shortcode or block.
You can replace the default page content with a custom solution, such as a membership inquiry form or information about joining your private community.
With Paid Memberships Pro, you’re in full control of how members join your site, ensuring every registration aligns with your goals and membership structure.
User Profile Fields: Sitewide Personalization Ideas
PMPro comes bundled with a no-code way to show a logged-in user’s profile field anywhere in your site. This feature is called the pmpro_member shortcode. This makes it easy–and even fun–to create a more personalized member experience.
You can use this shortcode to add the logged in user’s display name or a social media profile link right inside your post content or in a widget.
We use the shortcode here at Paid Memberships Pro to show a welcome message and user avatar on the Membership Account page. Here is the code for that section of our editor.
<h2>Welcome, [pmpro_member field="display_name"]</h2>

Frequently Asked Questions About WordPress User Fields
Adding user profile fields helps you learn more about your customers, organize members by type or interest, and personalize the user experience. Use this information to optimize sales conversions, tailor content, and enhance marketing efforts.
The easiest way to add custom user profile fields is by using a plugin like Paid Memberships Pro. You can create and customize fields to display on user profiles, membership checkout forms, or for admin use only.
User profile data is stored in the wp_users and wp_usermeta tables. If you are using taxonomies for user fields, that data is stored in the wp_terms table. This setup means you can integrate your user data with other tools and services.
Yes, you can send user profile field data to email marketing tools like Kit or Mailchimp. This info can then be used to segment your audience and personalize your email campaigns.
User Fields Documentation: Additional Reading
For more information on creating user fields, check out the following posts and documentation:


