Field groups allow you to organize user fields with similar settings like ‘show at checkout’ and ‘show on profile’. Groups can be shown for users on the frontend user profile page or be visible and editable for admins only.
Navigate to Memberships > Settings > User Fields in your WordPress site’s admin to start using this feature. This documentation explains every setting for a Field Group so that you can make the most of this robust feature.
Create and Manage Field Groups
- Navigate to Memberships > Settings > User Fields in the WordPress admin.
- Edit the default field group or create a new field group by clicking the “+ Add Field Group” button.
- Click “Save All Changes” to save your progress.
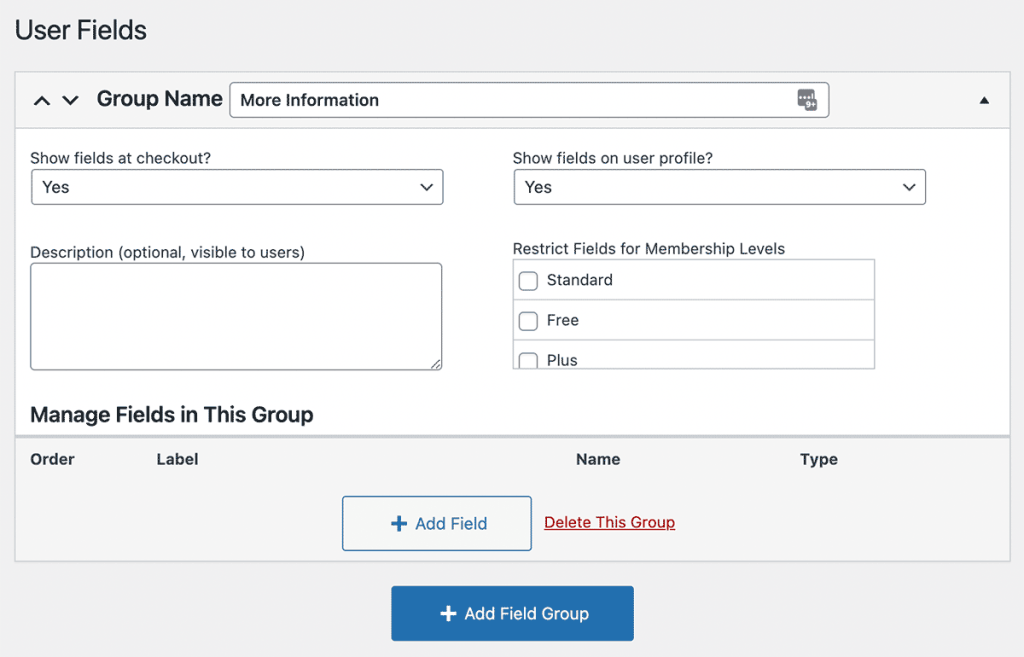
Field Group Settings
- Group Name: A unique label for your group of fields; visible when the field group is shown.
- Show fields at checkout: Select whether to include this field group anywhere the Membership Checkout shortcode or block is used (on the Membership Checkout page or other landing pages).
- Show fields on user profile: Select if this field group is shown on the Frontend User Profile or Edit User page in the WordPress admin. Options include:
Yes,No, orYes (only admins). - Description: An optional description of the field group. This text is shown below the Group Name when the field group is shown for users or admins.
- Restrict Fields for Membership Levels: Select one or more membership levels to show these fields for. If you do not select any membership levels, the field group will show for all members and users, regardless of active membership level.
After configuring group settings, continue with the documentation below to create and manage user fields within the group.
Delete a Field Group
If you no longer want a specific field group, you can delete the entire group and all fields in one step. Note that deleting the group also deletes the group’s fields. This action does not delete user data. This action only removes the group and fields from frontend or admin forms.
- Navigate to Memberships > Settings > User Fields in the WordPress admin.
- Select the Field Group to be deleted.
- Click “Delete Group“.
- Confirm the action in the modal window.
If you still want the fields from the group in your site, you have to manually recreate them in another Field Group.
Get Support From Our Team of Experts
Have a question about how to use this feature? Our Support Page outlines three ways to get support.
Our Max plans include hands-on help customizing your membership site and implementing new features. Upgrade to PMPro Max now »
Last updated on April 1, 2026

