When someone joins your membership through a paid campaign, a Facebook post, or a link in your newsletter, you probably want to know which source is actually converting, and send them to a landing page that matches where they came from.
This recipe captures UTM parameters at checkout, stores them to the member’s account, and then redirects them to a campaign-specific confirmation page after joining.
Do You Need This Recipe?
This recipe is useful if you are running multiple ad campaigns or traffic sources and want to:
- Send members to different thank-you pages based on which campaign brought them in. A Google Ads campaign and a Facebook campaign might feel more cohesive with different post-checkout messaging.
- Attribute new memberships to a specific campaign without relying solely on Google Analytics or ad platform data. Because the UTM values are stored in user meta, you can filter and export members by source directly from your site.
- Personalize the post-checkout experience by, for example, showing a campaign-specific onboarding sequence, a bonus offer, or a welcome video that matches the ad the member clicked.
About the Code Recipe
This recipe uses two functions working together.
The first function runs on the init hook and registers hidden form fields on the checkout page, one for each UTM parameter (utm_source, utm_medium, utm_campaign, utm_term, utm_content).
- PMPro’s
pmpro_add_user_field()function handles saving these values to user meta automatically when the order completes. - The field values are pre-populated from the URL, so as long as your campaign links include UTM parameters, they will be captured without any action from the member.
The second function hooks into pmpro_confirmation_url, which fires after a successful checkout.
- It reads the
utm_campaignvalue stored on the user and checks it against a list you define. - If a match is found, the member is sent to the matching URL.
- If no match is found, they land on the default PMPro confirmation page.
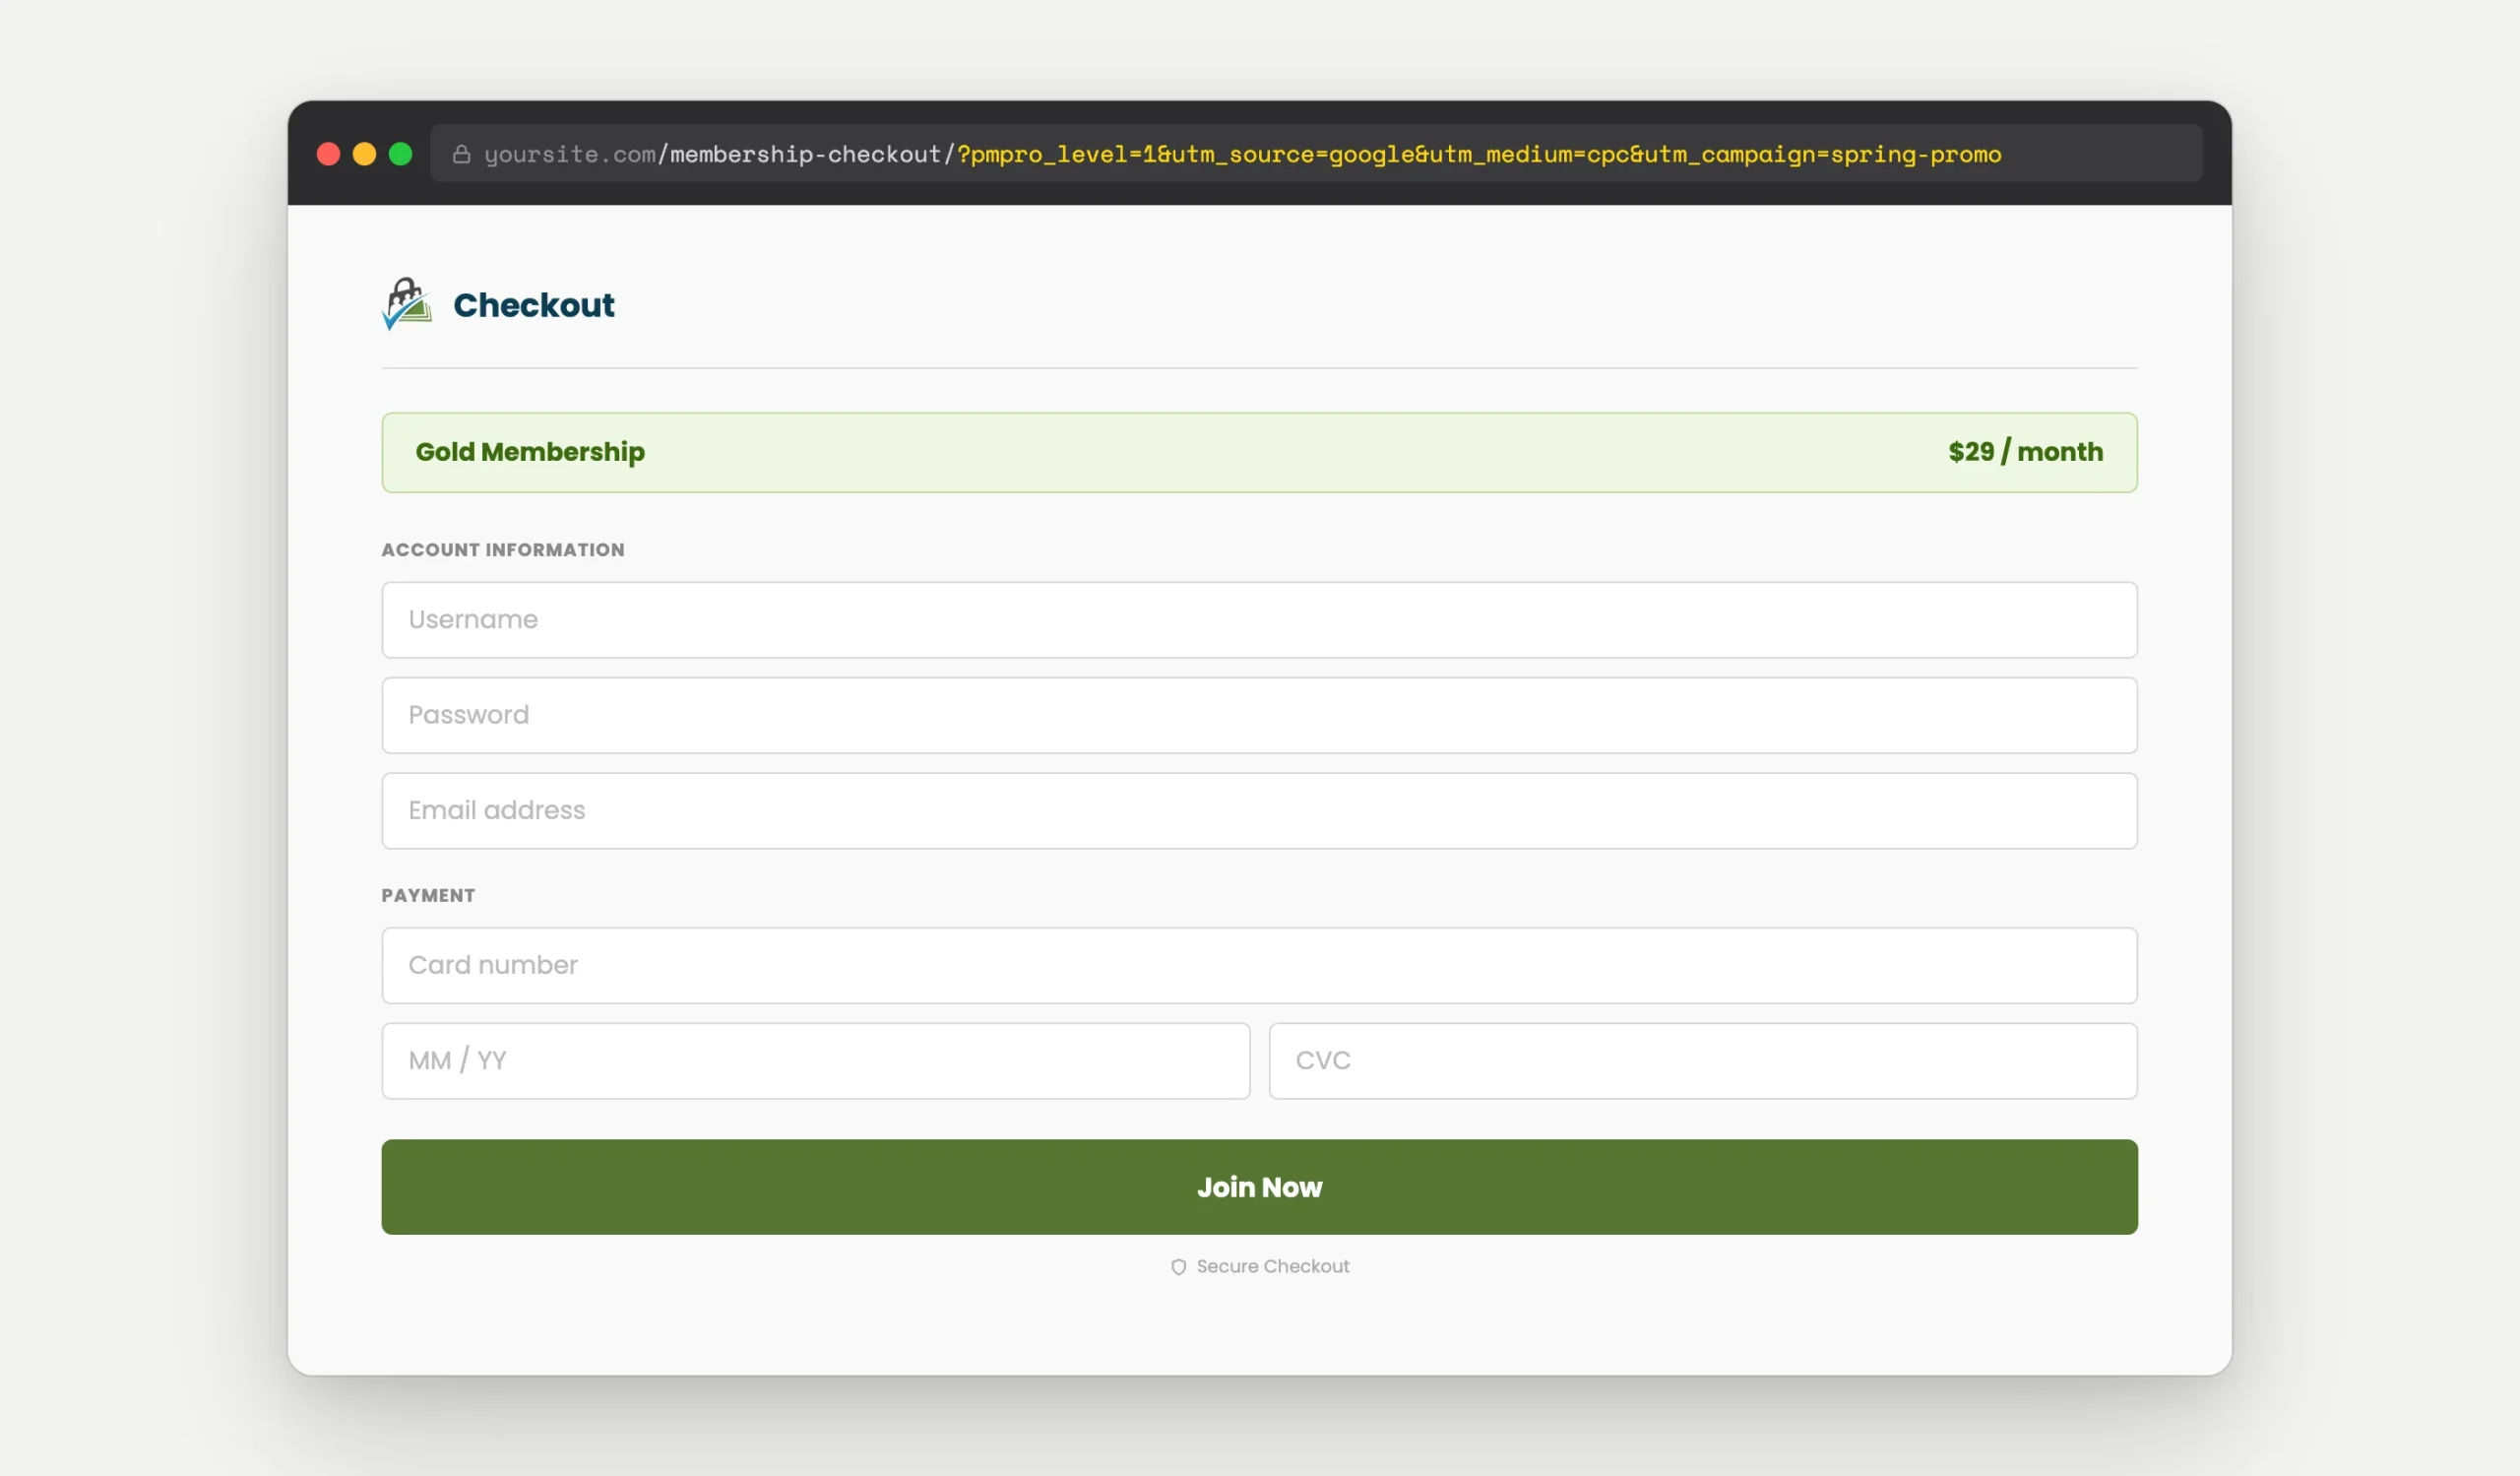
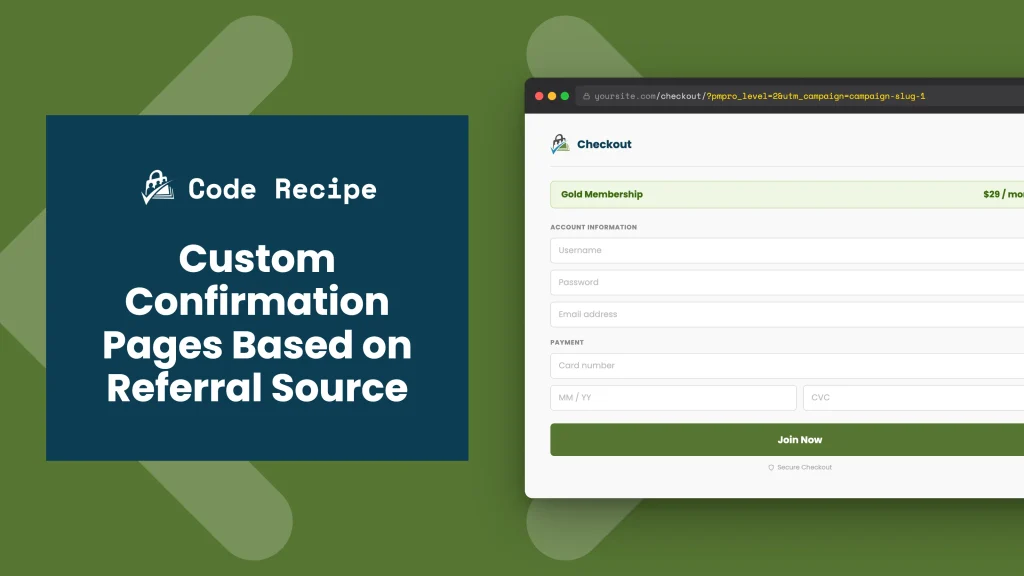
?pmpro_level=1&utm_source=google&utm_medium=cpc&utm_campaign=spring-promo
A few things to know before you set this up:
- UTM values are captured from the URL at the time the checkout page loads. If a visitor arrives on your checkout page without UTM parameters in the URL, nothing is stored and they will land on your default confirmation page.
- This recipe stores UTM values permanently in user meta. If the same member checks out again in a future campaign, the stored values will be overwritten with whatever is in the URL at that time. If no UTM parameters are present on the second checkout, the old values will remain.
- The redirect is based on
utm_campaignonly. If you want to branch onutm_sourceor another parameter instead, likefb_clid, the customization section below explains how.
This recipe works with PMPro’s User Fields feature, which is included in Paid Memberships Pro. No additional Add Ons required.
Create Your Confirmation Pages
Before adding the code, create the pages you want to redirect members to after checkout. These can be any page on your site: a thank-you page, an onboarding sequence, a special offer, or a simple welcome message tailored to the campaign.
Make a note of the full URL for each page. You will need these when you configure the redirect map in the code.
The Code Recipe
Adding the Recipe to Your Website
You can add this recipe to your site by creating a custom plugin or using the Code Snippets plugin available for free in the WordPress repository. Read this companion article for step-by-step directions on either method.
How to Customize This Code Recipe
Update the Redirect Map
In the my_pmpro_redirect_confirmation_url function, find the $campaign_redirects array and replace the placeholder values with your actual campaign slugs and page URLs:
$campaign_redirects = array(
    'your-campaign-slug' => 'https://yoursite.com/your-thank-you-page',
);
The key on the left (e.g. 'your-campaign-slug') must exactly match the utm_campaign value in your campaign URL. These are case-sensitive.
Change Which UTM Parameter Controls the Redirect
By default, the redirect is based on utm_campaign. To branch on a different parameter, for example, utm_source, update the get_user_meta call in my_pmpro_redirect_confirmation_url:
$campaign = get_user_meta( $user_id, 'utm_source', true );
Then update your redirect map keys to match the expected values for that parameter (e.g. 'google', 'facebook', 'newsletter').
Add or Remove Tracked UTM Parameters
The MY_PMPRO_ALLOWED_UTM_KEYS constant controls which parameters are captured and stored. Remove any you do not need, or add custom parameters if your campaigns use non-standard tracking keys.
Test With a Campaign URL
To test that your code recipe is working as expected, add UTM parameters to your checkout page URL and complete a test checkout:
https://yoursite.com/membership-checkout/?pmpro_level=1&utm_source=google&utm_medium=cpc&utm_campaign=your-campaign-slug
After checkout, you should be redirected to the page you mapped to your-campaign-slug.
If you land on the default confirmation page instead, double-check that the campaign slug in your URL matches the key in $campaign_redirects exactly.
Related Resources
- Google Analytics Integration Add On
- How to Set Up Google Analytics GA4 Conversion Events for Membership Sites
- Ecommerce Analytics: Send Events to Google Tag Manager and Google Analytics 4 (GA4)
- Membership Site Analytics: How to Set Up GA4 and GTM with Custom Dimensions
- Redirect Members to a Unique Confirmation Page Based on Membership Level
Free Course: Membership Site Development—The Basics
Develop a deeper understanding of membership site development in this beginner-level course. Learn how to make your site work better, save yourself time and money, and improve your site's performance.