Paid Memberships Pro’s User Fields do not include built-in URL validation. As a site owner, you are using the “text field type” to collect URLs from members at checkout on your site.
This guide shows how to add a validation check for a URL to a custom text field, ensuring URLs include https:// or http://. If a user enters a URL without this format, they receive an error message prompting correction before they can complete their checkout. This keeps data clean and improves the user experience for your customers on your website.
Understanding ‘http’ vs. ‘https’
This code recipe checks that any URL entered into a custom user text field includes either http:// or https://. These prefixes are known as URL schemes and are necessary for links to function properly on the web.
The difference between the two lies in security:
http://stands for Hypertext Transfer Protocol and transmits data in plain text.https://stands for Hypertext Transfer Protocol Secure and encrypts data during transmission, protecting it from interception or tampering.
By validating that URLs include one of these schemes, your site ensures that links are both functional and reliable when displayed. It also helps standardize the way links are handled across member profiles and other areas, reducing the risk of broken links or formatting issues. This also creates a smoother experience for your members and visitors.
About the Code Recipe
This code adds validation at checkout for the user_url text field to collect a URL on your website.
Follow the steps below before implementing the code recipe.
Step 1: Create the User Fields
- Navigate to Memberships > Settings > User Fields.
- Create a new group or add a new field in an existing group. This will show as a new “card” on the checkout page.
- The group settings should be:
- Show fields at checkout?: Yes
- Show fields on user profile?: Yes (Optionally you can set this to “no” if you do not want your members to see or edit the URL via their Edit Profile page.)
- The group settings should be:
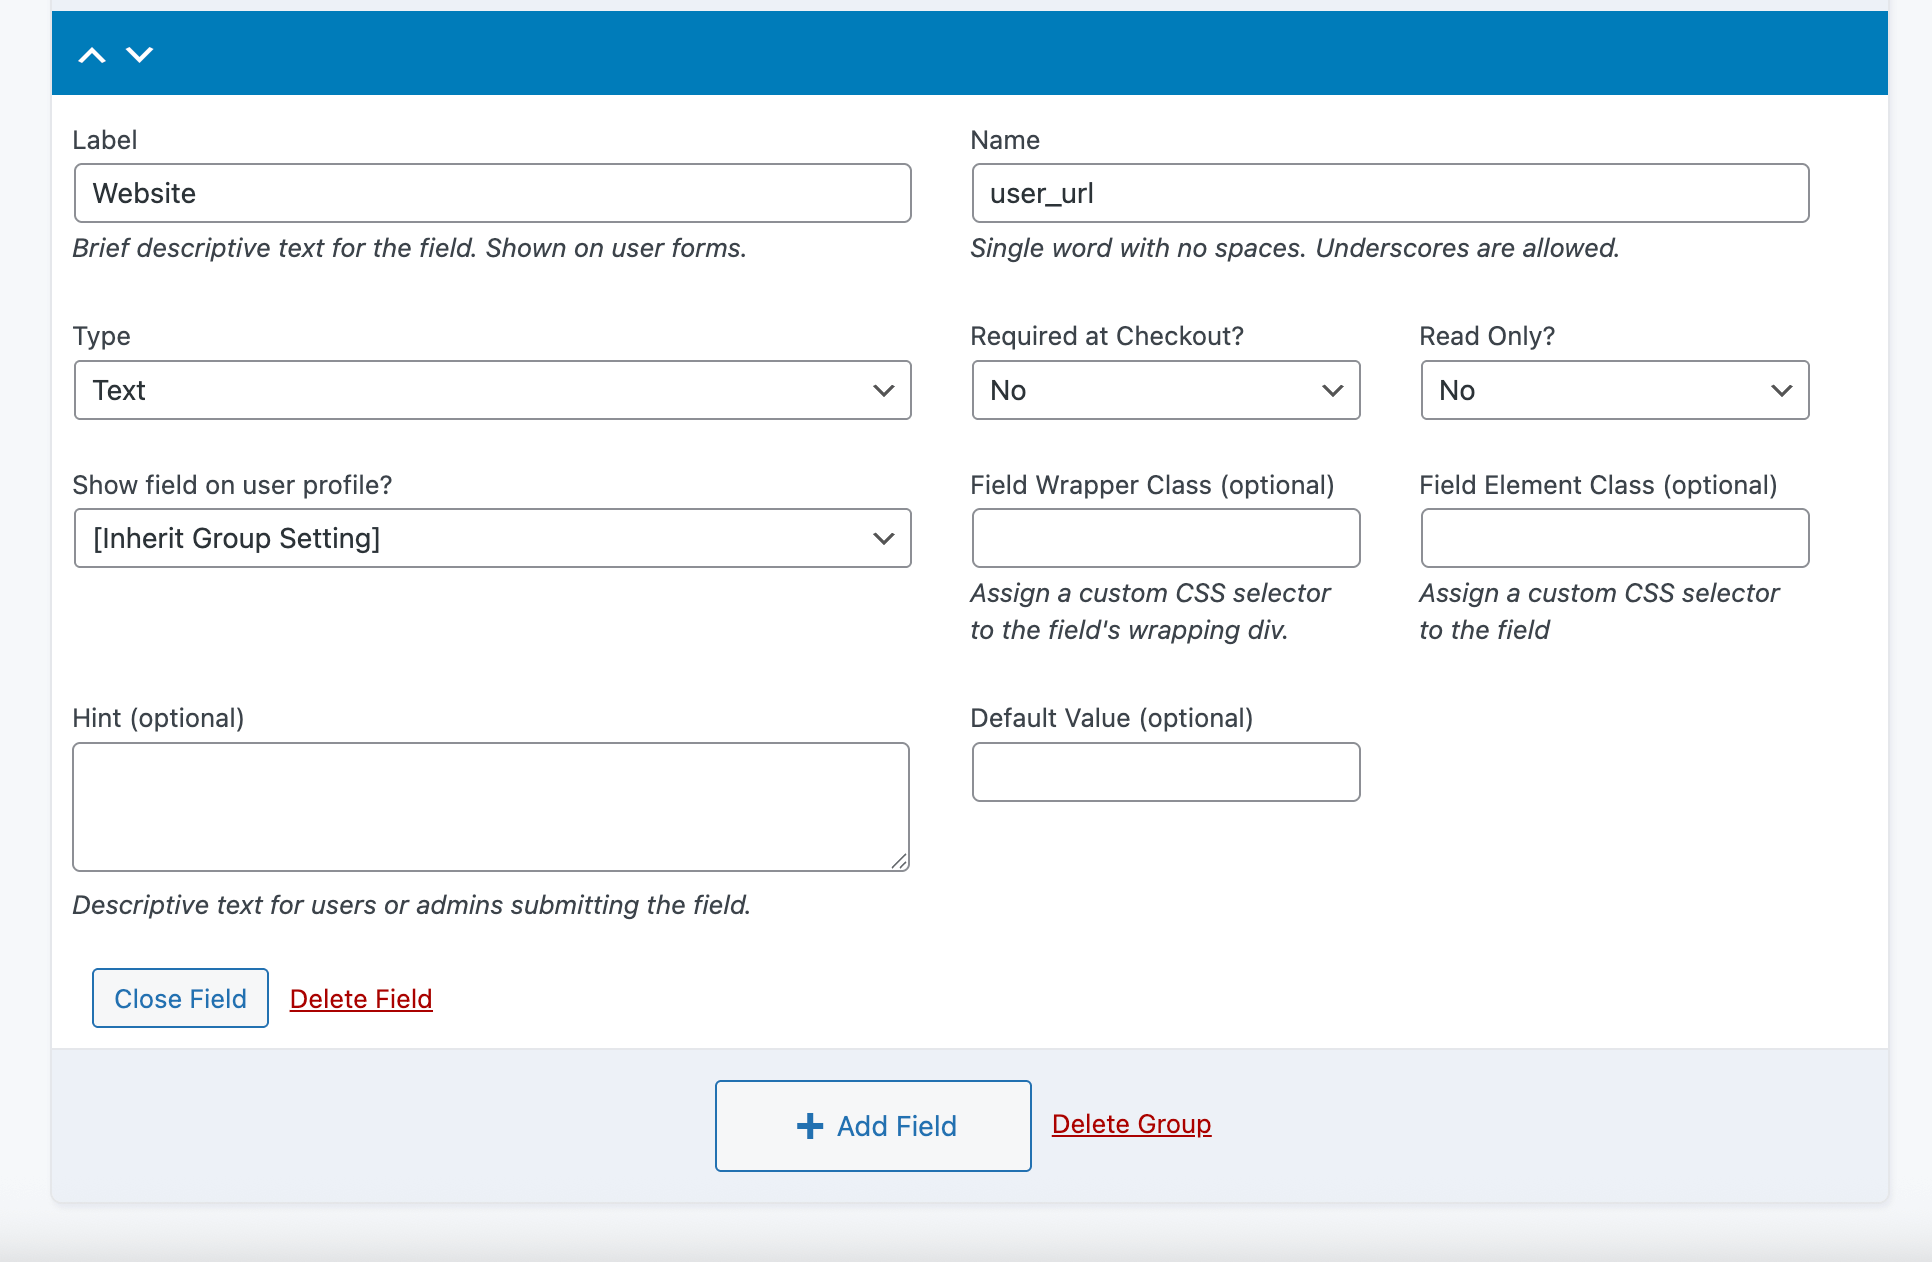
- Create a new field within the group that was just created. Add the following information:
- Label: This will show on the frontend. Input what you want your members to see at checkout. Our example shows “Website”
- Name: This will auto-populate when the field is selected. For our example, we adjusted the name to
user_url. We will need the name to customize the code. (See customizations) - Type: Text
- Require at Checkout?: Select “No” if the URL is not required at checkout. If it is, select “Yes”.
- Read Only?: No
Step 2: Implement the Code Recipe
Now that our User Field is created, we can use the code recipe to extend the user field to ensure the Website User Field includes https:// or http://.

The Code Recipe
Adding the Recipe to Your Website
You can add this recipe to your site by creating a custom plugin or using the Code Snippets plugin available for free in the WordPress repository. Read this companion article for step-by-step directions on either method.
How to Customize This Code Recipe
Edit line 17 with your specific User Field name and label. From our example, 'user_url' => 'Website',
If you need to add a URL validation to more than one text field, you can modify this code recipe to add validation for more than one text field. Duplicate line 18 for as many URL fields you want to add, for example, 'youtube_url' => 'YouTube Channel',
Free Course: Membership Site Development—The Basics
Develop a deeper understanding of membership site development in this beginner-level course. Learn how to make your site work better, save yourself time and money, and improve your site's performance.