If you’re considering live chat for your membership site, you may be looking into options for one-to-one chat between yourself (or your chat agents) and the member, or to allow your members to communicate with one another in a chatroom-style interface.
Below are a few tested and approved live chat products along with code recipes to make them “members-only”.
About Live Chat
Live chat using ArrowChat, iFlyChat, and Zopim feature one-to-one chat between your member and your active chat agents. Some sites offer this as a premium feature of membership, such as a virtual health or fitness coach that offers Q&A with members.
Another option is a chatroom where members can communicate with one another. If you’re looking for this style of chat, check out the ArrowChat, iFlyChat, and Wise Chat methods outlined below (Zopim does not offer a chatroom feature). Or, you can explore our Discord Integration Add On.
ArrowChat

This PHP/JQuery-based chat solution offers many chat options, easily added to your WordPress site via a footer script. ArrowChat is billed as a one-time charge. The pricing is based on the support, installation needs, and software updates term you select.
To add ArrowChat for specific membership levels only you need to wrap the embed script using the pmpro_hasMembershipLevel() function. After signing up for your Arrowchat account and completing the Arrowchat installation, use code recipe below to display the interface for members only:
Copy and paste this code recipe into a helper PMPro Customizations plugin. Customize line 8 for your specific membership level IDs.
iFlyChat

iFlyChat is a WordPress plugin that requires an account for your API Key (free levels are available). The plugin installs via your WordPress Admin under Plugins > Add New. iFlyChat Pricing is primarily based on the number of simultaneous users in your chatroom(s) as well as some additional premium features.
To add iFlyChat for specific membership levels only you will need a custom filter using the iflychat_check_access_filter. After signing up for your iFlyChat account and installing the iFlyChat WordPress Plugin, use code recipe below to display for members only:
Copy and paste this code recipe into a helper PMPro Customizations plugin. Customize line 11 for your specific membership level IDs.
Wise Chat

Wise Chat is a WordPress plugin (no third party account is needed to run this chat on your WordPress site). The plugin installs via your WordPress admin under Plugins > Add New. It is powered by shortcodes you can add directly to a WordPress page, post, or widget area.
For this example, I recommend setting up a “Chat” page using the “Require Membership” settings on the page to lock down by membership level. Then just paste the [wise-chat] shortcode into the page body.
Take this method a step further by setting up Chatroom “Channels” for each membership level. Here’s the recipe to display the appropriate channel to members based on their level:
[membership level="1"]
[wise-chat channel="Free Members"]
[/membership]

[membership level="2"]
[wise-chat channel="Premium Members"]
[/membership]
Copy and paste this into your chat page. Be sure to lock down the page for appropriate membership levels, then customize the chat room channel names and level IDs for your specific site.
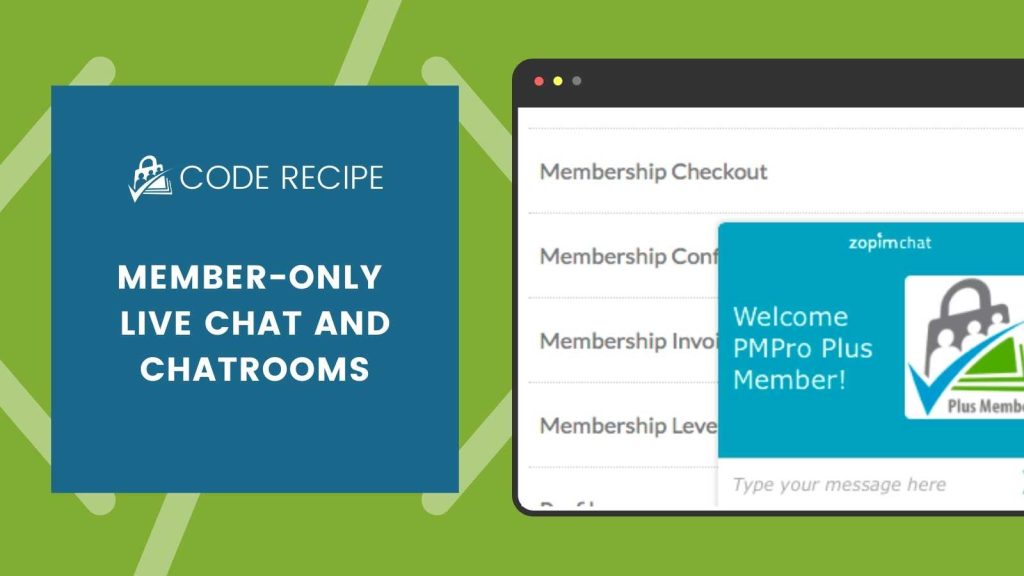
Zopim
This chat solution, by the makers of ZenDesk, offers a rich dashboard experience with many tracking/monitoring metrics available. It is designed for user support and the “one-to-one” chat style – where your site visitors (or in this case members) can initiate a private chat with your chat agents. Like ArrowChat, the script is simply added via a wp_footer script, customized with the logic to load for members only.
Zopim currently offers a 4 pricing options (one Free and 3 monthly or annually billed levels) based on the number of individual agents you will need to manage your live chat. You can easily customize the display of your Zopim chat button, widget and chat box via the Zopim Dashboard by adding your logo, color scheme, and custom language.
To add Zopim for specific membership levels you need to wrap the embed script using the pmpro_hasMembershipLevel() function. After signing up for your Zopim account, navigate to your Dashboard > Settings > Widget. Here you will find the script for use in the code recipe below:
Copy and paste this code recipe into a helper PMPro Customizations plugin. Customize line 8 for your specific membership level IDs.
Unlock the Power of Engagement with an Online Community
Are you ready to build and grow an online community that you completely control?
With Paid Memberships Pro, you can sell free and paid subscriptions to your community, benefit from a wide variety of Add Ons and integrations specifically designed for community websites.
We know that a WordPress site has tons of moving parts. Choosing the right plugins, themes, hosting, third party services, design assets, and more can feel overwhelming.
Paid Memberships Pro is the most robust membership platform to sell access to your online community on WordPress. Learn exactly what you’ll get — the plugins, the support, hosting and custom development assistance — when you run your online community with Paid Memberships Pro.
Get Support From Our Team of Experts
For more help with this PMPro feature, check out our Support Page with three ways to get support as a free or premium member.