Managing user accounts on a large-scale membership site can become increasingly difficult as your user list grows. Even simple tasks, like deleting a user or reassigning their content, can slow down the admin interface. The process becomes more demanding when every user appears in the reassignment dropdown.
This guide shows you how to simplify that process by limiting the “attribute content to” dropdown during user deletion to only include administrators. This change improves performance and ensures that reassigned content goes to users with the right access level.
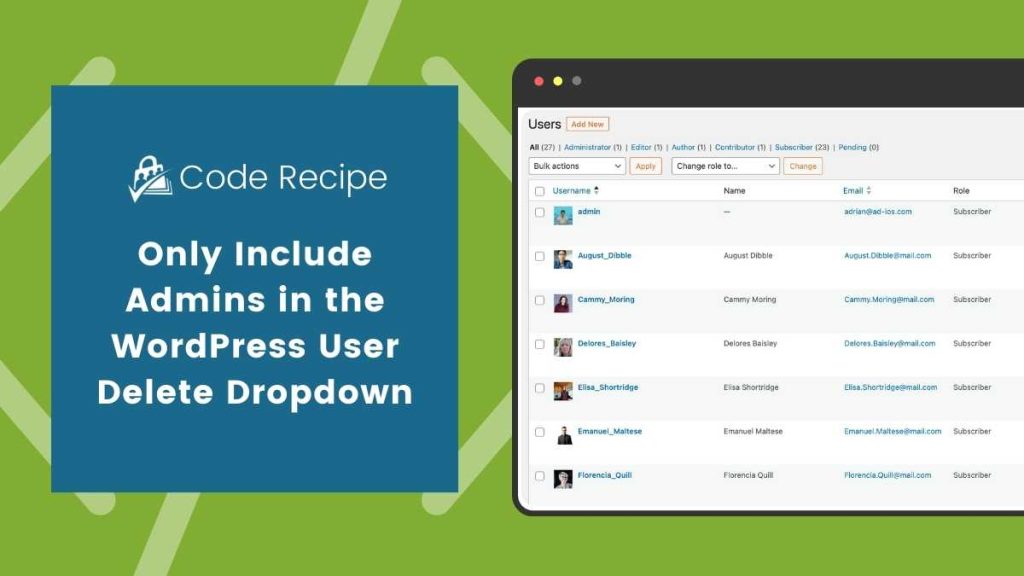
Understanding the Code Recipe
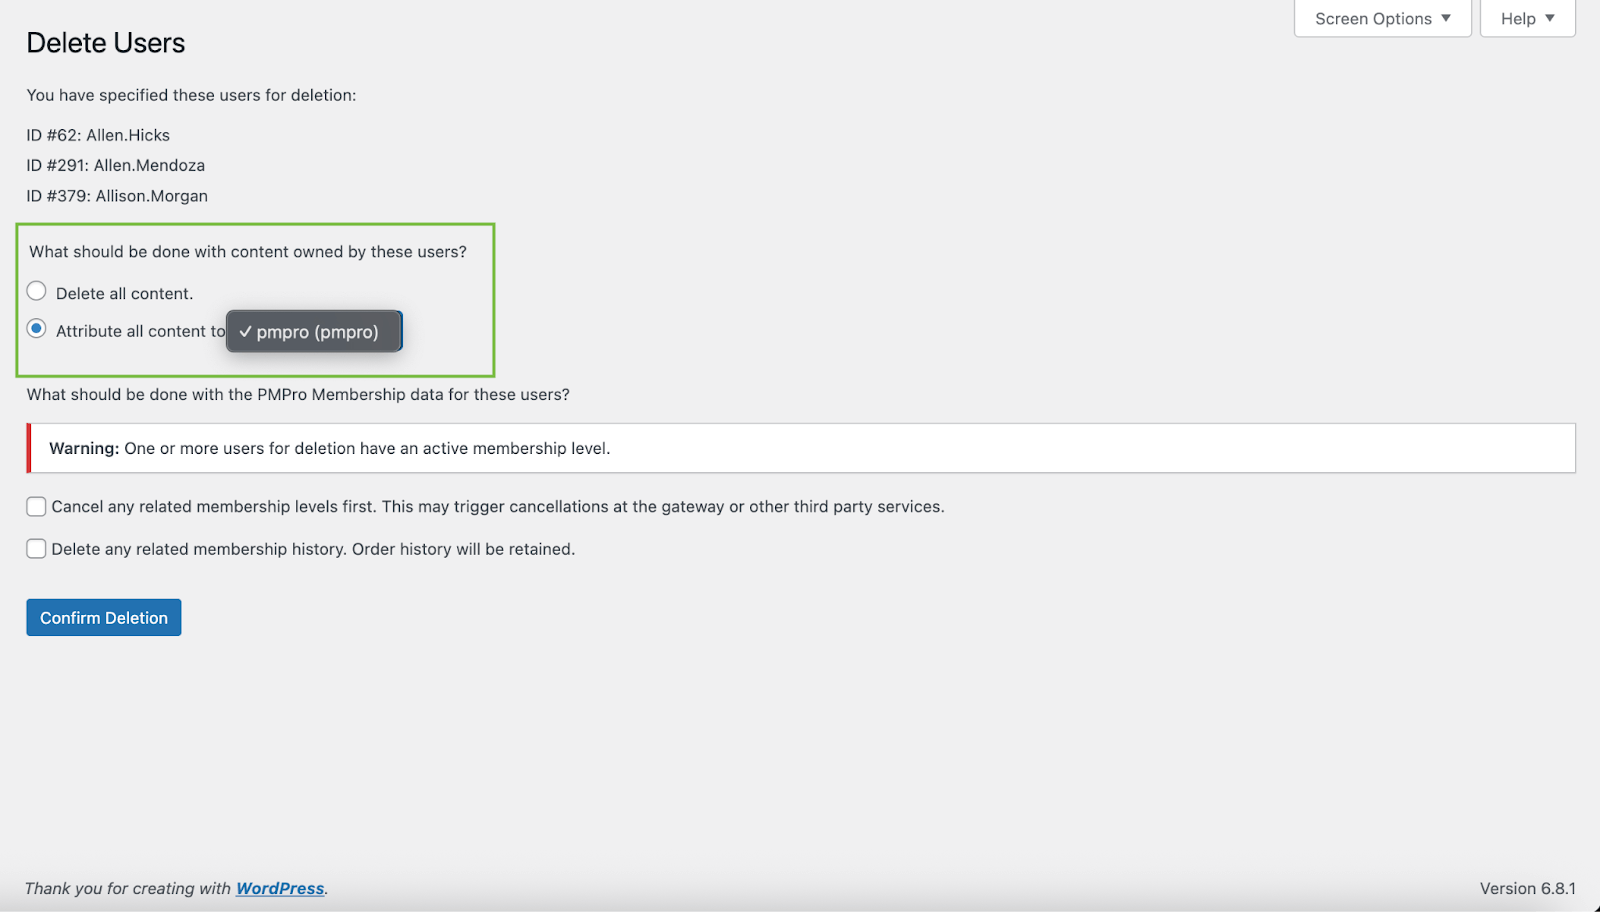
This recipe modifies the user deletion process in the WordPress admin. When an administrator deletes a user, WordPress displays a dropdown menu to reassign that user’s content. By default, this dropdown lists all users on the site.
The code works by first using the load-{$pagenow} to run whenever the main “Users” admin page is loaded. Inside this action, the code checks if the current operation is delete and then applies a filter to the wp_dropdown_users_args hook. This filter modifies the query that fetches users for the reassignment dropdown, specifically setting the role parameter to administrator to only have administrators appear in the list, which makes the interface faster and ensures content is reassigned to appropriate admin accounts.
About the Code Recipe
This code recipe limits the users shown in the “attribute content to” dropdown when deleting a user in the WordPress admin. Only users with the administrator role will appear in the dropdown list. Before implementing this code recipe:
- Note that this code only affects the user deletion screen in the WordPress admin (Users > All Users).
- The user deletion action must be triggered for the filter to apply.
The code does not alter or remove any content; it only adjusts the available options when reassigning a deleted user’s posts.
The Code Recipe
Adding the Recipe to Your Website
You can add this recipe to your site by creating a custom plugin or using the Code Snippets plugin available for free in the WordPress repository. Read this companion article for step-by-step directions on either method.
How to Customize This Recipe
You can tailor this recipe to better fit your site’s user management process by changing the target role, replacing administrator in the query_args['role'] assignment with another role slug, such as editor or a custom role like membership_manager.
Free Course: Membership Site Development—The Basics
Develop a deeper understanding of membership site development in this beginner-level course. Learn how to make your site work better, save yourself time and money, and improve your site's performance.