User Profile Field settings in Paid Memberships Pro allows you to add new profile fields at membership checkout. This recipe will demonstrate how to set up user fields to capture and populate the default fields in the WordPress User profile.
What are the default WordPress User fields?
The WP_User class has the following core fields that you may want to capture at membership checkout. It’s important to use the exact field “key” so that captured fields are properly matched to the default profile field.
| Field Key | Field Name |
|---|---|
| user_login | Username* |
| first_name | First Name |
| last_name | Last Name |
| nickname | Nickname |
| Email Address* | |
| user_url | Website |
| description | Biographical Info |
* This field is already captured at Membership Checkout with a default Paid Memberships Pro setup.
Capture First and Last Name
You can skip the methods below and use the Add Name to Checkout Add On to instantly add the fields for First Name and Last Name on membership checkout.
Capture Some Other Default User Meta Fields
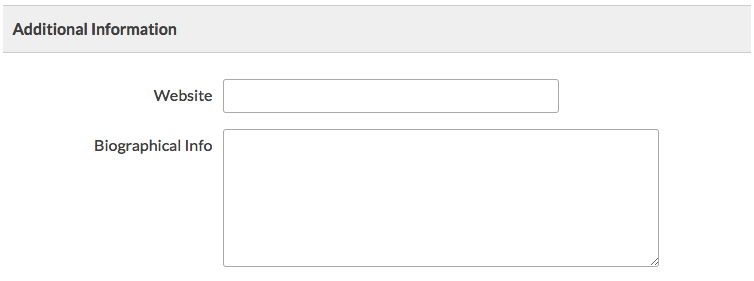
This section of the guide shows you how to add two core WordPress user meta fields to your membership checkout page or member profile edit page.
Add the Biographical Info Textarea Field
- Navigate to Memberships > Settings > User Fields
- Choose to add your field to an existing field group or create a new field group using a name of your choice.
- Click “+ Add Field” to create a new field for your biographical information.
- Set the field label to “Biographical Info” or another label of your choice.
- Important: Set the field name to
description. This is the name of the usermeta field in WordPress. - Choose the
textareafield type. - Refer to our full documentation on adding user fields if you need help adjusting the field settings.
- Click Save Settings.
Add the Website Text Field
- Navigate to Memberships > Settings > User Fields
- Choose to add your field to an existing field group or create a new field group using a name of your choice.
- Click “+ Add Field” to create a new field for your biographical information.
- Set the field label to “Website” or another label of your choice.
- Important: Set the field name to
user_url. This is the name of the usermeta field in WordPress. - Choose the
textfield type. - Refer to our full documentation on adding user fields if you need help adjusting the field settings.
- Click Save Settings.
More User Fields Documentation
Continue learning about user fields in Paid Memberships Pro in our documentation pages including:
- Create User Fields via Settings
- Create User Field Groups
- Creating Fields via Custom Code
- Supported Field Types and Field Attributes
Free Course: Membership Site Development—The Basics
Develop a deeper understanding of membership site development in this beginner-level course. Learn how to make your site work better, save yourself time and money, and improve your site's performance.