Paid Memberships Pro v3.1 introduces a smartly generated message based on lots of conditions including whether the user is logged in, other Add Ons you have active in your site, the current user’s membership level, and the specific protection settings for the content being viewed.
Using the Generated No Access Message
To make the protected content message as accurate as possible for most conditions, we removed the ability for sites to edit their protected content messages in Advanced Settings.
We highly recommend that most membership sites do not customize this message and leave the optimized default message in place.
In PMPro v3.1+, the no access message will work as follows:
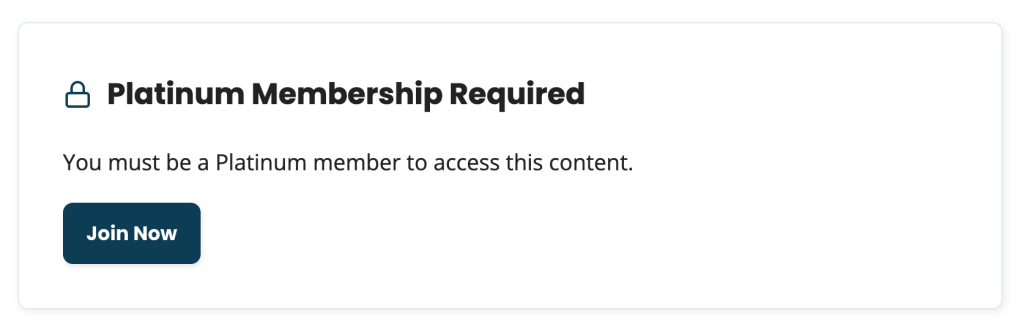
- If the post is protected for a single level:
- The heading of the box will show: “{Level Name} Membership Required”
- The body of the box will show: “You must be a {level name} member to access this content.”
- The box will include a button that links directly to checkout for the level.
- If the post is protected for more than one level:
- The heading of the box will show: “Membership Required”
- The body of the box will show: “You must be a member to access this content.”
- The box will include a button that links to your Membership Levels page as defined in Page Settings. If you have created a custom levels page, make sure your custom page is the assigned page in these settings.
- For both cases, if the user is not logged in, the box will show a link to log in.
How to Customize the Protected Content Message With Code
At this time, you must use custom code to adjust the heading of the box and body content of the box. Here are the two filters you can use to make these adjustments:
Video Demo
pmpro_no_access_message_header
The pmpro_no_access_message_header filter adjusts the header message for the no access message.
Code Recipe: Using the pmpro_no_access_message_header filter.
pmpro_no_access_message_body
The pmpro_no_access_message_body filter adjusts the body message for the no access message.
Some of our Add Ons also modify the protected content messages. If you choose to override the default body content using this filter, you must also add checks for existing filters in plugins like Approvals, Addon Packages, Email Confirmation. and more. Reach out to our support team for help with these advanced cases.
Code Recipe: Using the pmpro_no_access_message_body filter.
You can add these recipes to your site by creating a custom plugin or using the Code Snippets plugin available for free in the WordPress repository. Read this companion article for step-by-step directions on either method.
Legacy Settings For Customizing Messages
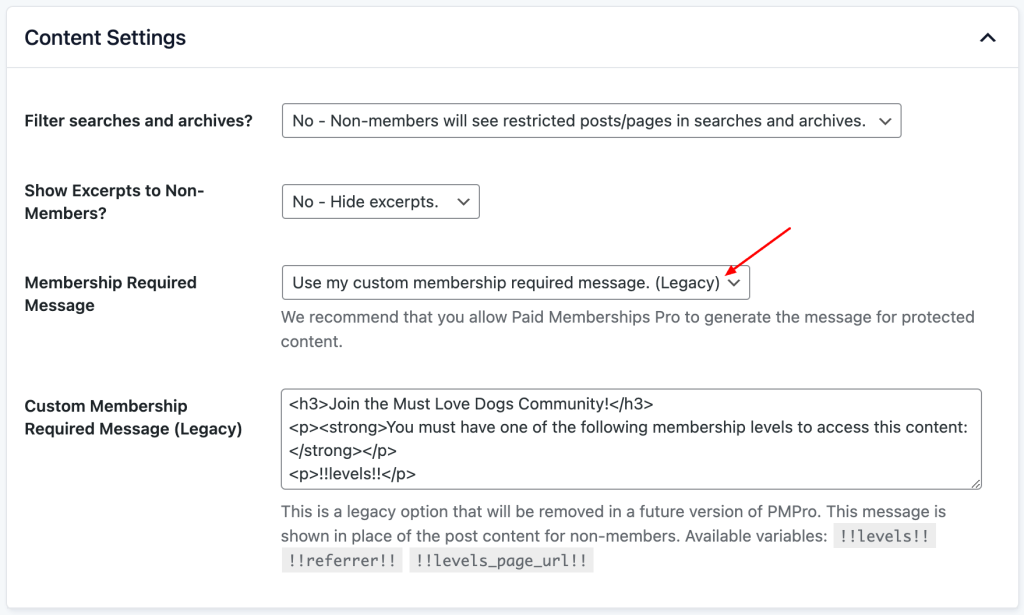
If you had previously customized your messages prior to PMPro v3.1, you can continue to edit them in Advanced Settings. You can also choose to start using the smart message to ensure your site is compatible with other Add Ons and optimized for conversions.
- Navigate to Memberships > Settings > Advanced Settings in your WordPress admin.
- Scroll to the Message Settings section.
Here you will see a dropdown to continue to use your custom message and a field to modify the text.
If you decide to start using the smart message, you will lose the ability to revert back to a custom message.
For sites that had not customized the messages, you will not see this setting and must use custom code to make changes to this message.
Redirect to Referring Page Using the !!referrer!! Attribute
If you have the option to customize your protected content messages, we recommend using the referrer attribute for your login link. This helps existing members get back to the protected page they attempted to visit after login. To do this, replace the “Log In” <a> tag’s URL with !!login_page_url!!?redirect_to=!!referrer!! so that the tag looks like this:
<a href="!!login_page_url!!?redirect_to=!!referrer!!">Log In</a>This will redirect your member to the last piece of protected content they tried to view.
Get Support From Our Team of Experts
Have a question about how to use this feature? Our Support Page outlines three ways to get support.
Our Max plans include hands-on help customizing your membership site and implementing new features. Upgrade to PMPro Max now »
Last updated on April 1, 2026

