This guide explains the admin tools for managing group memberships, including how to adjust seat counts, oversee parent and child accounts, and support group owners in managing their members.
Displays of Group Information
The Group Accounts Add On displays group membership details in two key admin screens:
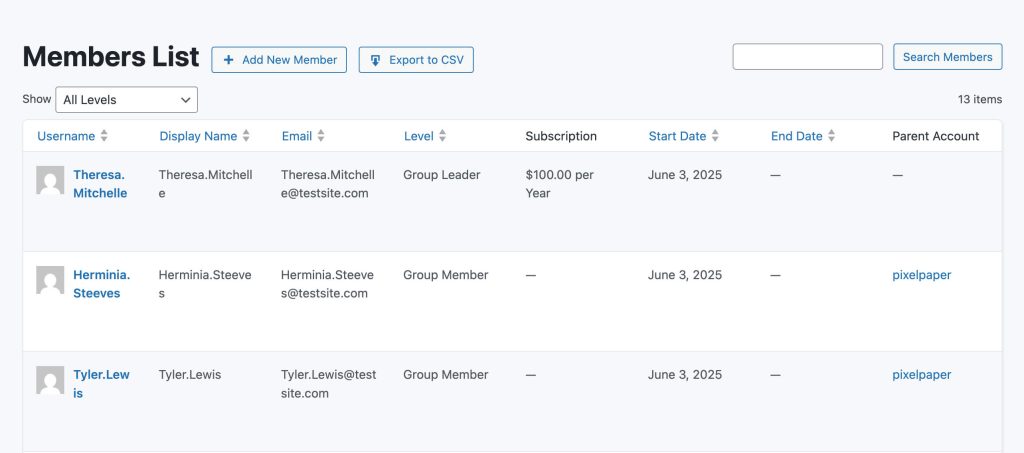
Members List
Shows the parent account for each member who is part of a group. This helps site admins quickly identify which users are part of a group and who manages their access.
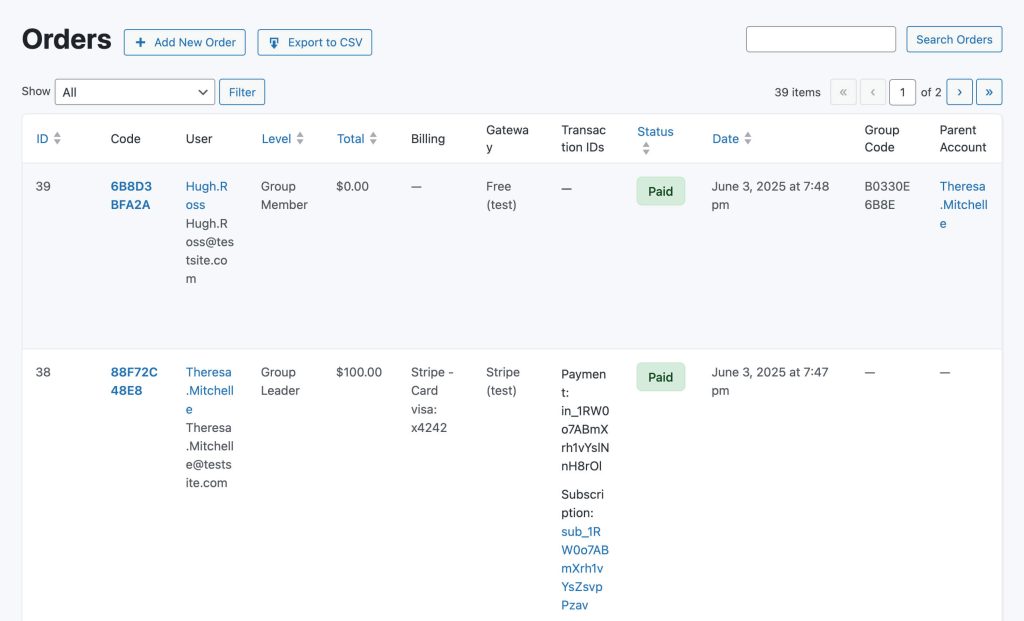
Order List
Displays whether an order was placed by a group’s parent account and includes the group code used at checkout.
Manage Individual Groups
Admins can manage individual groups similarly to how the parent can manage their own group.
- In your WordPress admin, navigate to Memberships > Members.
- Locate the member that holds the parent you would like to manage.
- Select “Edit Member” and then navigate to the “Group Accounts” panel.
- Select “Manage Group“. This will take you to the frontend of the site to manage that specific group.
The Manage Group page allows Admins to:
- Adjust the number of seats within a group. (Note: This does not update the subscription price for the member.)
- Update the Group Code.
- View the list of active or old members, including their username, membership level and date joined, in the group.
- Search members by username or email address.
- Optionally bulk remove members or transfer members from the group.
- When a group has more than 10 members, the member list is divided across multiple pages. Navigate between pages to view and manage all members.
- Information on how to invite new members to the group, including their group code and invite links for any membership levels that the group supports.
- Field to invite members to the group by email. This form triggers an invite email with a direct link to checkout for the group’s supported membership level.
- Create a new account to add a new member to the group level.
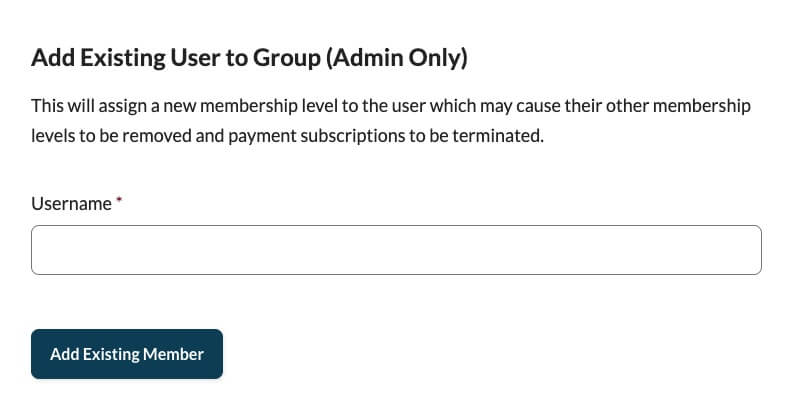
- Add an existing user to the group by username.
Transferring Group to New Group Leader
If a group leader steps down and a new leader is taking over, you may want to transfer all existing group members to the new leader’s account. This process ensures that memberships remain active and properly managed under the new leadership.
- Instruct the new leader to checkout for the parent level with the appropriate number of seats. Make note of the group code that was created at checkout.
- Locate to the group leader that is stepping down. Navigate to Edit Member > Group Accounts > Manage Group.
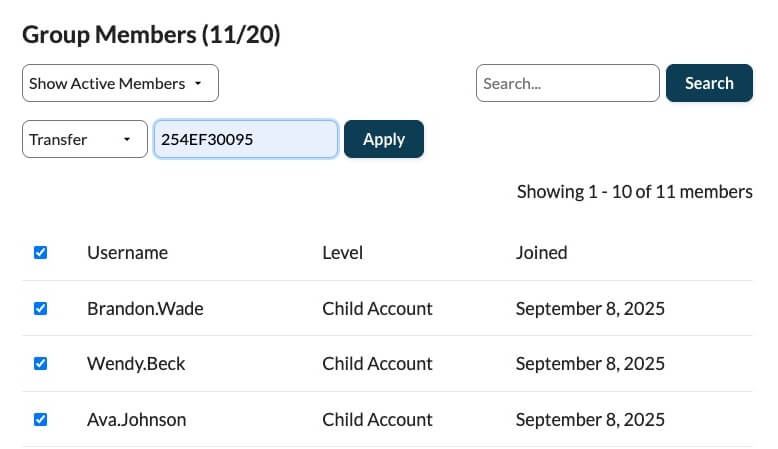
- Select the members that are to be transferred.
- Select “Transfer” in the Bulk Actions menu. Enter the group code of the new leader.
- Click “Apply“.
- (Optional) If you want to retain the Group Code of the old group, copy the old code before changing it. Once the code is changed on the old group, update the new leader’s account to use the old group code.
- (Recommended) Update or remove the membership level of the old group leader and cancel their subscription.
Get Support From Our Team of Experts
For more help with this PMPro feature, check out our Support Page with three ways to get support as a free or premium member.
Last updated on September 9, 2025

