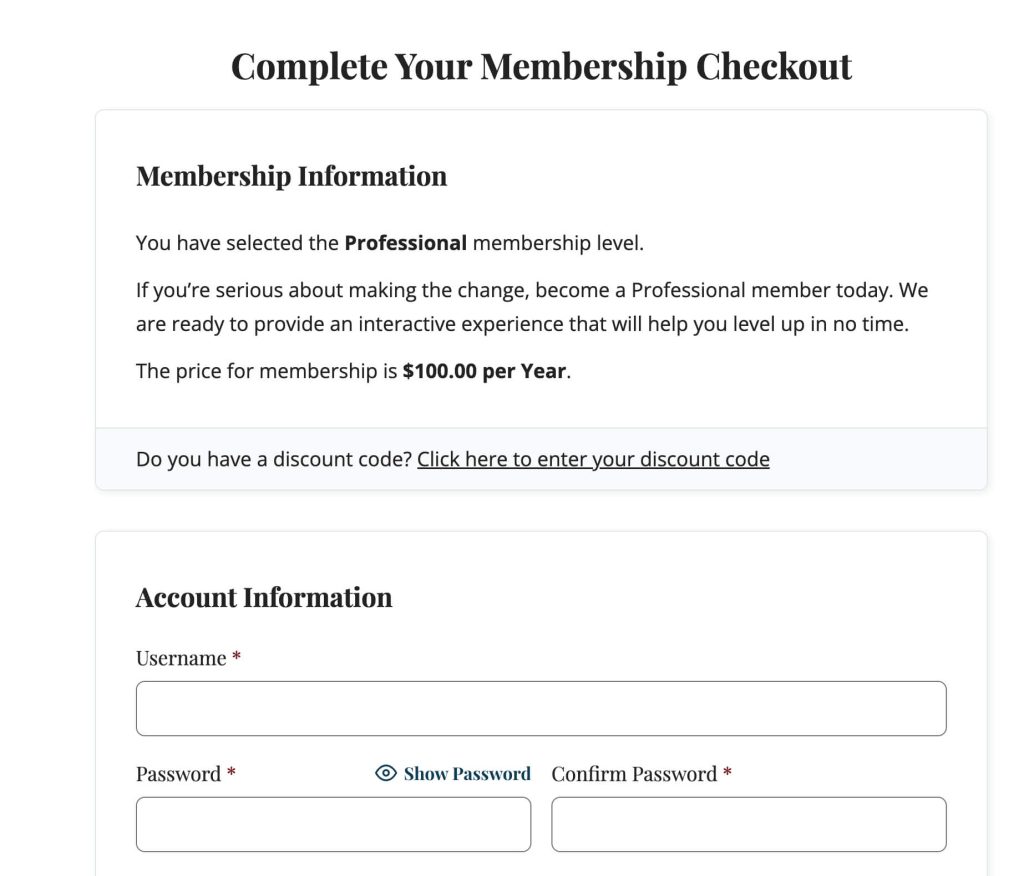
The Membership Checkout page is the page members will use to complete purchase. This page’s appearance varies depending on your level pricing, gateway, custom fields, and any Add Ons you are using.
Membership Checkout Settings
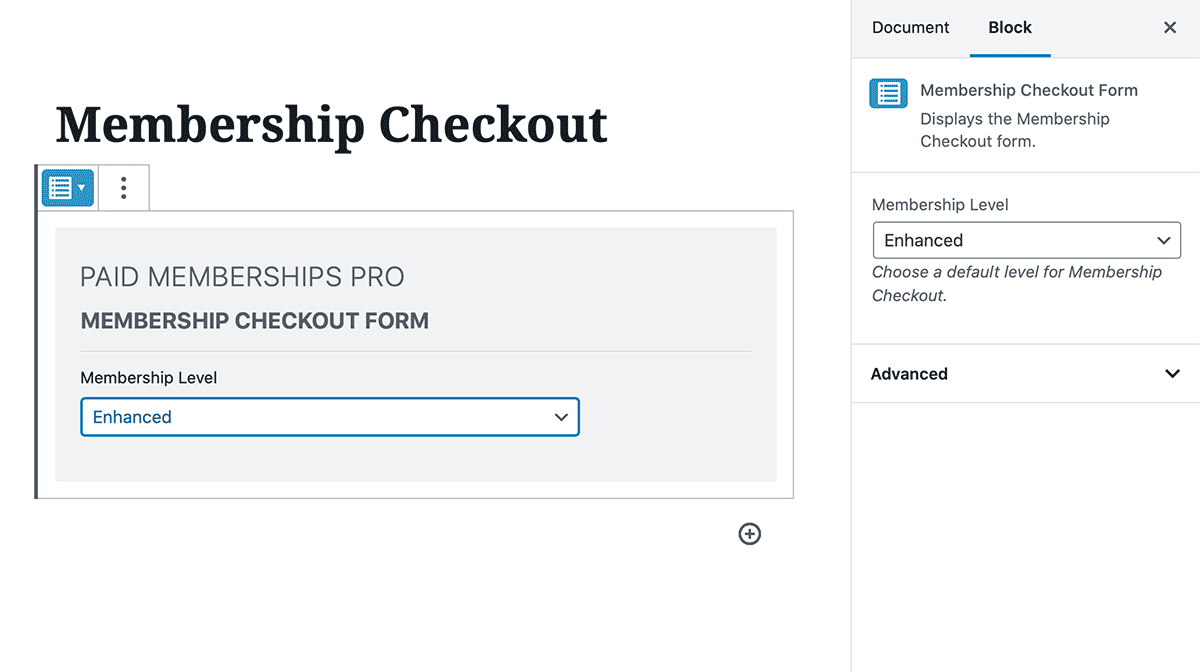
The page must contain either the membership checkout block or pmpro_checkout shortcode. Either method will display a complete checkout form for either the level set as default in the block settings or for the URL attribute ?pmpro_level=ID.
Direct Linking to Checkout Page for a Specific Level in PMPro
To link directly to your checkout page for a specific membership level, append the attribute ?level=ID to the URL of your checkout page. By doing so, you can provide a direct and streamlined way for users to access the desired membership level’s checkout process.
Here’s how you can create the link:
- Grab the URL to your membership checkout page. In PMPro, the the default checkout page is located at
yourdomain.com/membership-account/membership-checkout/. Ensure that this is the correct URL for your checkout page. - Determine the ID of the membership level you want to link to. Navigate to Memberships > Settings > Levels to see the ID of your levels. Make a note of the ID you’re linking to before proceeding.
- Construct the link. Combine the URL of the checkout page with the
?pmpro_level=IDattribute to create the direct link. Replace “ID” with the actual ID of the desired membership level. The link should follow this format:
yourdomain.com/membership-account/membership-checkout/?pmpro_level=ID
- For example, if the membership level ID is “5” and your website domain is “example.com,” the resulting link would be:
example.com/membership-account/membership-checkout/?pmpro_level=5
- Implement the link. You can use this link in various ways to direct users to the specific membership level’s checkout page. Some common use cases include:
- Button or link on your website: Create a button or hyperlink on a webpage that, when clicked, redirects users to the checkout page for the desired membership level.
- Email campaigns: Include the direct link in emails to promote specific membership levels and encourage users to complete the checkout process.
- Social media posts: Share the direct link on social media platforms to attract potential members and simplify their signup process.
Remember to replace “yourdomain.com” with your actual domain and “ID” with the appropriate membership level ID.
How Level Groups Work at Checkout
- For levels in a “one per group” group: When the member changes to another level in the group, their previous level in the same group will be cancelled.
- For levels in a “multiple per group” group: Members can complete checkout for another single level in the same group.
At this time, Paid Memberships Pro only allows members to process a single membership level purchase per checkout. However, with Stripe Elements: Onsite Payment Page, it is possible to use the MMPU Legacy Add On to allow members to purchase multiple levels in a single checkout.
Redirect Logic
Visitors and logged-in users are not redirected on this page. If the level ID is included in the URL, the checkout form will be shown for that specific level. If the page has a meta field with the key pmpro_default_level with the value set to a level ID, the checkout form will display for the level set in the custom field.
If the level ID is not included in the URL and no custom field is present, the plugin will try to get first available level. If no level is found, the page will be redirected to the Membership Levels page.
Get Support From Our Team of Experts
For more help with this PMPro feature, check out our Support Page with three ways to get support as a free or premium member.
Last updated on April 1, 2026

