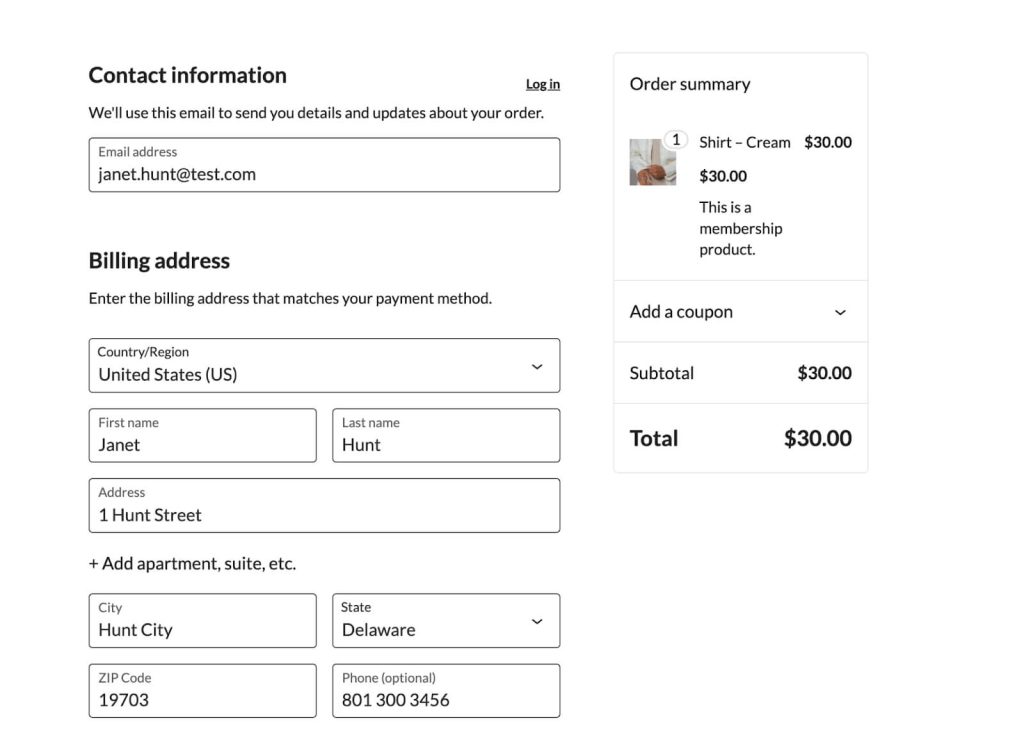
When using WooCommerce to sell Membership as a product and collecting billing data at checkout through WooCommerce, site administrators may also need to collect this address information from their members while allowing members to update this information from within their membership profile.
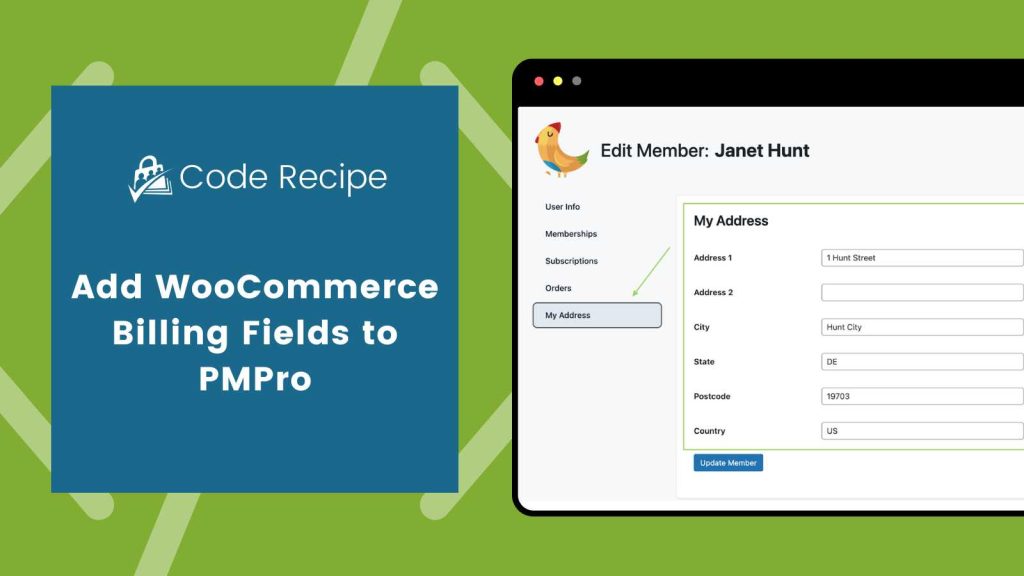
This guide shows you how to display WooCommerce collected billing fields directly on the Paid Memberships Pro Edit Profile page to ensure consistent recordkeeping across both platforms.
Why You May Want This
If you sell memberships using WooCommerce and need to collect this address from your members for compliance or recordkeeping purposes, this guide is for you. WooCommerce stores billing address data in user_meta fields during checkout. By retrieving and displaying these fields on the Paid Memberships Pro Edit Profile page, you give both members and administrators a unified, accurate view of address information within the PMPro interface.
This is especially useful when members rely on the Edit Profile page to manage their account details. It also simplifies administrative workflows by consolidating key data into a single, familiar location.
How to Create Matching User Fields in Paid Memberships Pro
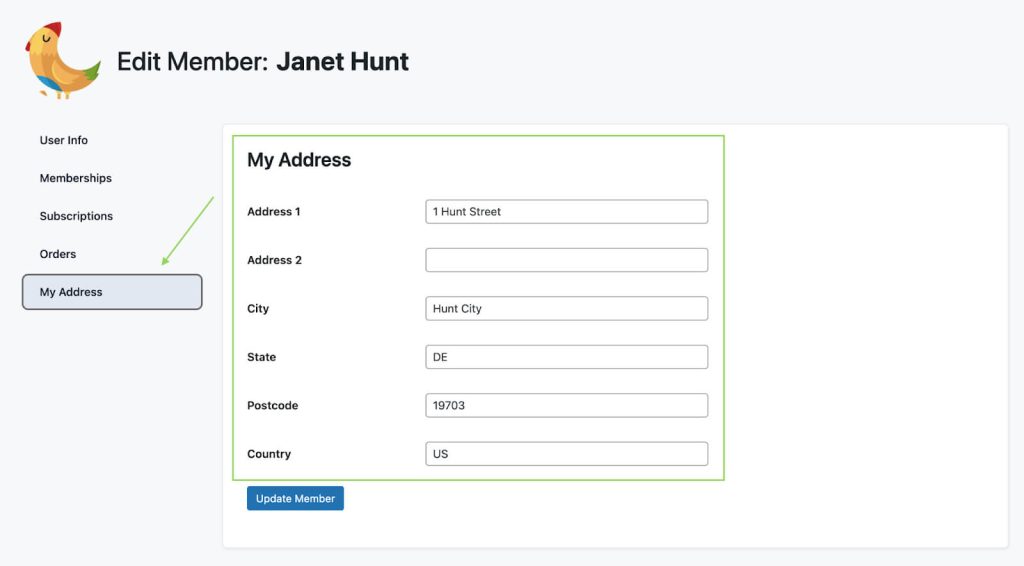
Paid Memberships Pro allows you to create custom user fields directly in the WordPress admin. To mirror the billing address data collected in WooCommerce, you can create a matching group of user fields labeled “My Address.” These fields will then be visible and editable through the PMPro Edit Profile page or during checkout, depending on your configuration.
Follow these steps to set up the address field group:
- Go to Memberships > Settings > User Fields in the Paid Memberships Pro dashboard.
- Create a New Field Group and name it “My Address”.
- Set Display Rules: Choose where these fields should appear: at checkout, on the user profile, or both. You can also limit visibility by membership level.
- Add the Address Fields:
- Address 1 – Text field
- Address 2 – Text field
- City – Text field
- State/Province – Text field
- Postal Code – Text field
- Country – Text field
- Save Changes to apply the new fields.
| Field Label | Field Name (meta_key) | Field Type |
|---|---|---|
| Address 1 | billing_address_1 | text |
| Address 2 | billing_address_2 | text |
| City | billing_city | text |
| State/Province | billing_state | text |
| Postal Code | billing_postcode | text |
| Country | billing_country | text |
By following these steps, you can successfully capture the WooCommerce billing fields within Paid Memberships Pro, and all without the need for custom code, giving members and administrators a structured way to manage these address details on their Paid Memberships Pro dashboard.

How to Customize This Further
Note that the state and country fields inherit their auto-population of states and countries from the WooCommerce billing fields as well.
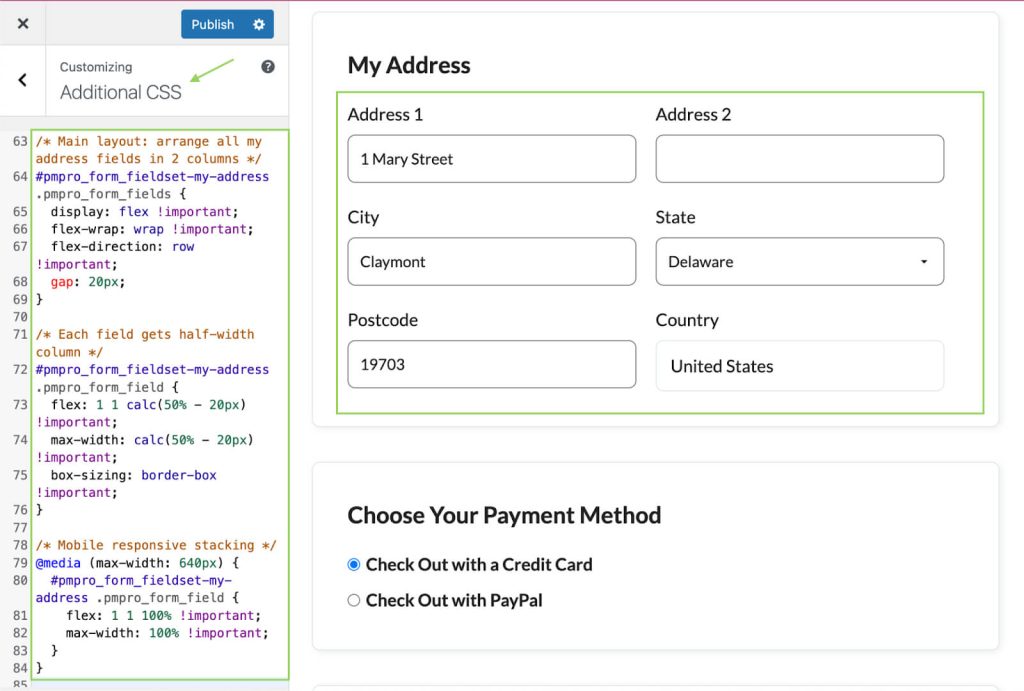
To make your “My Address” fields layout have a two-column layout like the Paid Memberships Pro billing fields, you can style this further with custom CSS. For example:
Adding the Recipe to Your Website
You can add this recipe to your site by creating a custom plugin or using the Code Snippets plugin available for free in the WordPress repository. Read this companion article for step-by-step directions on either method.
Free Course: Membership Site Development—The Basics
Develop a deeper understanding of membership site development in this beginner-level course. Learn how to make your site work better, save yourself time and money, and improve your site's performance.