CSS is the easiest way to customize the appearance of your Membership Checkout page.
Sometimes you want your checkout experience to match your membership level. Maybe you offer a ‘Gold’ tier of membership and want to add a few golden highlights to the form. The good news is that you can make these visual changes easily with CSS, no deep code customizations required.
In this post, you will learn how to target a specific level’s checkout page using built-in CSS selectors available today in your PMPro-powered site. Armed with knowledge of these selectors, we will show you two recommended ways to apply custom styles to your site: one in the theme customizer, and the other by leveraging WordPress’ wp_footer hook.
Why Customize the Checkout Page Per Membership Level?
Each membership level might serve a different audience or marketing goal. With a few CSS tweaks, you can:
- Match checkout colors to level branding
- Show/hide form elements for specific levels (do this with caution as some fields are required)
- Emphasize upsells or trust badges for premium levels
- Create a lighter, simpler flow for free or gift levels
Paid Memberships Pro gives you predictable markup and helpful CSS selectors to make this easy, no template overrides required.
How PMPro Adds Useful CSS Selectors
PMPro adds a body class to every core PMPro frontend page using WordPress’ body_class() hook. These selectors let you target styles to each page type.
- Account:
body.pmpro-account {} - Billing Information:
body.pmpro-billing {} - Cancel:
body.pmpro-cancel {} - Checkout:
body.pmpro-checkout {} - Confirmation:
body.pmpro-confirmation {} - Order (Invoice):
body.pmpro-invoice {} - Levels:
body.pmpro-levels {}
You can use these body class selectors to target specific elements in the page or to override elements that were placed on the page by your theme.
For example, the CSS below will hide a navigation menu that uses the selector navigation from the Membership Checkout page.
body.pmpro-checkout .navigation { display: none; }
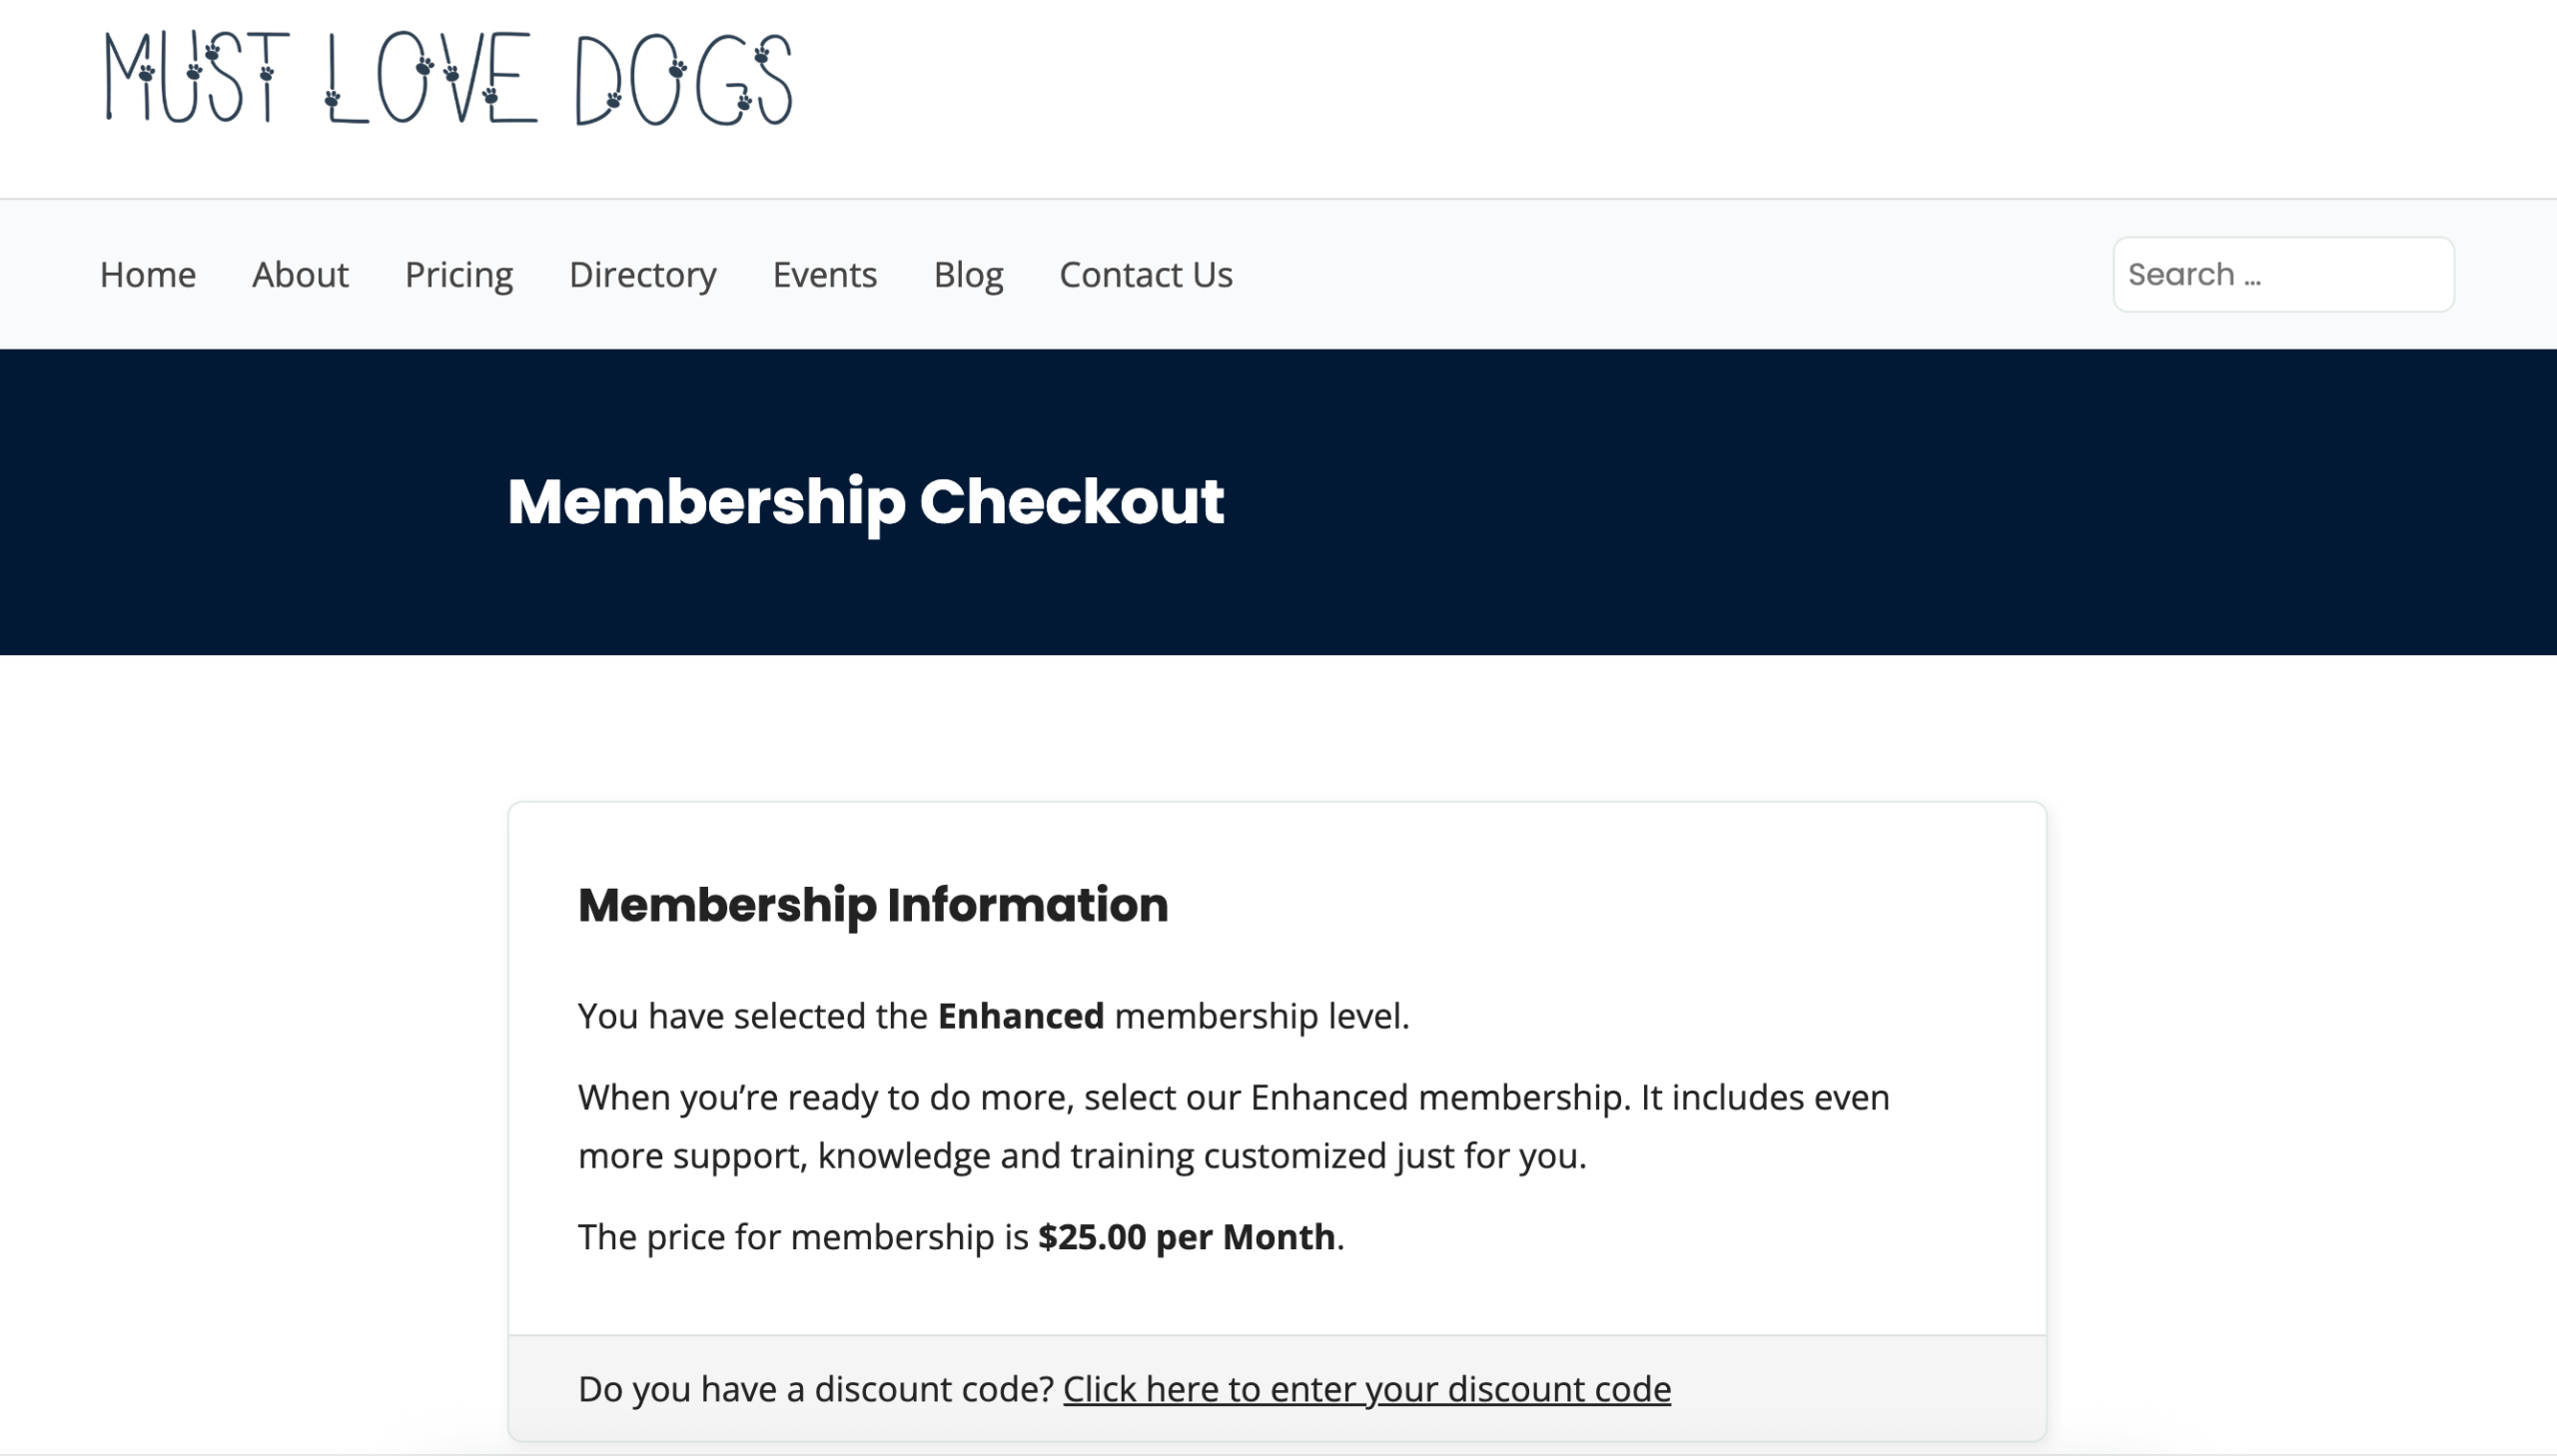
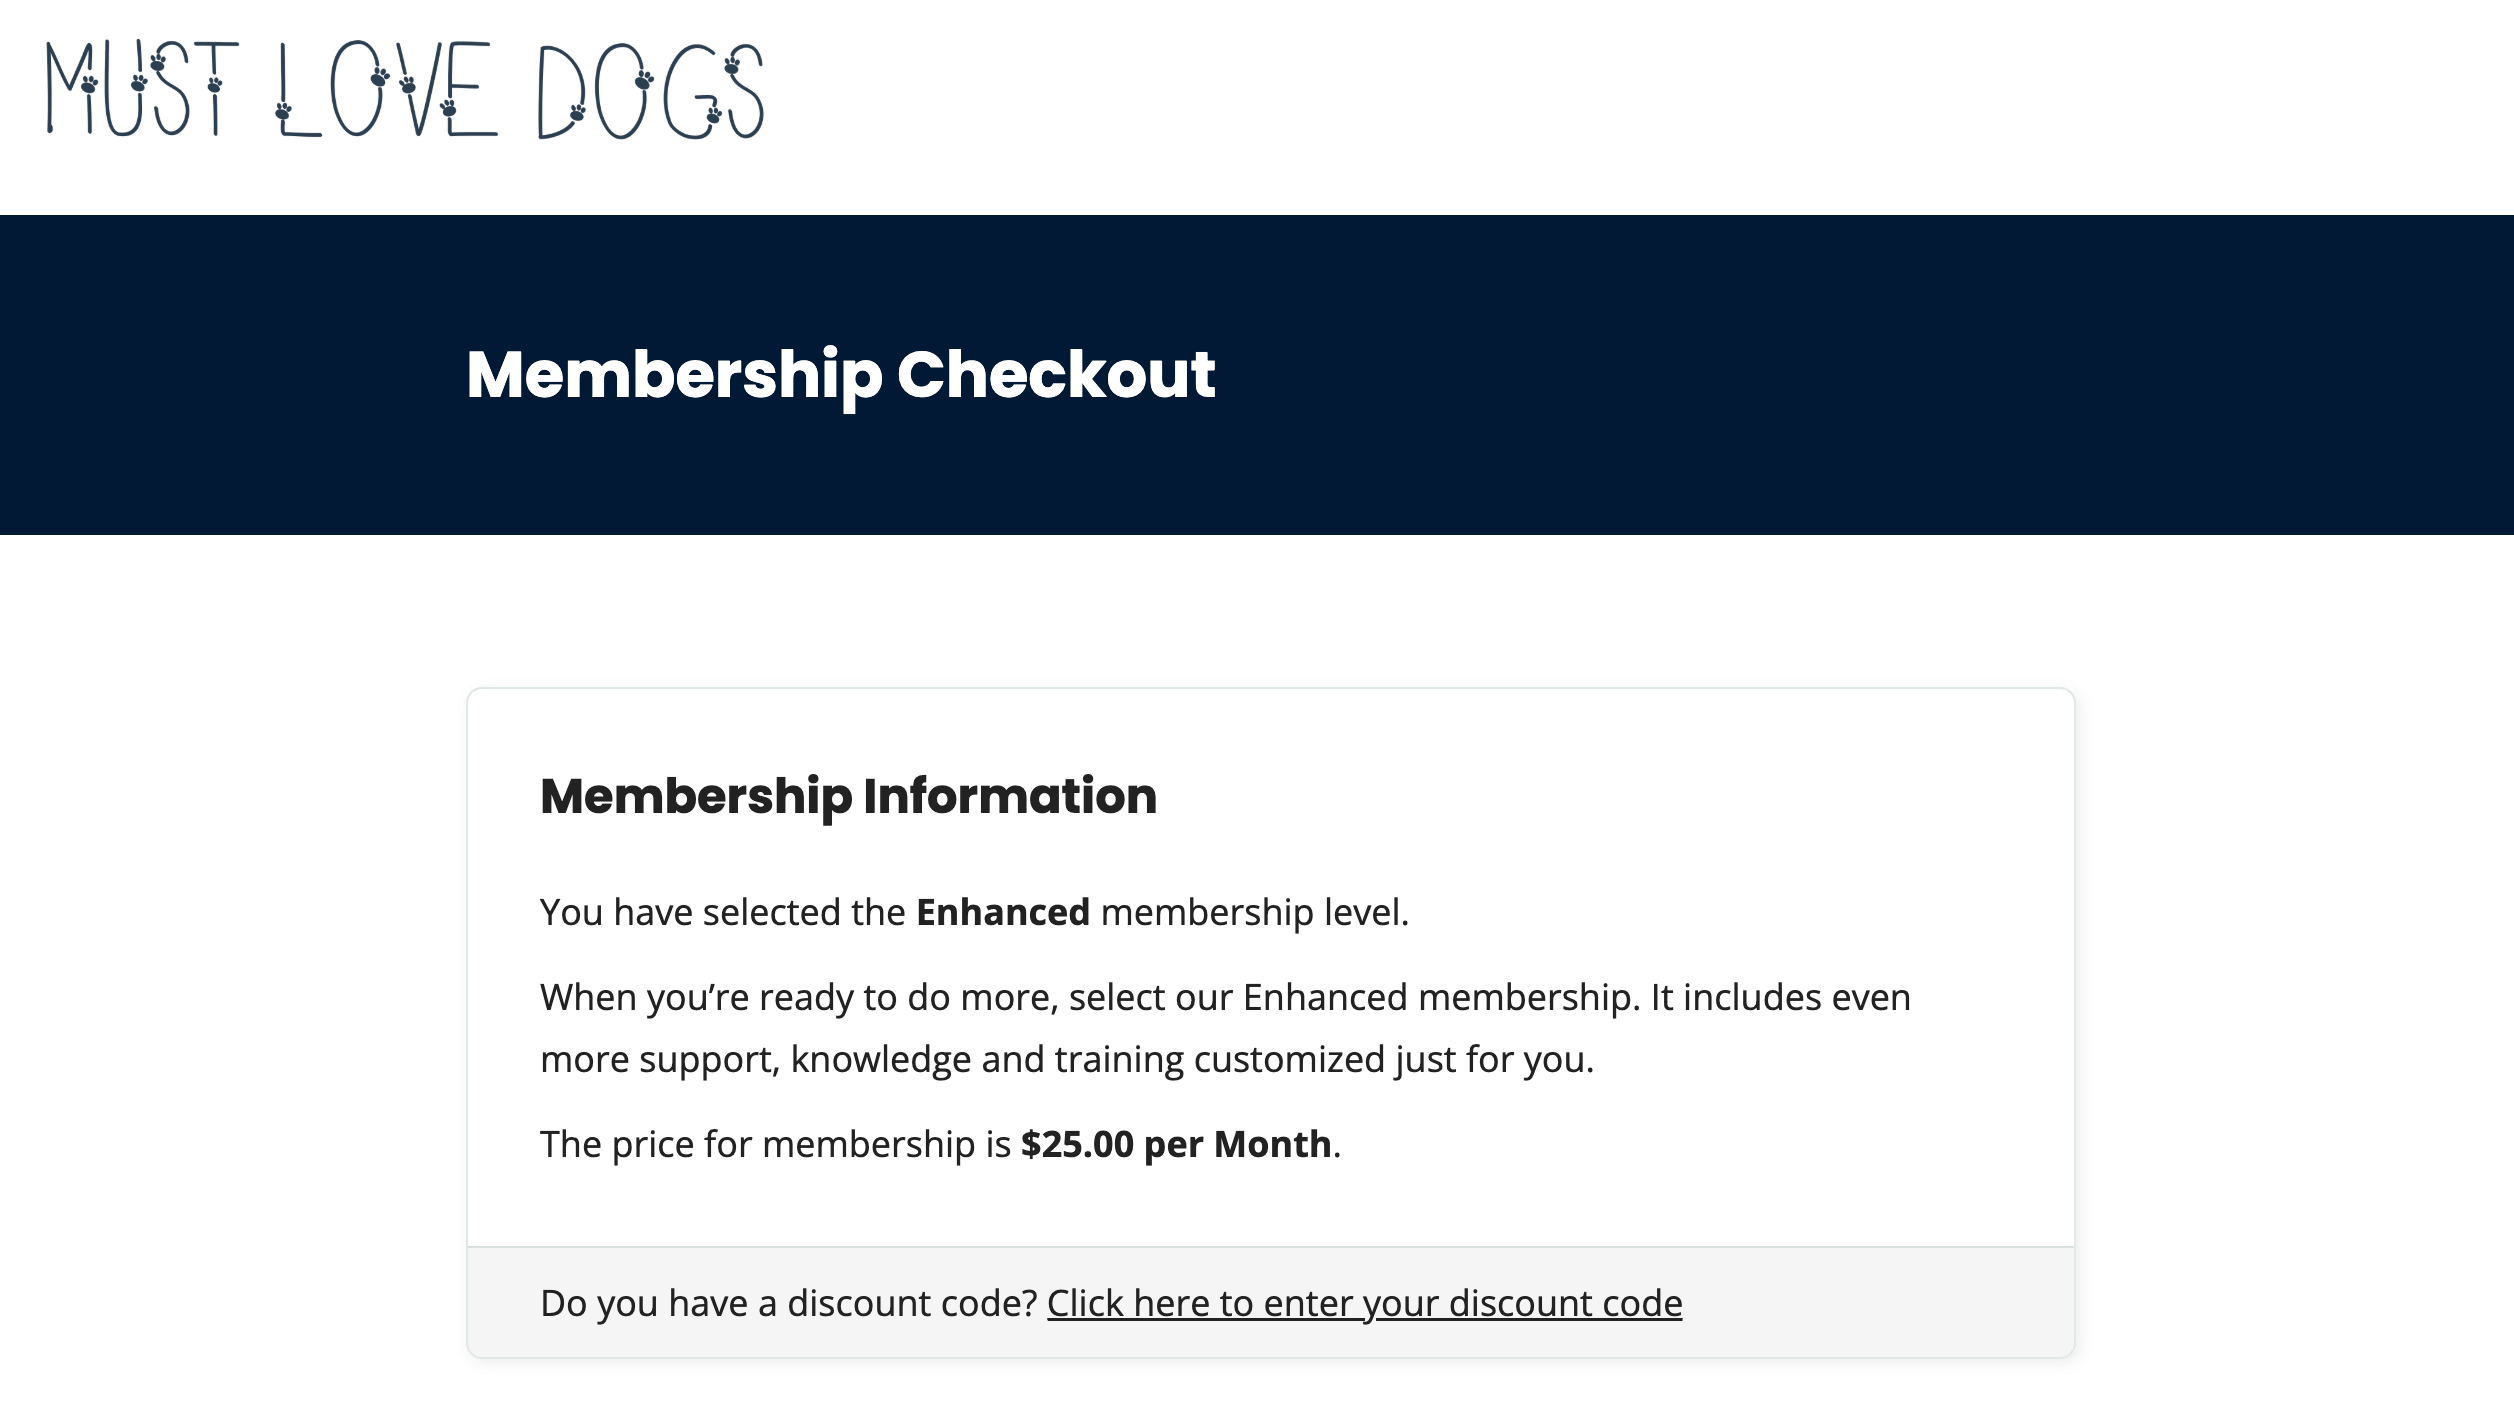
Screenshots: Before and After Using CSS at Checkout
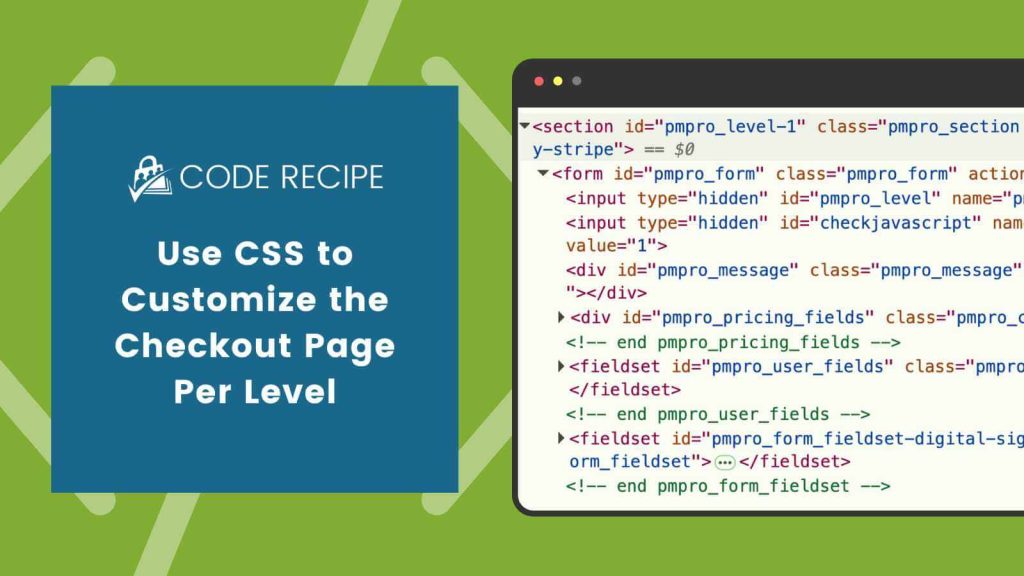
Option 1: Target a Specific Level’s Checkout Form With CSS Selectors
In addition to the body class, PMPro’s Membership Checkout form also includes a wrapper div with for the current level:
#pmpro_level-1 .pmpro_form { }
You can use this selector to style the checkout form for level ID 1 only.
Additional Selectors Within the Checkout Form
/* Target entire checkout form for Level 1 */
#pmpro_level-1 .pmpro_form { }

/* Style specific sections */
#pmpro_level-1 .pmpro_form #pmpro_pricing_fields { } /* Membership Level section */
#pmpro_level-1 .pmpro_form #pmpro_user_fields { } /* Account Information section */
#pmpro_level-1 .pmpro_form #pmpro_billing_address_fields { } /* Billing Address section */
#pmpro_level-1 .pmpro_form #pmpro_payment_information_fields { } /* Payment Information section */
#pmpro_level-1 .pmpro_form #pmpro_tos_fields { } /* Terms of Service section */
#pmpro_level-1 .pmpro_form .pmpro_form_submit { } /* Submit section */
Adding the Custom CSS to Your Website
There are a few ways to add custom CSS to your membership site. Check out our guide on how to add CSS, which includes tutorials on adding CSS to your child theme, the Site Editor / Customizer, as well as in a stylesheet for PMPro Customizations.
Do not place custom CSS in any file in a theme that gets regularly updated or you will lose your code.
Option #2: Insert Custom CSS via wp_footer
If you want to conditionally load CSS only on specific checkout pages, without editing your theme’s stylesheet or adding to customizer, you can insert CSS into the page footer with a small PHP snippet.
The recipe below will allow you to target specific checkout pages by level ID and insert your <style> code.
Update line 27 for the specific level ID you want to target, then add your custom CSS to override the example in the <style> tags on lines 30 and 31.
Choose a Safe Way to Customize PMPro Pages
Before diving deep into CSS and template changes, here’s a quick reminder:
- Always use CSS or available hooks and filters when possible.
- Avoid directly editing PMPro core plugin files
- If using full template overrides, it is your responsibility to keep your templates updated. PMPro adds version markers to help you spot outdated templates and reports these on the Page Settings screen in the admin.
If your changes are purely visual, CSS is almost always the safest and easiest route.
Want to Do More?
With Paid Memberships Pro and WordPress, there is almost always a way to customize your site in a safe, future-proof way. If you want to go beyond styling:
- You can insert custom classes with the
post_classorbody_classfilters. We have an example of using this hook to add the logged-in user’s specific level ID to the body class here. - You can use PMPro’s action and filter hooks to add, remove, and modify things
- You can create fully custom templates when needed, but use this sparingly
If you have premium membership, please get in touch with our support team for more guidance on these examples or other style-related questions.

Starting with version 3.1, Paid Memberships Pro includes more opinionated styles to give sites a polished, user-friendly checkout experience out of the box.
That said, strong opinions should be loosely held. We’ve kept our markup predictable and well-documented so developers can easily override styles and make the checkout page truly their own.
—Kim Coleman, Co-Founder of Paid Memberships Pro
Related Reading: How to Customize the Frontend Pages
We have a few articles in our blog on how to adjust the appearance of your frontend membership pages. Check the links below to explore the guides:
- Making a Powerful Member Dashboard for Your Membership Account Page
- Create a Dual Login and Benefits of Registration Page
- How to Create a Custom Membership Level Pricing Page
- Membership Pricing Pages and Streamlining the Checkout Process
- Using Page Builders to Enhance Your Site’s Membership Pages
- Design a Specific Level’s Membership Checkout Page Using CSS
- Customizing the Member Links list on Membership Account Page
- Add Links by Membership Level to the Membership Account Page “links” Section
- Customizing the Member Cancellation Process
- How to Load a Custom Template for Membership Pages or System-Generated Emails
Free Course: Membership Site Development—The Basics
Develop a deeper understanding of membership site development in this beginner-level course. Learn how to make your site work better, save yourself time and money, and improve your site's performance.