In this guide, we walk you through the process of importing your Paid Memberships Pro members into your Mailchimp audience. Whether you’re setting up email campaigns, syncing membership data, or organizing your contacts by membership level, this guide will walk you through two supported methods to export and import your member data.
Starting with version 2.0, the Mailchimp Add On automatically syncs two new merge fields, PMPLEVEL (level name) and PMPLEVELID (level ID) for new or updated members. However, existing members won’t have this data in Mailchimp unless you import them manually, which is what this guide helps you do.
How to Import Your PMPro Members into Mailchimp
1. Export Your PMPro Members List
To import your members into Mailchimp, you first need to export your member data from Paid Memberships Pro. Depending on how much control you want over the data formatting, there are two ways to do this.
Both options will give you a .csv file that you can later upload to Mailchimp. The key difference is:
- Option 1 gives you a general export that requires some formatting.
- Option 2 provides a ready-to-import file for Mailchimp, however is separated by level.
Choose the option that works best for your setup.
Option 1: Perform a Standard Members List Export
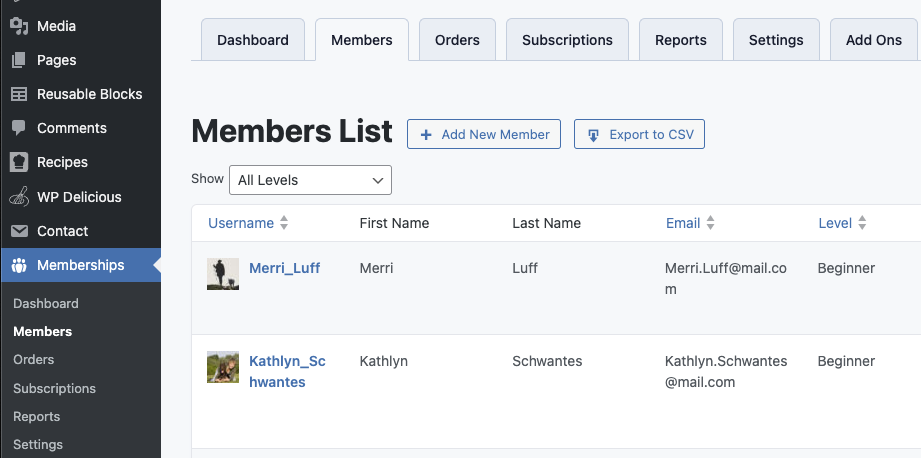
- Navigate to Memberships > Members in the WordPress admin.
- Use the “Show” filter (optional) to export only members from a specific level.
- Click the “Export to CSV” button to download your list.
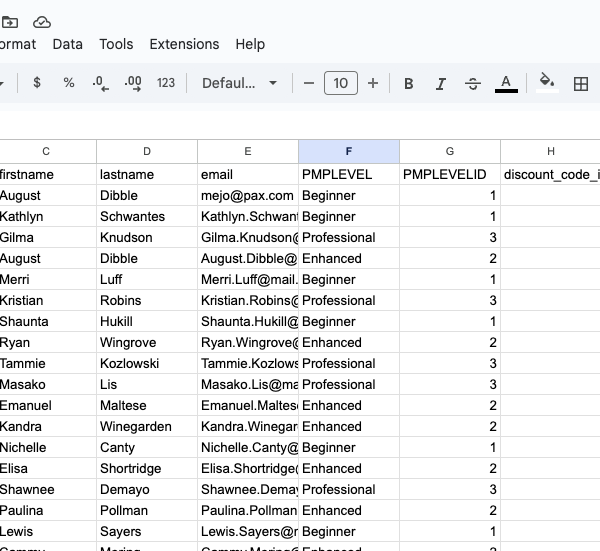
How to Prepare the Members List CSV for Mailchimp
- Open the file in your preferred spreadsheet tool.
- Rename the
membership_levelcolumn toPMPLEVEL - Add a new column right after
PMPLEVELcalledPMPLEVELID- In this column you add the corresponding
Level IDfor thePMPLEVEL
- In this column you add the corresponding
- Ensure email stays as is.
- Save the cleaned file as a
.csv.
Option 2: Use the Built-in Mailchimp Export
This method provides a simpler workflow if you’re using the Mailchimp Add On v2.0 or later. It automatically formats your export to work with Mailchimp—no renaming or cleaning required.
- Go to Settings > PMPro Mailchimp in your WordPress dashboard.
- Click the “Export your members list for Mailchimp import” link
- Choose the list or membership level you want to export
- Download the
.csvfile.
The exported file will already include the correct column names:
PMPLEVELPMPLEVELID
No further changes are needed. You can upload this directly into Mailchimp.
2. Import Your CSV File into Mailchimp
Once you’ve exported and prepared your list (using either method):
- Log in to Mailchimp.
- Go to Audience > All Contacts.
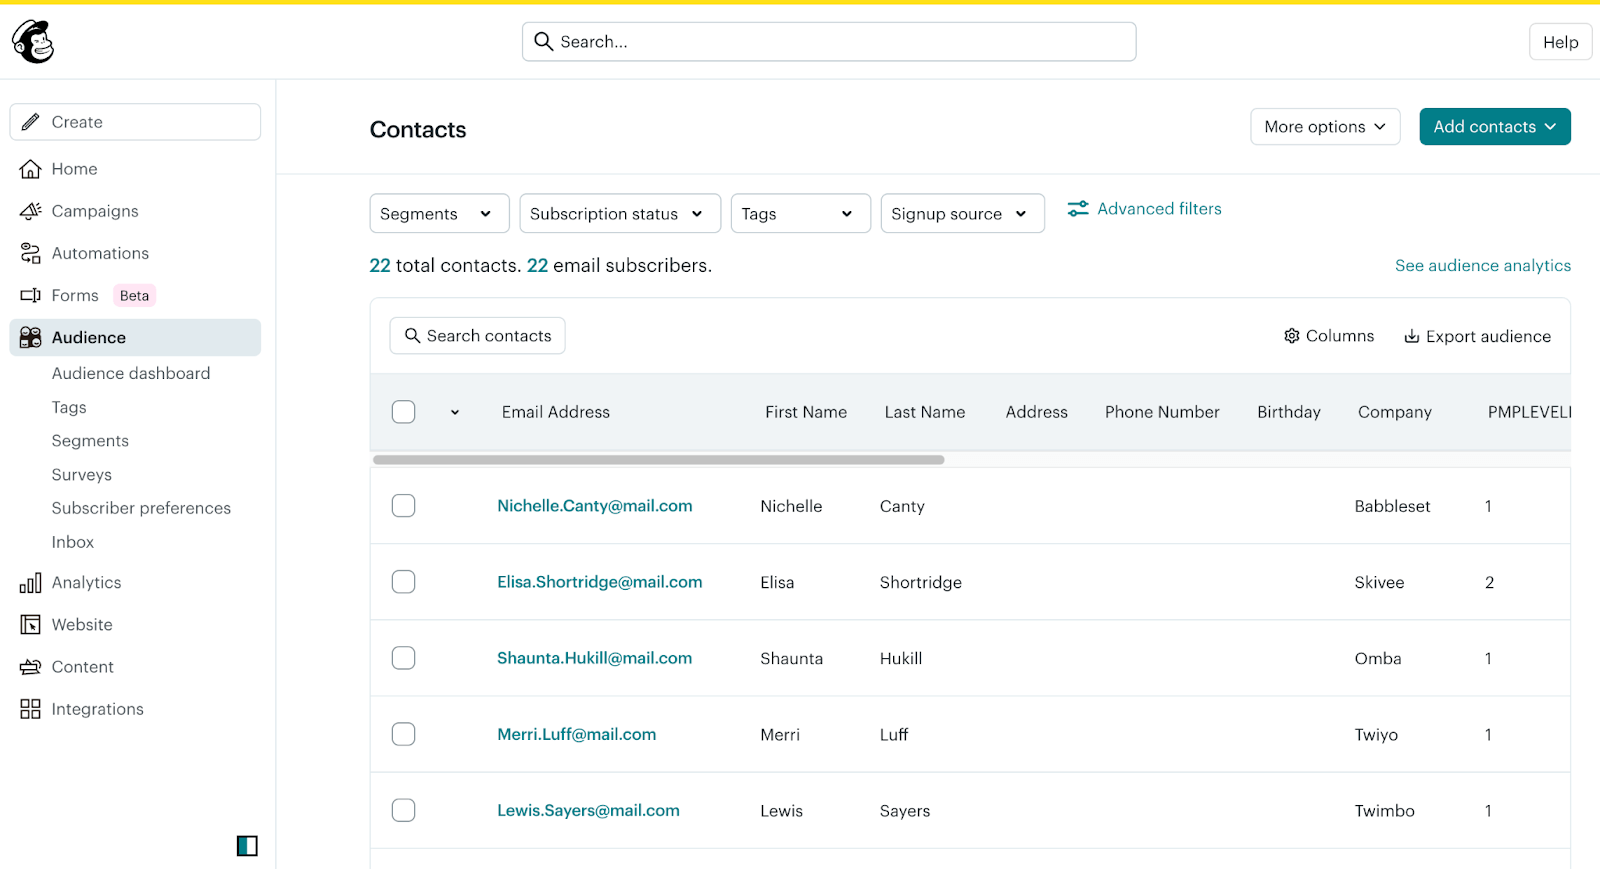
- Click “Add Contacts” > “Import Contacts”.
- Choose “CSV or tab-delimited text file” and upload your file.
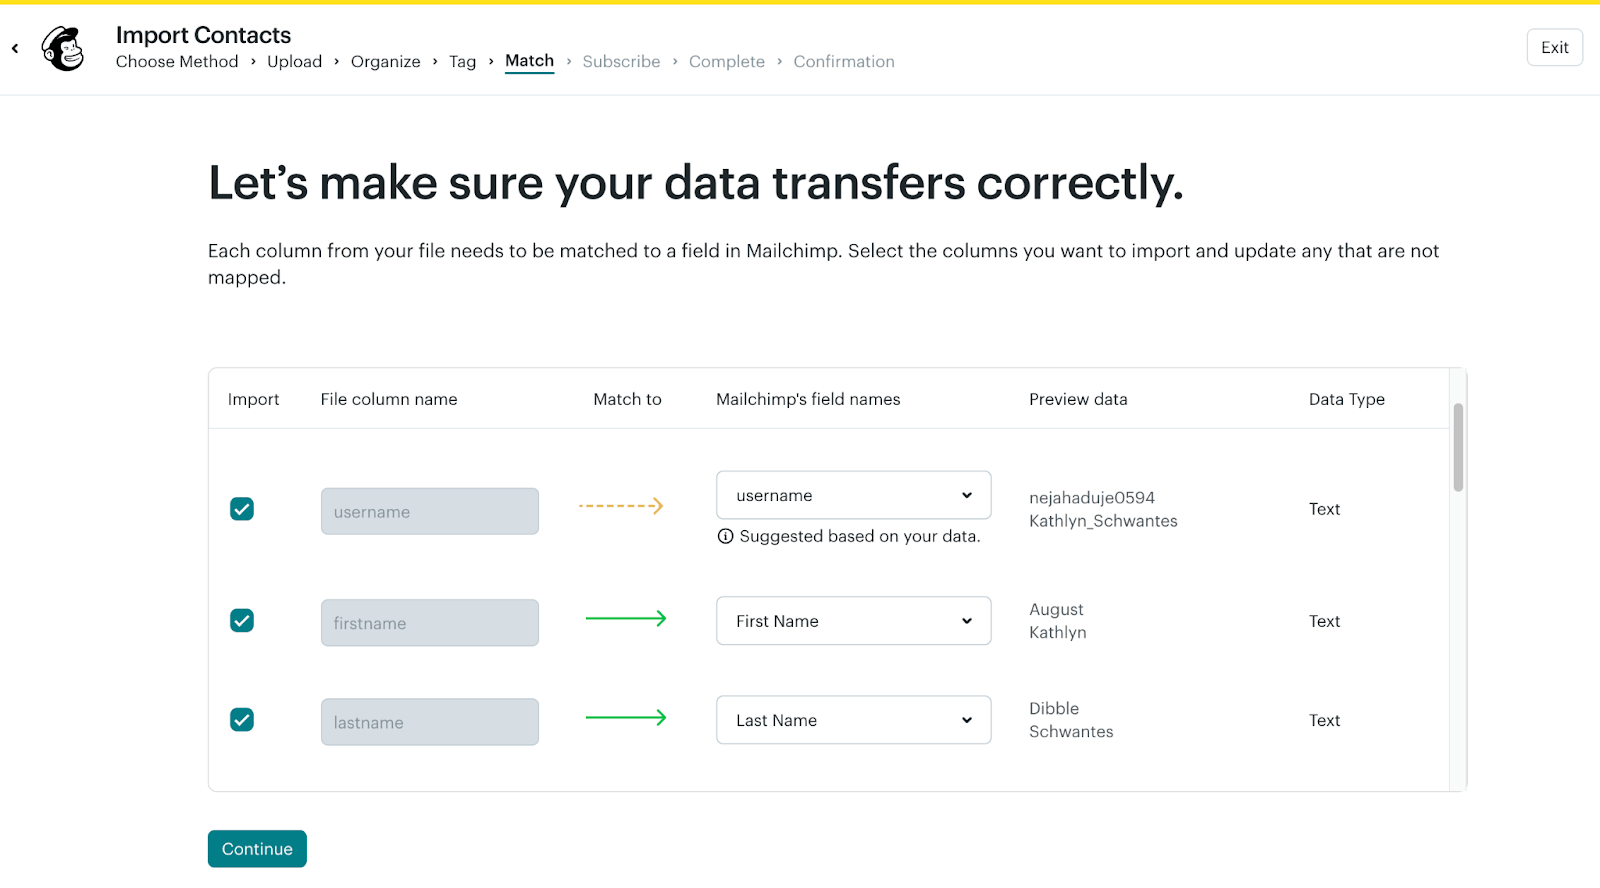
- Match the imported fields to Mailchimp’s field names:
email=> Email Addressfirstname=> First Namelastname=> Last NamePMPLEVEL(you may need to create this field)PMPLEVELID(you may need to create this field)
Note: You can also import custom user fields into Mailchimp via this mapping step.
- Check “Auto-update my existing list” so the data updates rather than duplicates.
- Choose “Subscribed” as the status (if applicable).
- Finish the import.
Ready to Enjoy Smarter Email Marketing?
By following these steps, you’ll ensure that your Mailchimp audience has the most accurate and up-to-date membership data from your Paid Memberships Pro site.
With your members properly imported and mapped, you can create targeted campaigns, segment by membership level, and deliver personalized communication that keeps your community engaged.
Keeping Mailchimp in sync with PMPro gives you the flexibility to automate email marketing while continuing to grow and support your membership business.
Free Download: The AI-Powered Membership Site Blueprint
Download the free guide: Learn how to plan, build, and grow a membership site using AI as your strategic partner: from buyer persona to launch and beyond.


