Running a successful membership site, regardless of the platform or tools you use, requires seamless and efficient communication with your payment gateways. One often overlooked yet critical element in this equation is to set up the IPN URL in PayPal.
PayPal’s IPN service ensures that every transaction, be it a new recurring payment profile, payment failure, or refund, is immediately and accurately recorded in your website.
Whether you’re a seasoned site owner or just starting out, this guide simplifies the process of setting up the IPN URL in PayPal, ensuring you’re on the right track.
You should always set the IPN URL in your PayPal settings when using any PayPal gateway with PMPro. Continue reading to better understand why you need to set an IPN URL in your PayPal settings.
What is PayPal IPN?
PayPal IPN is a service that sends real-time payment alerts to your website. These events can include payments received, payments refunded, chargebacks, and more. In essence, IPN acts as a communication bridge between PayPal and your website. Through this bridge, your site updates immediately when the transaction status changes.
For PMPro membership sites, IPN integration becomes vital for a few reasons:
- Automatic Updates: With IPN, your membership site can automatically update user memberships, extend membership durations, or revoke access based on received payments or payment failures.
- Efficient Problem-Solving: If any payment issues arise, IPN messages can provide specific details about the transaction, making it easier for you to troubleshoot.
- Security: IPN messages from PayPal are always verified. This ensures that your website receives legitimate and safe transaction data.
In conclusion, PayPal IPN is not just a feature; it’s a necessity. Membership sites need to offer a seamless and reliable user experience. Integrating IPN is a step you can’t afford to skip.
How to Set Your IPN URL in PayPal
Time needed: 15 minutes
Follow the steps below to configure your PayPal IPN URL:
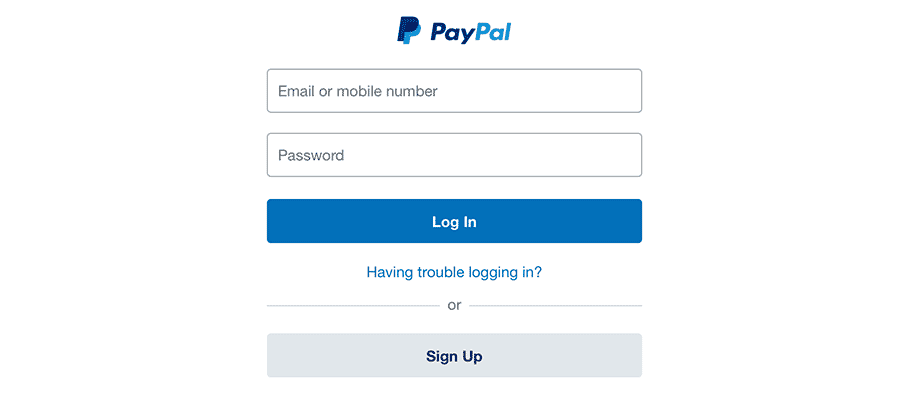
- Log in to PayPal.
Enter your account email address and password to log in to PayPal.
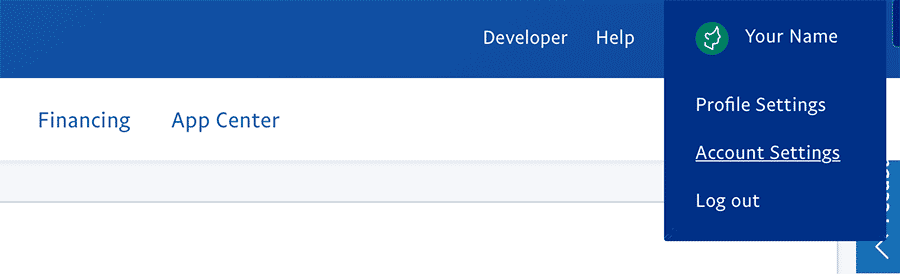
- Go to Account Settings > Website Payments.
In the dropdown menu under your account name in the upper right, select “Account Settings”. The Account Settings page has a left side navigation bar. Select “Website Payments” (located toward the bottom of this menu).
- Under “Instant Payment Notifications”, click “Update”.
In the main area of the Website Payments page, scroll down to the “Instant Payment Notifications” section. Click “Update”.

- Click “Edit Settings”.
Once on the IPN page, click the button to “Edit settings”.

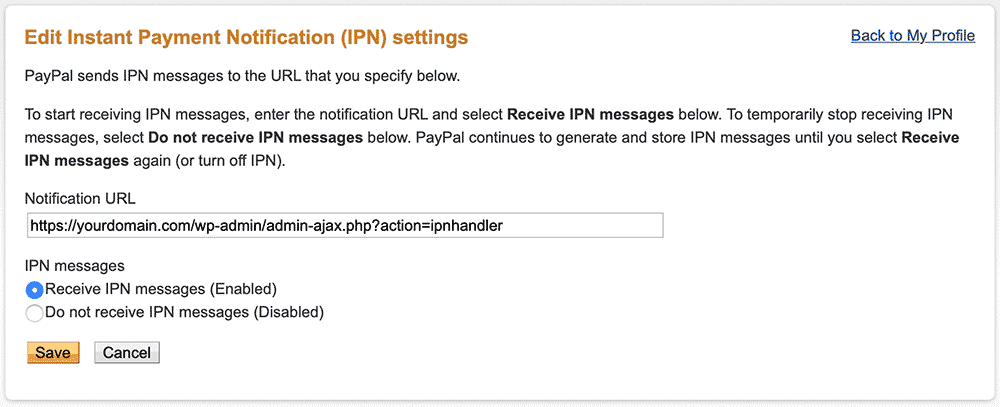
- Set your Notification URL and Enable IPN Messages.
Your site’s Notification URL can be found in the WordPress admin under Memberships > Settings > Payment Gateway. Confirm that the setting for IPN Messages is set to “Receive IPN Messages (Enabled)”. Save settings.
Verify IPN Settings in PayPal
After completing the steps above, the PayPal Instant Payment Notifications page should look like the image below.
- You’ve populated the Notification URL field and the value exactly matches that in your membership site under Memberships > Settings > Payment Gateway > IPN Handler URL.
- You’ve enabled the “Message delivery” field.
- The button “Turn Off IPN” is greyed out. You can confirm that IPN is On.

Get Support for Issues With IPN
Successfully setting up your IPN URL with PayPal is imperative for seamless transactions and accurate record-keeping on your PMPro membership site.
Following the outlined steps ensures that you get the best out of both worlds – a reliable payment gateway and a robust membership management system.
If you are still having IPN issues, this may be due to something with your hosting or WP setup or a bug in our code. We have some IPN troubleshooting tips here. And if you open a new ticket in the private support area, we can follow up with you to get it resolved.
Join our free community of membership site creators.
PMPro offers a community Slack space for members, and you’re invited. Learn more about the community’s free benefits and get a link to join Slack now.
Free Download: The AI-Powered Membership Site Blueprint
Download the free guide: Learn how to plan, build, and grow a membership site using AI as your strategic partner: from buyer persona to launch and beyond.


