Paid Memberships Pro lets you create user profile fields through an interactive settings page right in the WordPress admin. With a variety of popular field types, this settings page makes it much easier for non-developers to create user fields for checkout, profiles, and admins only.
If you added fields before the settings page became a part of core PMPro, you had to use custom code with a free Add On called “Register Helper”. Today, the core PMPro plugin supports user fields in two ways: through the settings page OR through custom code.
Some users have asked for steps to convert their custom coded fields to use the User Fields settings interface. This is not a mandatory update—the plugin will continue to support any custom coded fields (whether using Register Helper functions or the new core functions).
We highly recommend leaving your coded fields alone. Remember that “if it isn’t broken, don’t fix it.” However, if you must convert custom coded fields into the no-code settings on the User Fields admin page, we will explain how you can in this post.

How to Convert Custom Coded Fields to User Fields Settings
Before you get started, take a look at your custom fields code. There are certain field types and field options that are not supported through the User Fields settings page.
You should only convert fields from code to no-code if you are 100% confident that the specific field type and options are supported.
Once you are sure you can recreate your fields and all options, here’s how to do it:
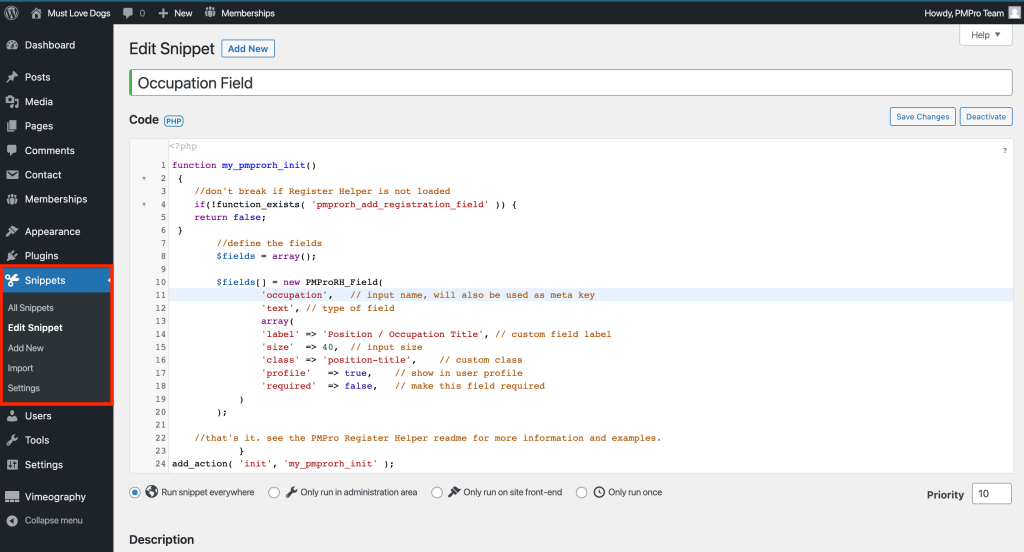
- Find your custom code on your site.
- If you use the Code Snippets plugin, your fields code might be located in a custom function under “Snippets” in the WordPress admin.
- Or, your custom coded fields might be loaded via a helper plugin for PMPro customizations or in a child theme’s functions.php file.
- Navigate to Memberships > Settings > User Fields.
- Create One or More Field Groups
- All fields must be placed in a group. This is the equivalent of a “checkout box” in the original Register Helper code or a Field Group in the current PMPro coded field method. Create one or more field groups for your fields.
- Create Your Fields
- Recreate each field with the settings that match your custom coded fields.
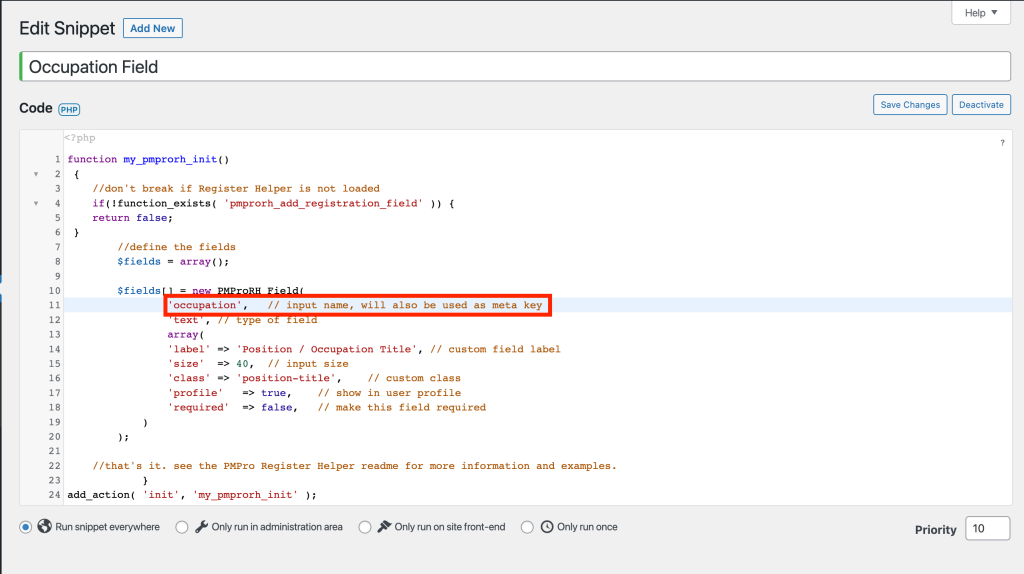
- The most important field setting to map is the field’s
name. The field name is what gets stored inusermetaas themeta_key. The name you enter in the settings page must exactly match the name used in the custom code.
- Temporarily disable your custom coded fields.
- Locate the function that adds your custom fields and uncomment the hook. You can add
\\to the hook that adds the fields. If you are using the Code Snippets plugin, you can also disable the snippet.
- Locate the function that adds your custom fields and uncomment the hook. You can add

- Save Settings and Test
- When you are confident you have recreated all the fields and have disabled the custom fields, you can now browse frontend forms in your membership site.
- Visit your checkout page, frontend edit user profile page, and also edit a user in the WordPress admin. Verify that all the fields are loading properly, specifically that the current data for previously coded fields is being pulled in to the new settings-based field.
- If your previous user data isn’t populating the new fields, refer back to step 4 and confirm that the field
nameexactly matches the custom coded field’sname.
Create User Fields With No Code
User Fields is a robust feature in Paid Memberships Pro to create custom profile fields for your membership site. Fields can be collected at membership checkout, on the user’s profile or for administrative-view only.
View all of our documentation on User Fields below:
Free Download: The AI-Powered Membership Site Blueprint
Download the free guide: Learn how to plan, build, and grow a membership site using AI as your strategic partner: from buyer persona to launch and beyond.


