Bricks Builder is a popular visual site builder natively supported in the core Paid Memberships Pro plugin. It allows you to design your entire website using a drag-and-drop interface, with full customization capabilities.
Restrict Content on Single Pages or Posts
The Bricks Builder integration allows you to set conditions to show or hide content based on a user’s membership level.
- Navigate to the page or post you want to edit.
- Click the Edit with Bricks button.
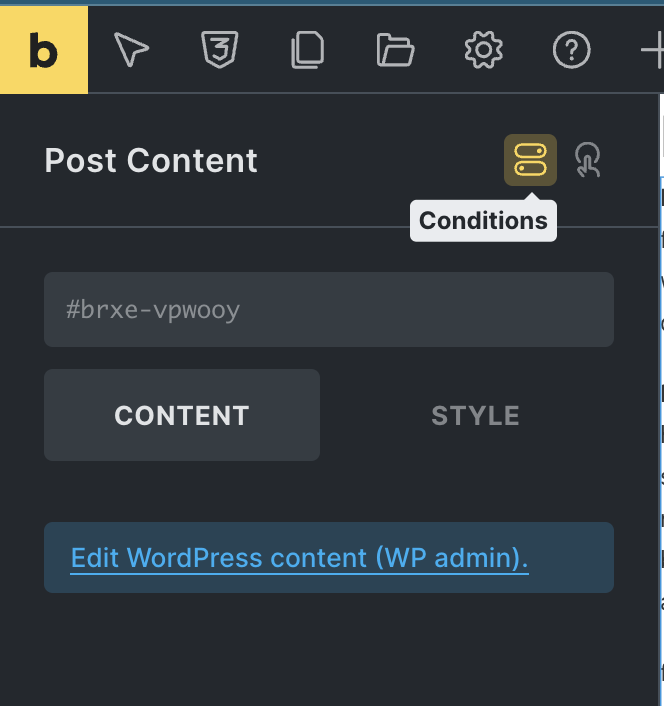
- Select the specific element or component you want to restrict.
- Click on Conditions in the left-hand panel.
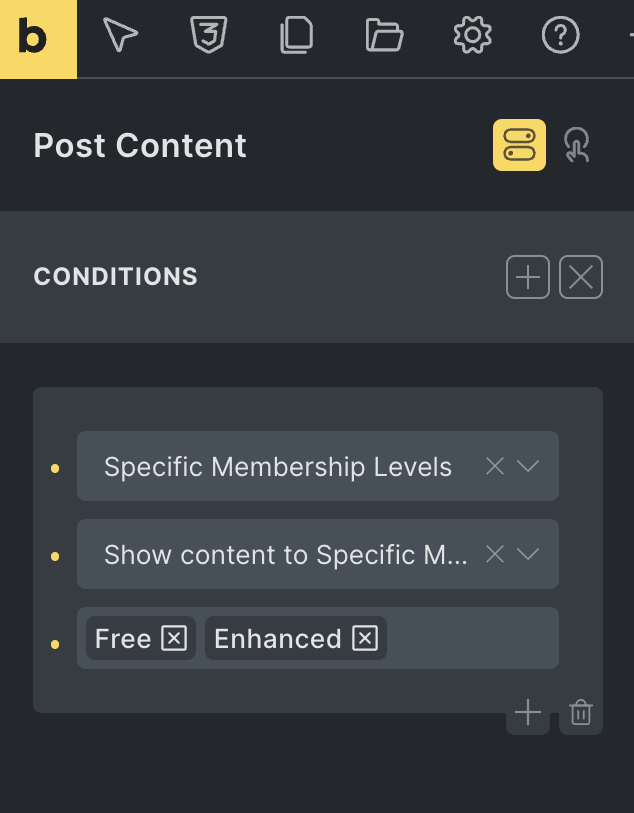
- Click the Add Condition button.
- Scroll through the options and select “Paid Memberships Pro”.
- Choose your target audience from the “Select Audience” dropdown menu. You can choose “All Members”, “Specific Membership Levels”, or “Logged-In Users”.
- If you choose “Specific Membership Levels”, select the levels that should see this content in the field that appears.
- Click Save to publish your changes.
Use Paid Memberships Pro Shortcodes in Bricks Builder
Some PMPro shortcodes do not automatically display within the Bricks editor. This happens because these shortcodes require specific background files to load. You can fix this by adding a code snippet to your site, either by creating a custom plugin or by using the Code Snippets plugin:
The Code Recipe
How to Add Shortcodes to a Bricks Page
After adding the code recipe to your site, the PMPro shortcodes will render when editing with Bricks.
- Navigate to Memberships > Settings > Pages in your WordPress admin area.
- Find the page you want to edit and click the Edit Page link.
- Click the Edit with Bricks button.
- Click on Elements and search for the “Shortcode” element.
- Paste the appropriate shortcode (such as
[pmpro_checkout]) into the element settings. - Click the Save button.
Troubleshooting Layout Issues
If you see the default WordPress layout instead of your Bricks design, open the page in the standard WordPress editor. Check the content area for any leftover shortcodes that are not inside a Bricks element. Removing these extra shortcodes resolves the issue and restores your Bricks design.
Related: How to Make Customizations to Your Membership Site
Customizing the Code Recipe
You can update the code snippet to support shortcodes from PMPro Add Ons. For example, if you want to use the PMPro Advanced Levels Page Add On, follow these steps:
- Ensure the Advanced Levels Page Add On is active on your site.
- Locate line 30 in the code snippet provided above, which reads:
'pmpro_invoice' => 'invoice' - Add the following line before it:
'pmpro_advanced_levels' => 'advanced-levels',. - Use the Bricks “Shortcode” element to insert
[pmpro_advanced_levels]into your page.
Get Support From Our Team of Experts
For more help with this PMPro feature, check out our Support Page with three ways to get support as a free or premium member.
Last updated on March 18, 2026

