The Add On adds the validation link to your checkout emails automatically and includes its own email template for sending the link again. This page explains where the link appears, how to place it yourself, and how to customize the Resend Confirmation email.
Validation Link in Checkout Emails
When a member checks out for a level that requires confirmation, the Add On adds this message and their validation link to the top of the checkout email (the Checkout – Free, Checkout – Paid, or Checkout – Pay by Check template):
IMPORTANT! You must follow this link to confirm your email address before your membership is fully activated:
It also removes the sentence “Your membership account is now active.” from the email, as long as your template still uses that exact default wording. If you’ve edited that sentence, update it yourself so it doesn’t tell the member their account is active before they confirm.
The link is added whether or not you’ve customized the checkout email templates. You don’t need to change your templates for the Add On to work.
Place the Validation Link Yourself
To control where the link appears in the checkout email, add the !!validation_link!! variable to the template body. When the Add On finds the variable, it replaces it with the link and doesn’t add the message to the top of the email.
- Navigate to Memberships > Settings > Email Templates in the WordPress admin.
- Select the checkout template your confirmation levels use: Checkout – Free for free levels, Checkout – Paid for paid levels, or Checkout – Pay by Check if members can pay by check.
- Add
!!validation_link!!where you want the link in the Body. The variable is replaced with the plain URL, so wrap it in a link if you want clickable text, for example:<a href="!!validation_link!!">Confirm your email address</a>. - Click Save Template.
- Repeat for any other checkout template your confirmation levels use.
Learn more about editing templates in our guide to customizing email templates.
Resend Confirmation Email Template
The Add On adds an Email Confirmation – Resend Confirmation template to Memberships > Settings > Email Templates. This email is sent to the member when:
- They click Resend Confirmation Email on the Membership Account page.
- An administrator clicks Resend Confirmation Email on the Members list or Users screen.
- An administrator clicks Resend Confirmation Email, Require Re-confirmation, or Send Confirmation Email in the Email Confirmation panel on the Edit Member screen.
- They change their email address and one of their levels has Reset Email Confirmation checked.
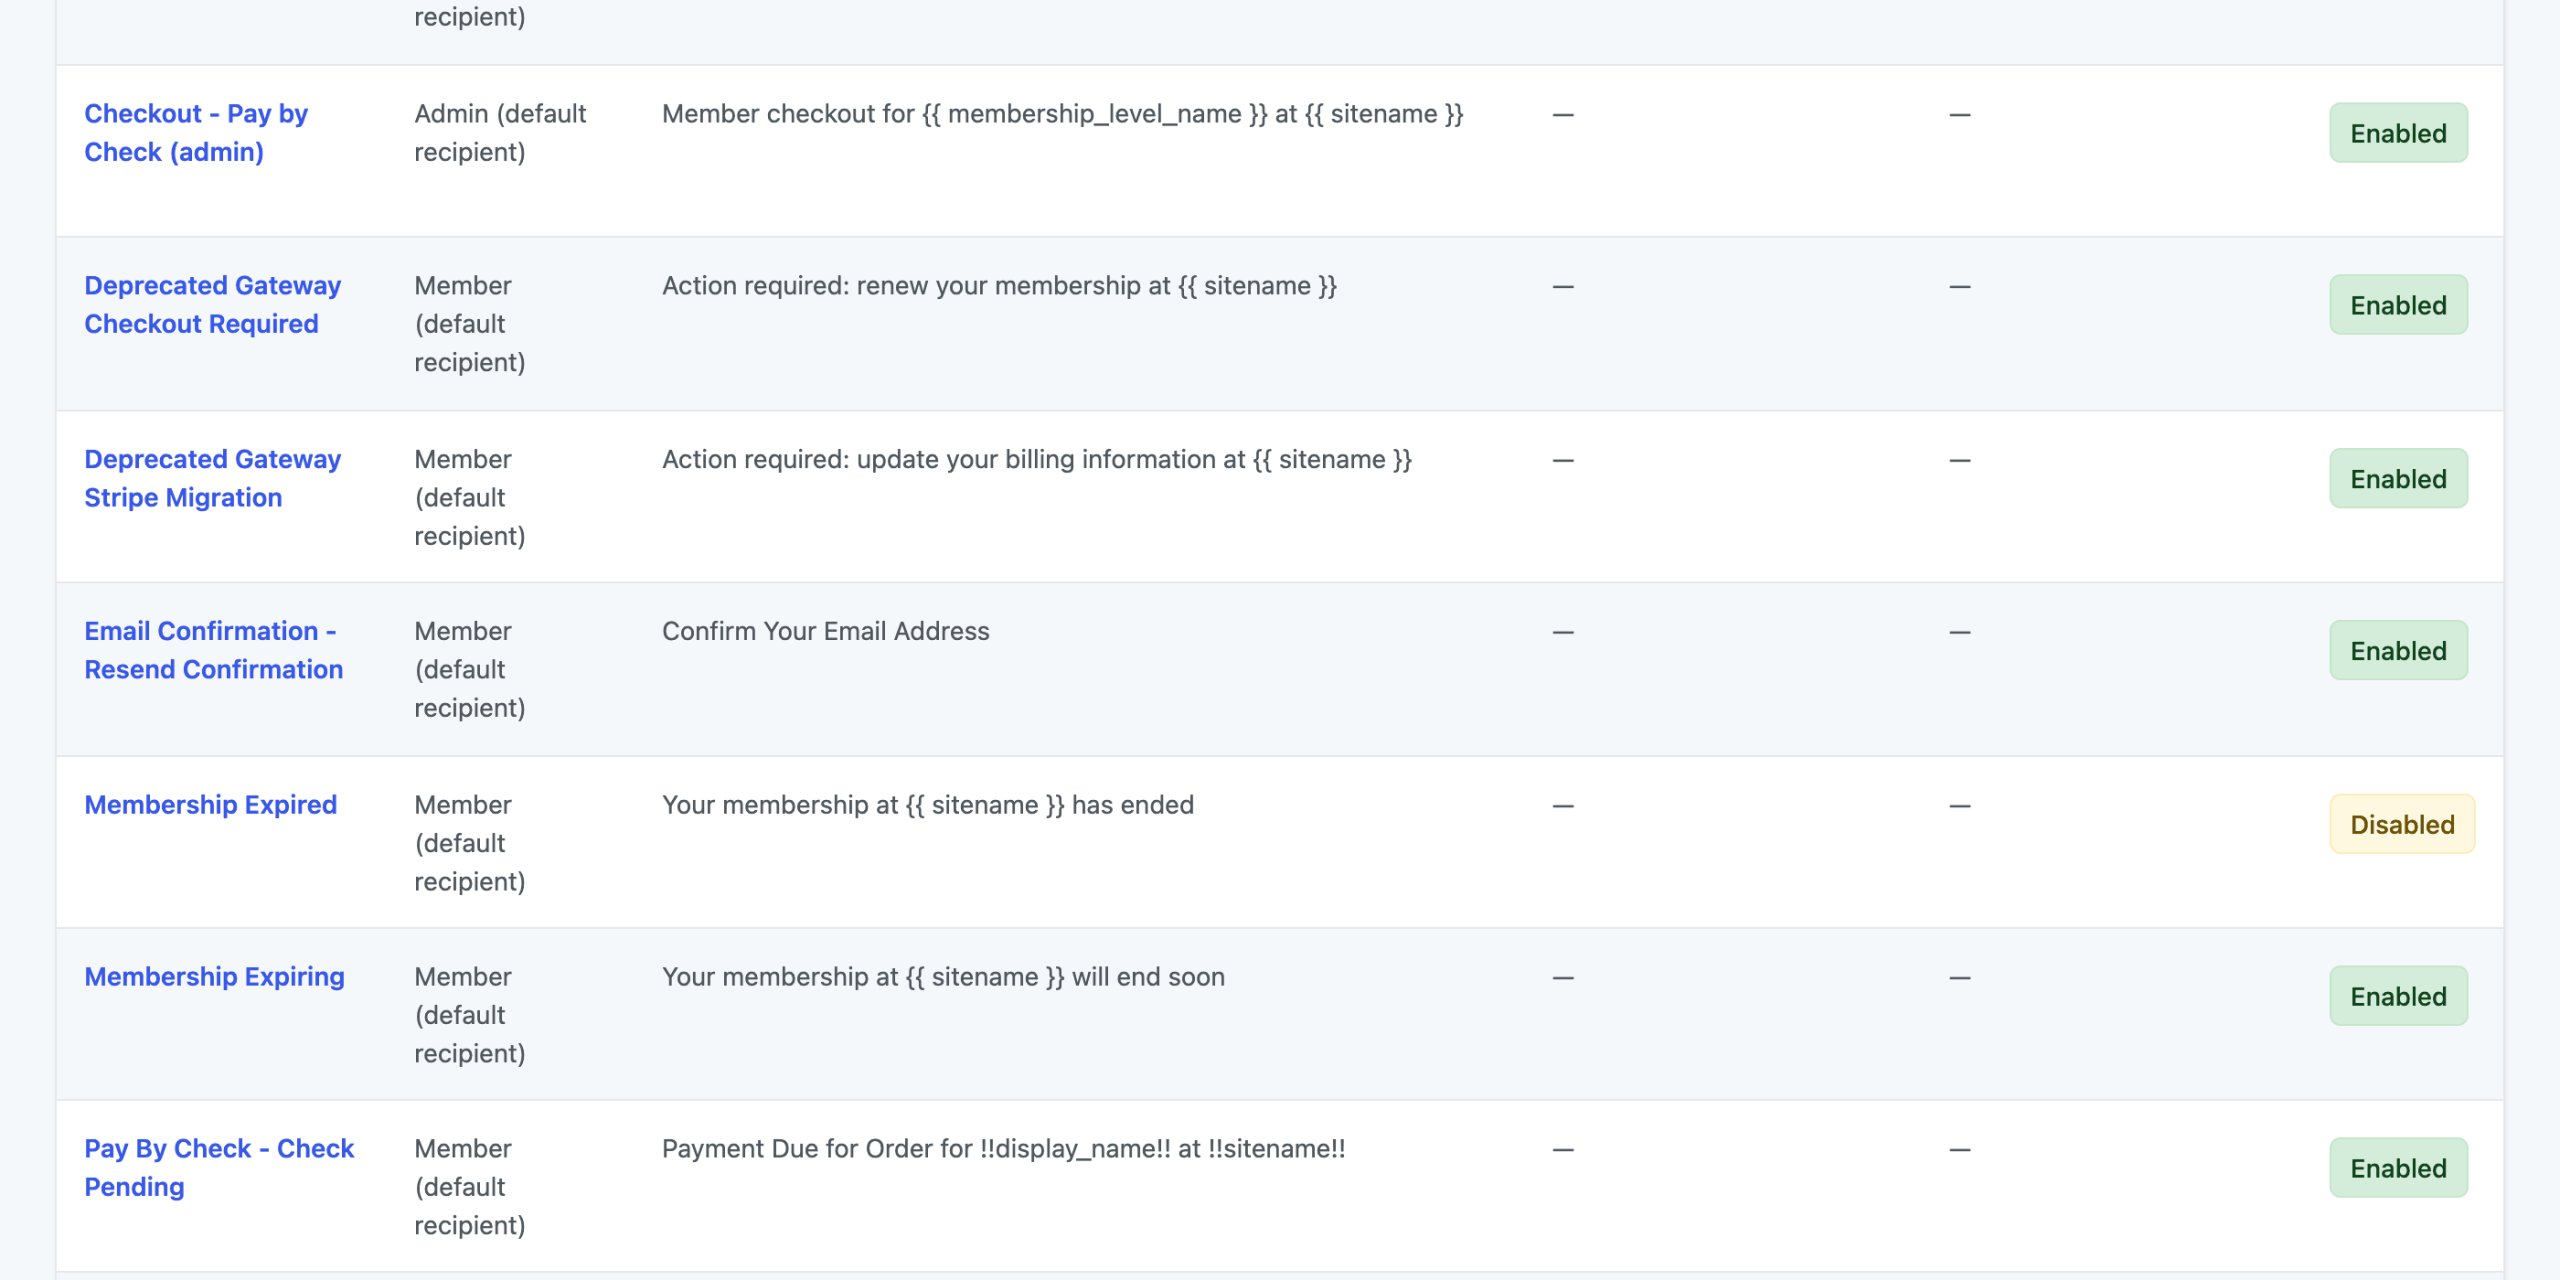
| Template | Default Subject | Default Body |
|---|---|---|
| Email Confirmation – Resend Confirmation | Confirm Your Email Address | Please click the following link to confirm your email address: {{ validation_link }} |
Customize the Resend Confirmation Email
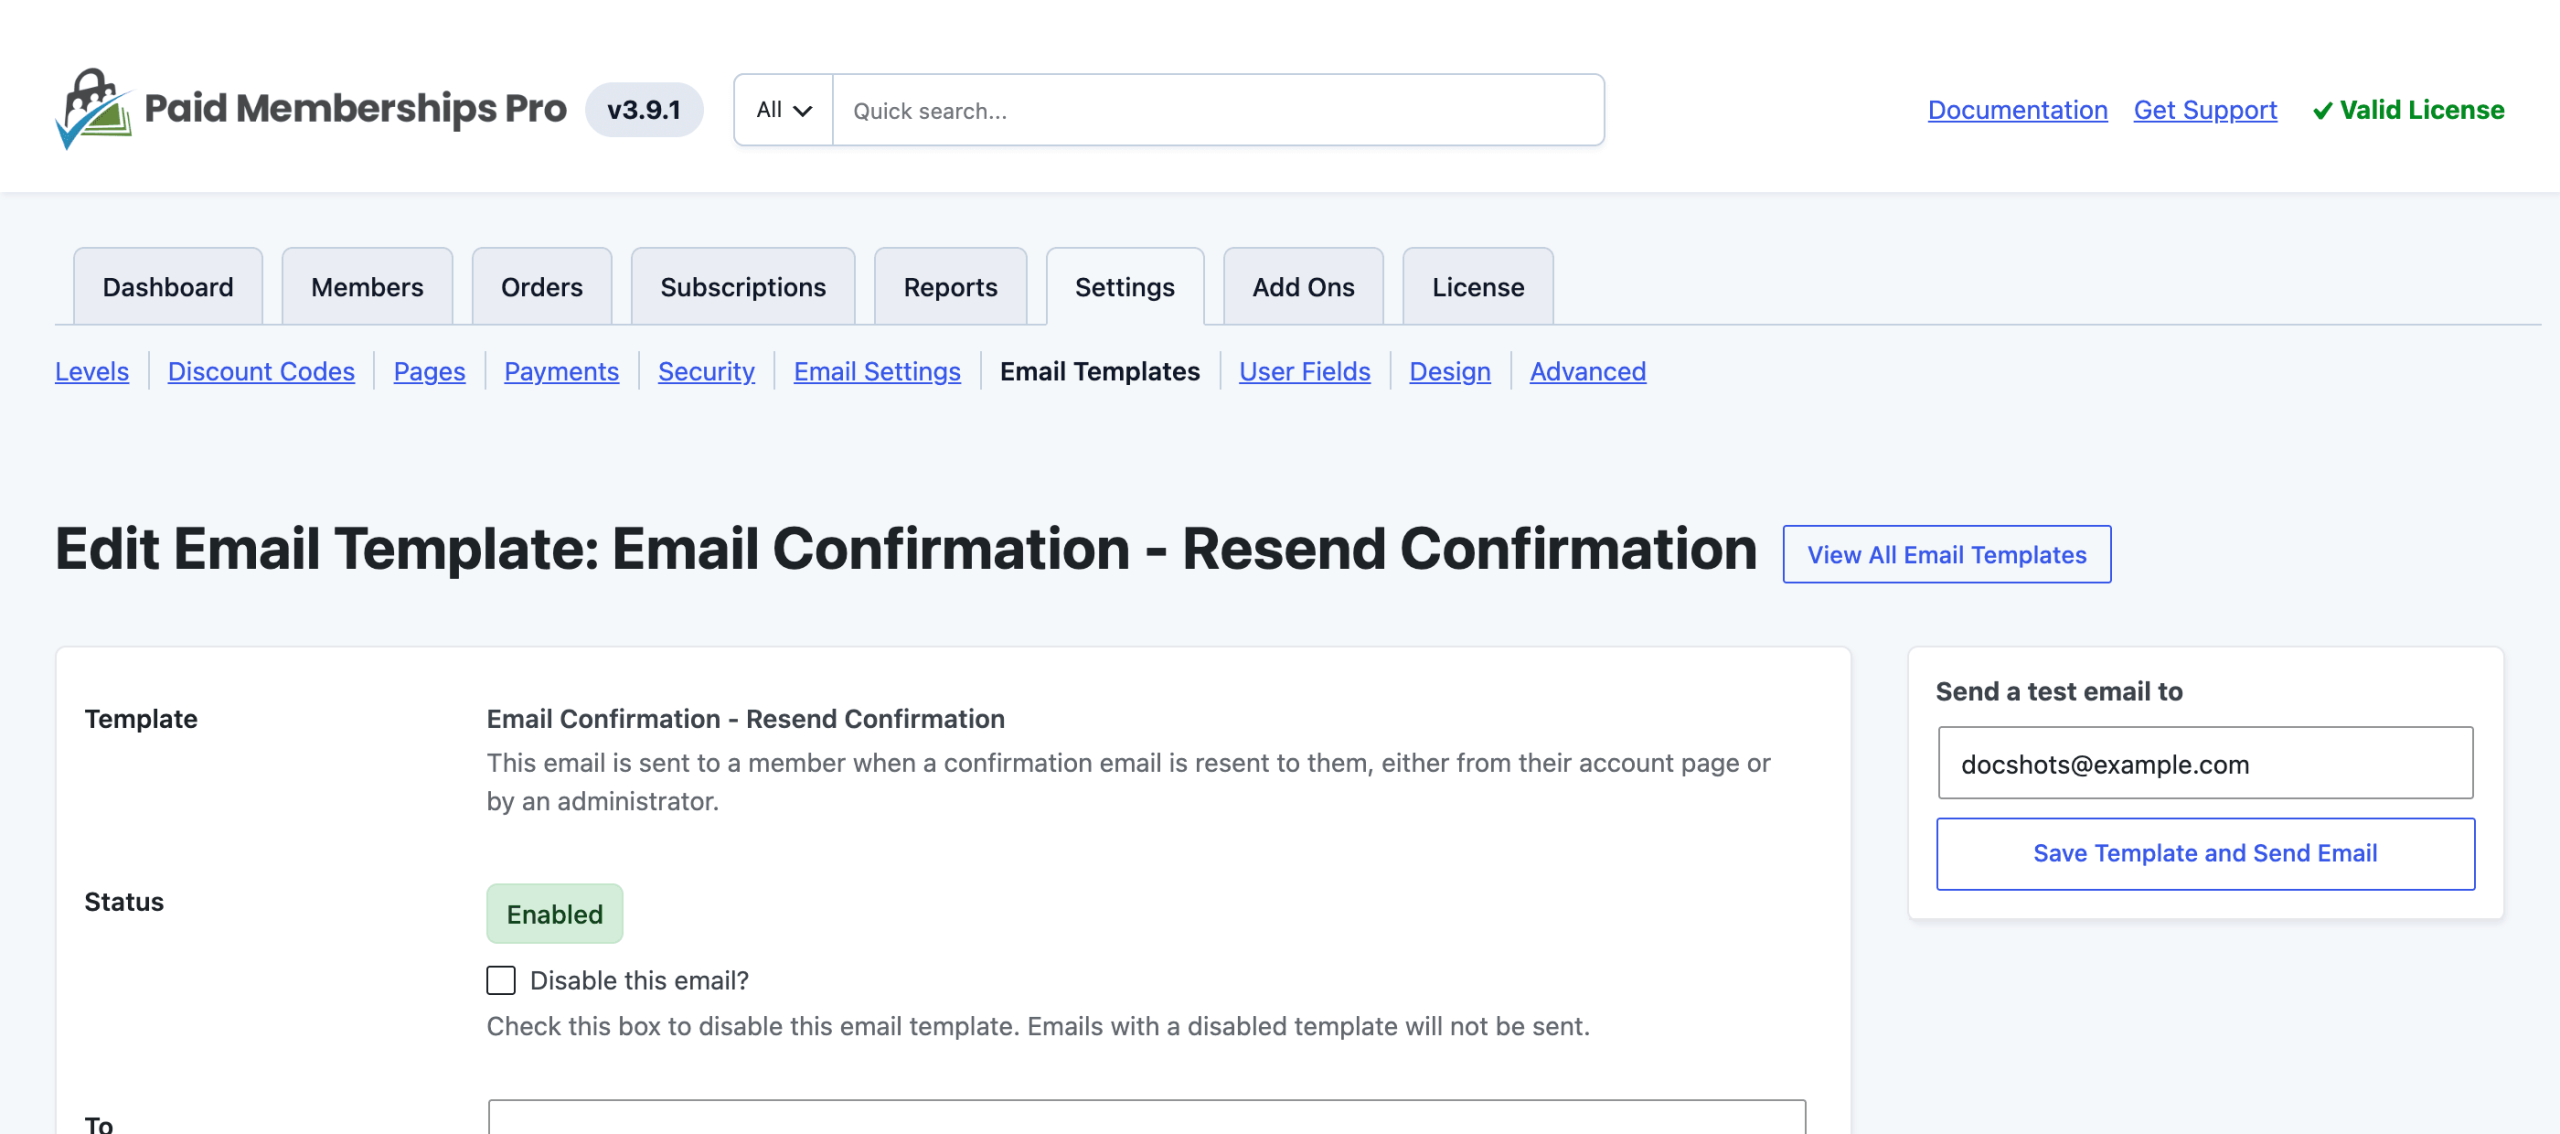
- Navigate to Memberships > Settings > Email Templates in the WordPress admin.
- Click Email Confirmation – Resend Confirmation.
- Edit the Subject and Body. Keep the
{{ validation_link }}variable in the body so members can confirm from this email. - Click Save Template.
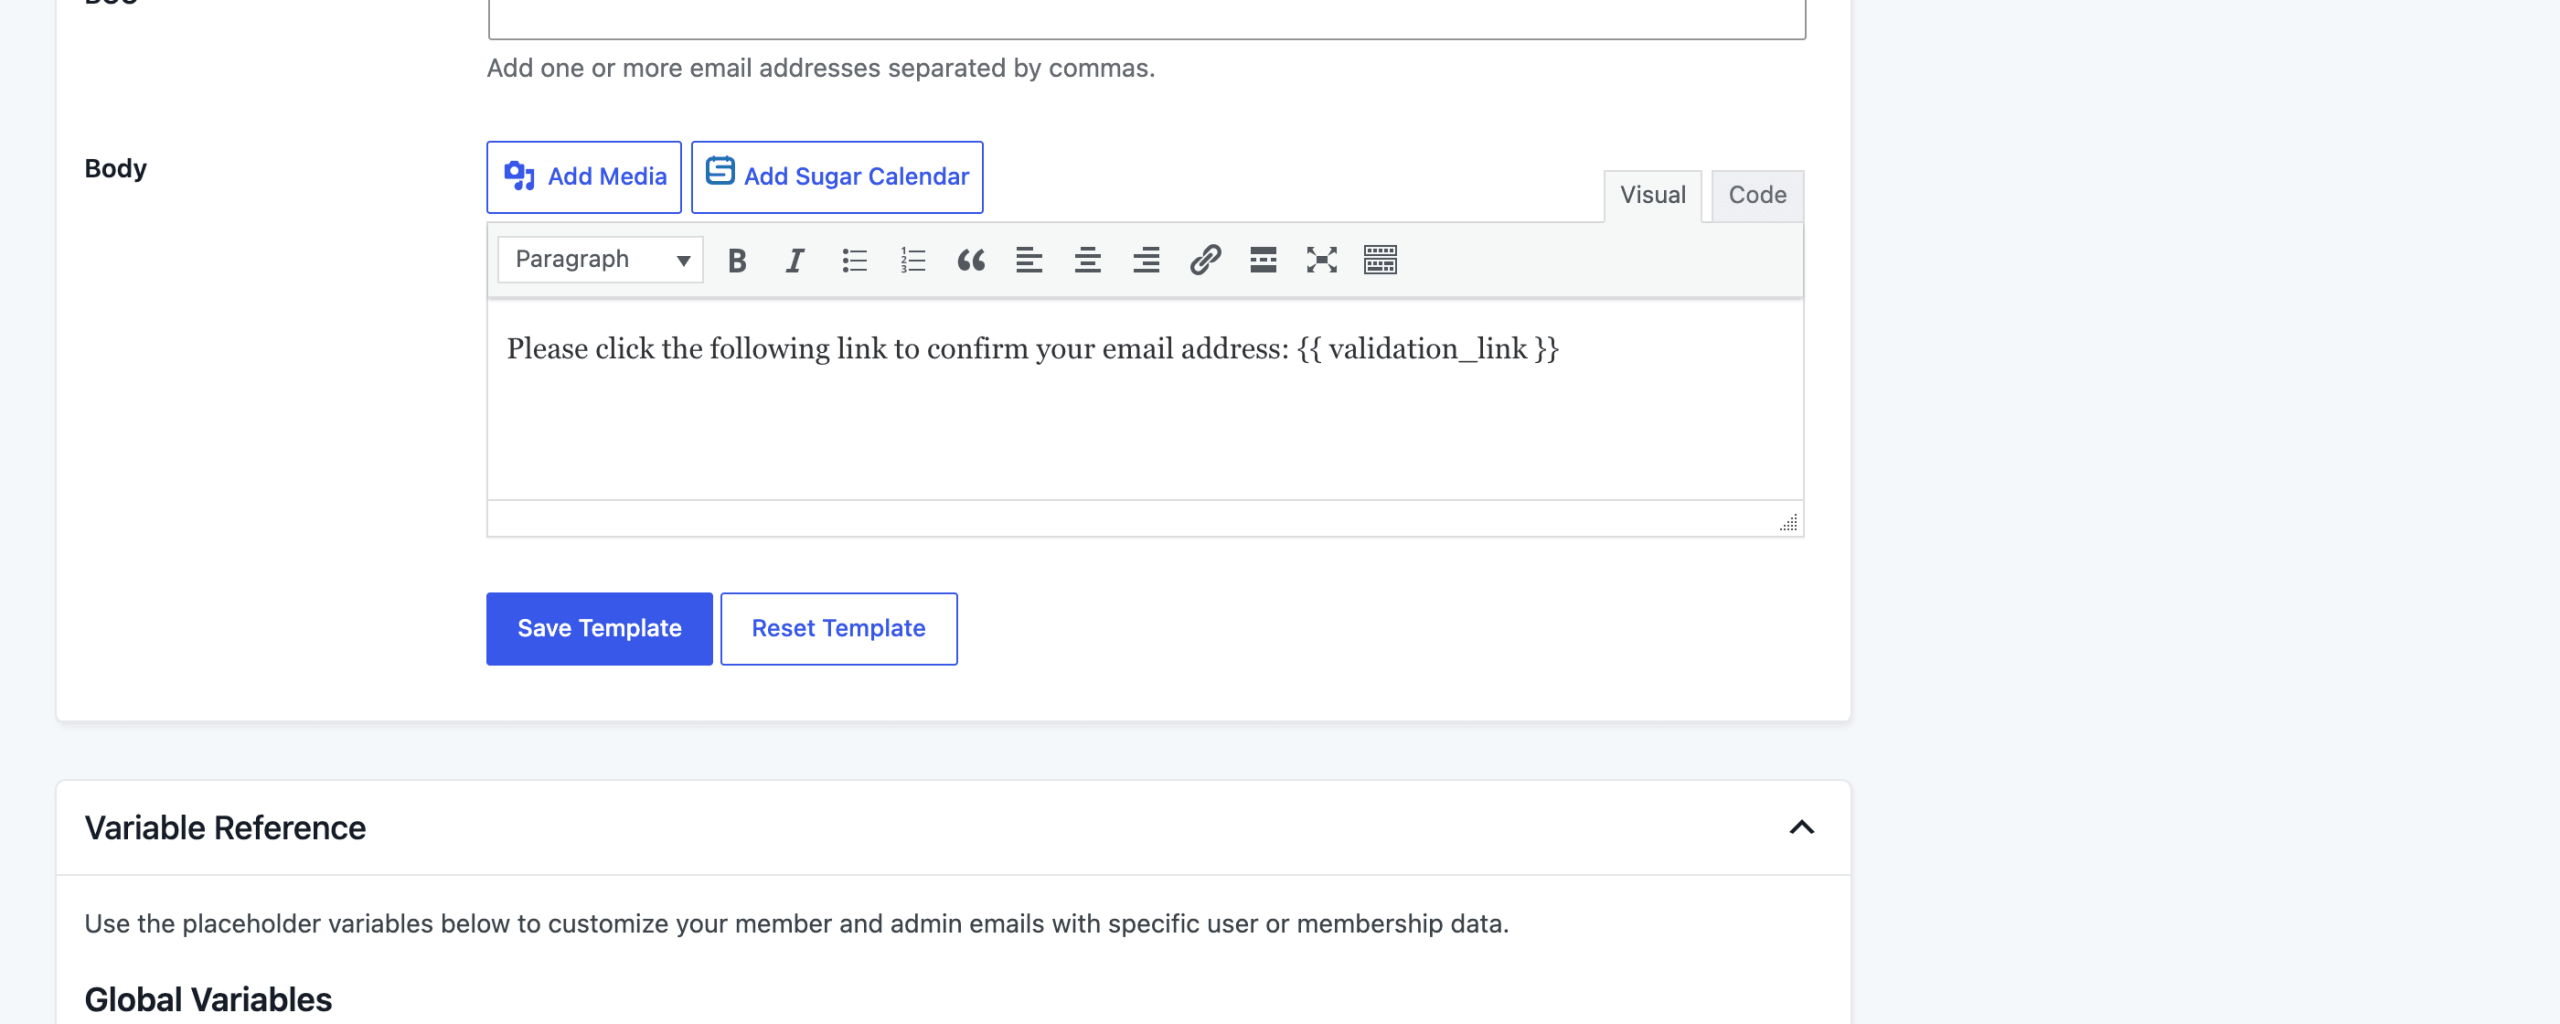
If the body doesn’t include the validation link variable, the Add On adds the “IMPORTANT! You must follow this link…” message and link to the top of the email, so members always get a working link.
Use the Send a test email to box to preview the email. The link in a test email uses a placeholder key, so clicking it doesn’t confirm anyone.
Template Variables
Along with the global variables listed on the edit screen, you can use these variables in the Resend Confirmation email:
| Variable | Description |
|---|---|
{{ validation_link }} | The link the member must visit to confirm their email address. |
{{ display_name }} | The display name of the member. |
{{ user_login }} | The username of the member. |
{{ user_email }} | The email address of the member. |
On Paid Memberships Pro versions before 3.7, use the !!variable!! format instead, such as !!validation_link!!. If you customized this template on an older version of the Add On, your saved subject and body still apply.
Get Support From Our Team of Experts
Have a question about how to use this feature? Our Support Page outlines three ways to get support.
Our Max plans include hands-on help customizing your membership site and implementing new features. Upgrade to PMPro Max now »
Last updated on November 12, 2026