A membership site owner posted a question in a WordPress community not long ago: they needed a secured, logged-in-only section for a heavy directory list, completely separate from the site’s admin and editor accounts. The public could never see it. Was Paid Memberships Pro, paired with a directory plugin, overkill for that?
That question comes up more often than you’d think, and not just from community sites and course creators. Manufacturers, distributors, and franchise networks build the exact same thing under a different name: a vendor portal or a gated catalog. The audience isn’t the public. It’s a defined list of vendors, dealers, or partners who already have a relationship with the business and need a private place to find information.
This guide walks through how to plan that kind of site: choosing between a fully locked-down portal and a mixed public/private site, deciding how vendors actually join, building the gated directory or catalog itself, and capturing the vendor-specific data that makes the whole thing useful. It closes with a direct answer to the original question.
Table of contents
Who Actually Needs a Private Vendor Portal
A vendor portal isn’t a community membership site or a paid newsletter. The people logging in aren’t consumers buying a subscription. They’re companies, employees, dealers, or partners who already have a relationship with the business and need a private place to get information or place orders. A few common patterns:
- Manufacturers distributing product specs, dealer pricing, and order forms to approved dealers only.
- Wholesale and B2B sellers showing trade pricing to logged-in accounts, never to retail visitors.
- Franchise networks giving every franchisee one library of brand assets, operations manuals, and training videos.
- Industry associations running a member-only directory of vetted vendors or accredited professionals.
- Service providers giving each enterprise client a private dashboard and a directory of their account team.
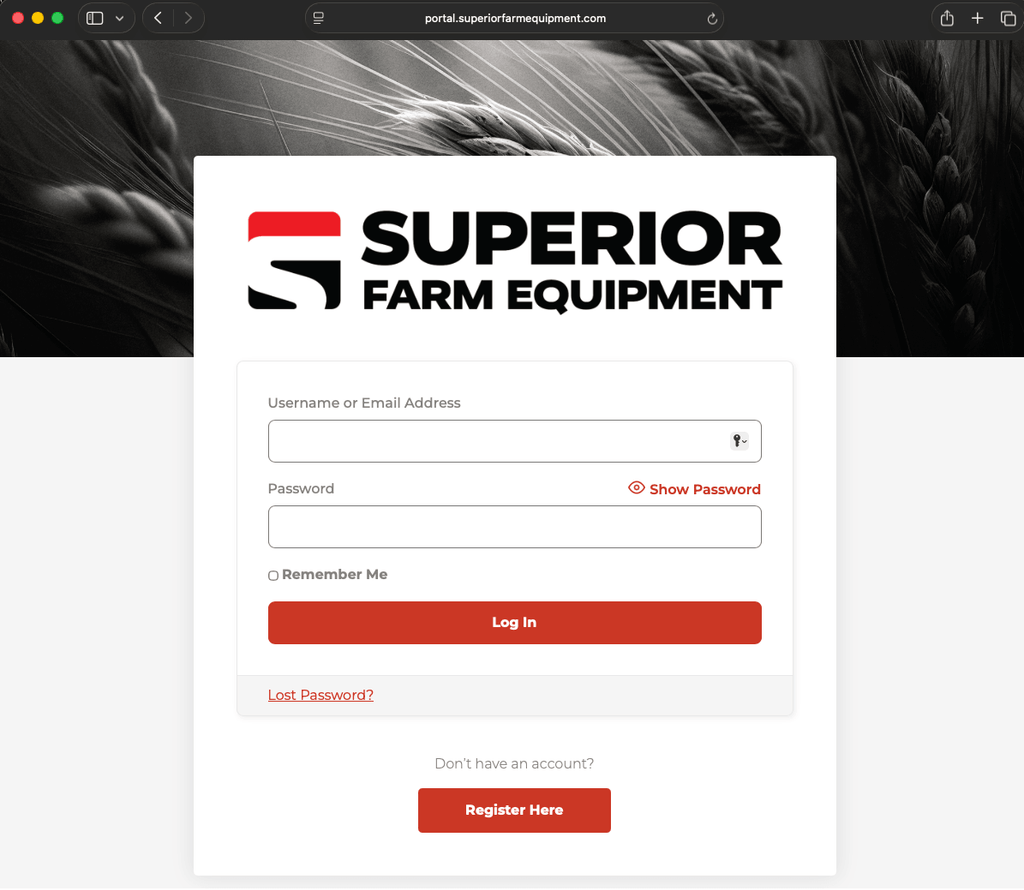
Superior Farm Equipment runs this exact setup. Their public marketing site handles the brand story, and the full equipment catalog, dealer pricing, and order forms live on a separate portal subdomain behind a login. Search engines never see any of it. Only approved vendors do.
Two Ways to Structure a Private Portal
The first real decision is whether the whole site sits behind a login, or whether a public site has private sections tucked inside it. Both are valid, and the right one depends on whether the portal replaces your marketing site or lives alongside it.
Option 1: A Fully Locked-Down Portal
Almost nothing here is public. There’s a homepage that explains what the portal is, a login form, and maybe a contact page. Everything else requires an active membership level. This fits when:
- The portal lives on its own subdomain, the way Superior Farm Equipment’s does, while marketing happens elsewhere.
- None of the catalog, pricing, or internal documents should ever show up in a search engine.
- The audience is small and known, so there’s no SEO upside to making any of it public.
PMPro has a documented recipe to lock down everything but the homepage for non-users, and you can pair it with Redirect Members on Login to send vendors straight into the catalog the moment they sign in.
The trade-off is honest: a fully locked-down site brings in zero organic traffic. For most B2B vendor portals, that’s exactly the point.
Option 2: A Mixed Public and Private Site
Marketing pages, a blog, and general “About” content stay public. The catalog, directory, pricing, and any internal documents are restricted to logged-in vendors. This fits when:
- One site needs to handle both marketing and the portal experience.
- There’s public content worth having indexed, like a blog or a general product overview.
- Different visitors need different things from the same domain.
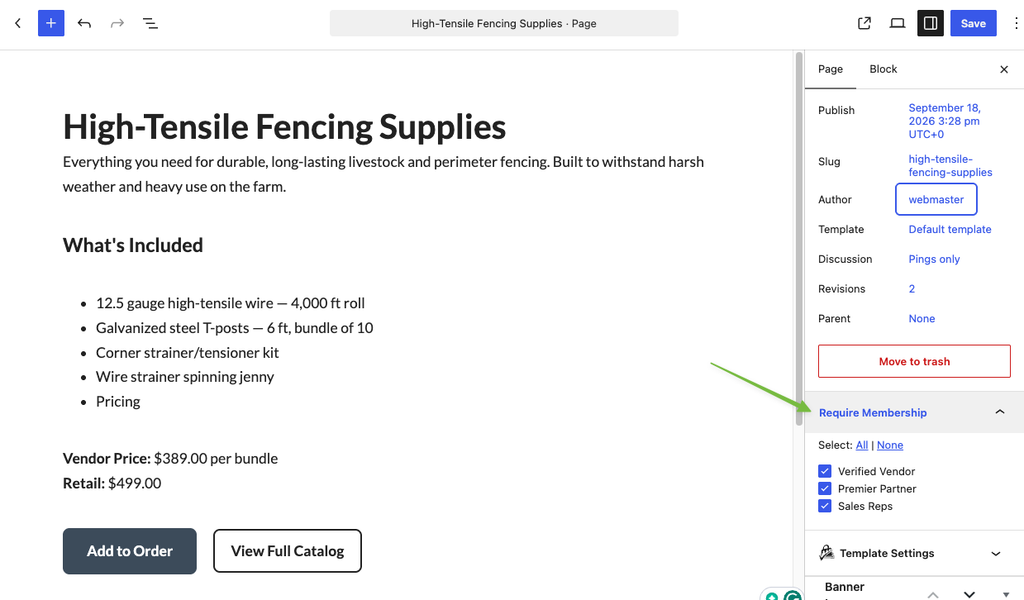
You can restrict as narrowly or broadly as you need. Our guide on how to restrict access to anything in WordPress covers the full set of options. Be deliberate about what’s public and what’s gated, and check every page in a logged-out browser before launch.
How Vendors Join the Portal
How people join the portal is one of the biggest decisions you’ll make, because it sets the tone for everything after. A consumer membership site usually lets anyone sign up whenever they want. A vendor portal almost never does. You want to control who gets in, and ideally without manually onboarding every single person.
A few approaches, and most portals end up combining more than one:
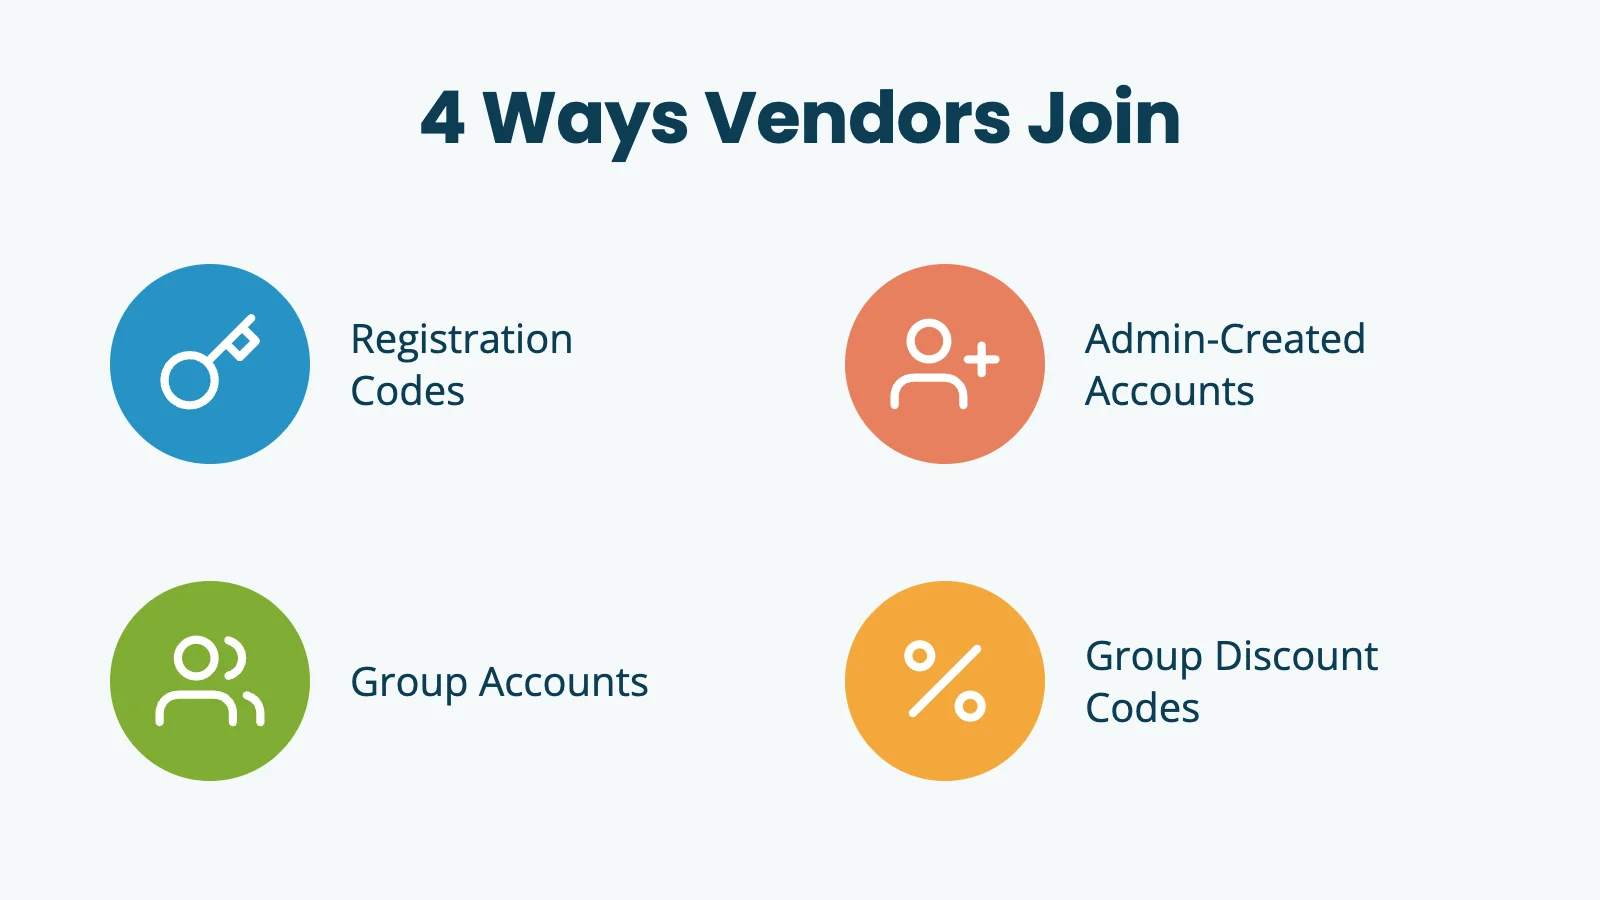
- Registration codes: Vendors only see the registration page if they have a valid code. The Invite Only Membership Add On requires an invitation code on the registration form, which you can hand out after a sales call or drop into an onboarding email.
- Admin-created accounts: For small portals where you personally onboard each vendor, click Add New Member in the Members List inside Paid Memberships Pro. The vendor gets an email with login details, and there’s no extra Add On required for this path.
- Group Accounts for one company onboarding a team: When a single corporate customer needs to give portal access to ten salespeople, invoicing them one at a time gets old fast. The Group Accounts Add On sells one parent membership that distributes access across a set number of seats, and the parent account manages who gets added or removed.
- Group discount codes for bulk onboarding: To bring a whole network online at once, such as every approved dealer in a region, hand out a shared discount or sign-up code that lets each vendor self-register. The Group Discount Codes Add On tracks how many times each code has been used, so you can see who signed up and shut a code down once the onboarding window closes.
If vendors fall into tiers, such as a “Dealer” tier and a “Distributor” tier, give each one its own membership level and restrict the matching section of the catalog to it. The same tools that make PMPro work as a paid membership platform also make it work as a B2B access control layer.
Build the Gated Directory or Catalog
Once the access decisions are made, the next question is how to actually display the catalog. Most vendor portals need a long, searchable, filterable list of things: products, vendors, dealers, locations, or downloadable files. This is where a custom post type and Posts Table Pro from Barn2 do most of the work.
The pattern:
- Create a custom post type for whatever you’re listing. A product catalog might use “Products” or “SKUs.” A vendor directory might use “Vendors” or “Dealers.”
- Add the Custom Post Type (CPT) Membership Access Add On so the new post type respects PMPro’s content restriction settings. Without it, you can restrict individual posts one at a time, but not the post type as a whole. With it, one setting requires an active membership level for every post of that type.
- Add the fields the listing needs: Use Advanced Custom Fields, the Block Editor’s native fields, or, for anything tied to the logged-in vendor’s own profile, PMPro’s built-in User Fields (more on that next).
- Display the list with Posts Table Pro: Drop the
[posts_table]shortcode on a members-only page, point it at the custom post type, and choose which columns show, which sort, and which are searchable.
The result is a fast, sortable catalog on a normal WordPress page, protected two ways at once: the page itself is restricted to logged-in members, and the post type is restricted at the content level. Even a direct link to a single product or vendor post still hits the membership requirement.
Capture Vendor Details With User Fields
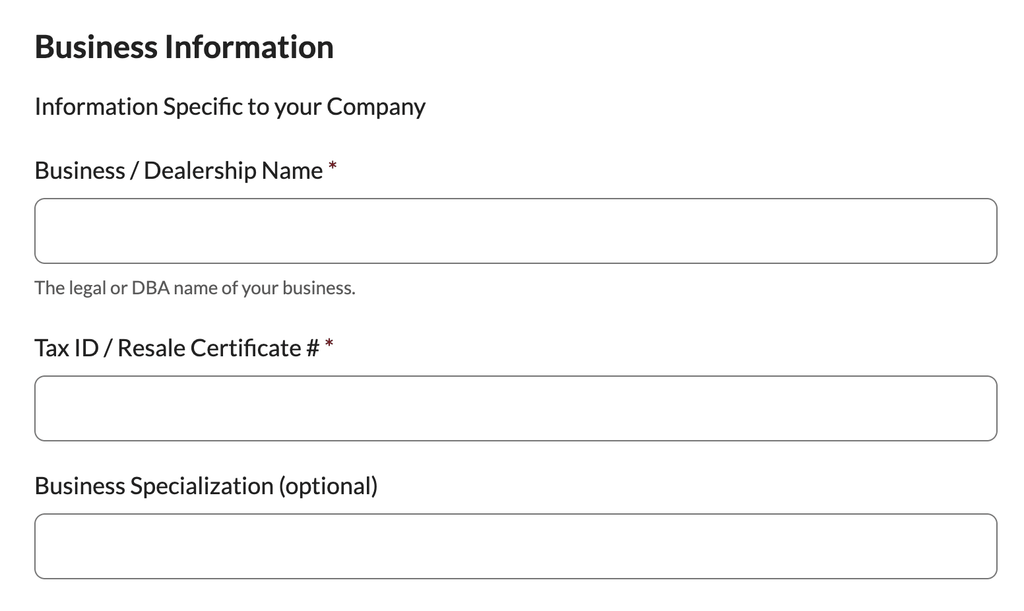
A B2B portal almost always needs more than a default WordPress signup collects. A company name, an account or dealer number, a territory, maybe a business type. PMPro’s built-in User Fields feature is built for exactly this. Add fields under Memberships > Settings > User Fields, decide where each one shows up (checkout, the profile edit page, or admin-only), and choose which membership levels it applies to.
A few patterns that work well for vendor portals:
- Required at checkout, editable on the profile: Company name and account number should be collected up front and stay editable if anything changes later.
- Admin-only fields: Internal notes, an account manager assignment, or credit terms are useful for your team but shouldn’t be editable by the vendor.
- Conditional fields per level: A “Dealer” might enter a dealer ID while a “Distributor” enters a territory code. Assign each field group to the level that actually needs it.
Once that data lives on the user record, it’s available everywhere else on the site: in a member directory, in an exported report, synced to a CRM through Zapier, or pulled in as a custom column inside Posts Table Pro. The portal isn’t just gating content at that point. It’s a real user database you can build on.
Keep Vendor Accounts From Being Shared
A common worry with B2B portals is account sharing: one company buys a single membership and passes the login around to twenty employees. A few guardrails handle most of that:
- Limit Logins caps how many concurrent sessions a single account can have. If a vendor logs in from a new location while already logged in somewhere else, the older session gets invalidated.
- Magic Login lets vendors log in by clicking a link emailed to their address instead of remembering a password. It’s a friendlier experience for occasional users, and it ties access to a specific inbox, which makes casual credential sharing harder.
- Group Accounts seat limits: On a Group Account, you set the seat count at the time of sale. Each seat is its own user record, so you get accurate per-user activity if you ever need to audit access.
Is This Overkill for a Vendor Portal?
It’s a fair question to ask before setting any of this up. Could a page builder’s conditional visibility hide a few pages and call it done?
For a single page, maybe. But a page builder’s visibility rules aren’t real user accounts, and that gap shows up fast the moment you need to:
- Add a second or third tier with different access to different sections.
- Onboard a company that needs five seats, not one.
- Pull an accurate list of who’s actually in the portal and what they can see.
- Add anything later: a paid upgrade, a renewal cycle, a directory the vendors can edit themselves.
PMPro gives you a permission system that’s been running production membership sites for over a decade, real user accounts instead of logged-in/logged-out conditions, and an Add On catalog built to extend the model as needs change. Posts Table Pro gives you a front-end display that’s good at large, filterable lists. Together, they cost less than most enterprise intranet products and leave you a clean place to add the next request instead of starting over.
Frequently Asked Questions
A logged-in-only section of a site where approved vendors, dealers, franchisees, or business partners can see information the public can’t. Catalogs, pricing, downloads, training materials, and directories are the most common use cases.
Either works. A separate subdomain is best for a fully gated experience with no public mixing. A single site with restricted sections is best when there’s a public marketing presence alongside the private portal.
The most common methods are invite codes through the Invite Only Membership Add On, admin-created accounts built into Paid Memberships Pro, Group Accounts for a corporate customer managing seats internally, and group discount codes for bulk onboarding. Most portals combine more than one.
Create a custom post type for what you’re listing, restrict that post type with the Custom Post Type (CPT) Membership Access Add On, and display it with Posts Table Pro from Barn2 on a members-only page.
Use Limit Logins to cap concurrent sessions, or use Group Accounts so each person on a corporate account has their own real login. Magic Login adds another layer by tying access to a specific email inbox.

Free Download: The AI-Powered Membership Site Blueprint
Download the free guide: Learn how to plan, build, and grow a membership site using AI as your strategic partner: from buyer persona to launch and beyond.