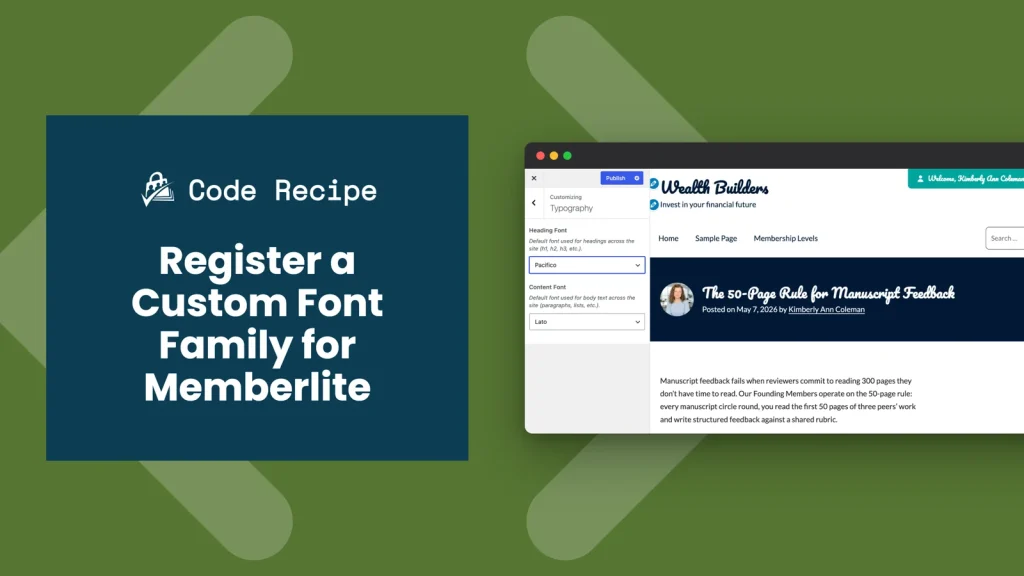
The Memberlite theme ships with a handful of typefaces in its Customizer typography settings, but it does not include every brand or display font you might want to use. This code recipe registers a self-hosted font family for Memberlite so it becomes a selectable option throughout the theme.
Once registered, you can set the font as the site’s main Heading Font or Content Font in the Customizer, or choose it for one specific item in the block editor, like a single heading or paragraph you want to stand out. The example below uses Pacifico, a script font, but you can swap in any font you have the right to self-host.
Registering the font this way means you choose it from a menu instead of writing CSS overrides, and it stays available everywhere the theme exposes a font choice.
Do You Need This Recipe?
This recipe is for you if you run the Memberlite theme (or a Memberlite child theme) and you want a custom font available natively in WordPress, rather than hardcoded in CSS. It is a good fit when:
- You want a brand or display font selectable in the block editor font picker, the same way the theme’s built-in fonts are.
- You want that font to show up in Memberlite’s Customizer typography settings, so you can set it as your site-wide heading or body font.
- You prefer to self-host your font files for privacy and performance reasons, instead of enqueuing Google Fonts from Google’s servers.
If you only need a custom font in one or two spots and you are comfortable writing CSS, a targeted style rule may be simpler. This recipe is the better path when you want the font treated as a first-class option throughout the editor and Customizer.
About the Code Recipe
WordPress builds its block editor font picker and global styles from a file called theme.json. Anything registered there as a theme font family becomes a selectable option in the editor. Rather than editing the theme’s theme.json directly (which a theme update would overwrite), this recipe uses the WordPress core filter wp_theme_json_data_theme to add a font family at runtime.
This approach beats a CSS override in three ways.
- The font appears in the editor font picker, so anyone building a page can choose it without touching code.
- It flows into Memberlite’s Customizer typography settings, so you can set it as the default heading or body font for the whole site.
- And because the font is registered as part of the theme’s data, WordPress handles loading the
@font-facedeclaration for you, both in the editor and on the front end.
The font is self-hosted: the snippet points to a font file stored in your theme rather than loading it from Google. That keeps font requests on your own server, which is better for visitor privacy and avoids a third-party dependency.
Step-by-Step Implementation Guide
1. Download Your Font Files
Download the font you want to use as a self-hosted file from Google Fonts.
For Pacifico, you would use the “Download family” button. That will download a .zip file with a folder for the font’s name, font file (Pacifico-Regular.ttf), and font license. Make sure you have the right to host the font yourself. Most Google Fonts are licensed under the Open Font License, which permits this.
2. Add the Font Files to Your Theme
Create a fonts folder inside your active theme and place the font file there. The snippet expects this path:
/wp-content/themes/your-child-theme/fonts/Pacifico/Pacifico-Regular.ttf
The code finds that location with get_stylesheet_directory_uri(), which returns the URL of your active theme. If you are using a Memberlite child theme (recommended), put the fonts folder in the child theme so a Memberlite update does not wipe your files. The file has to actually exist at the referenced path, or the browser has nothing to load and falls back to a browser-safe default.
3. Add the Code Recipe
Add the snippet below to your site using the Code Snippets plugin or a custom plugin for your customizations. Do not paste it into your theme’s functions.php.
4. Select the Font
Once the snippet is active, your font is available in two places.
To use it across the whole site, open Appearance > Customize > Typography in the Memberlite Customizer. Your font appears in the Heading Font and Content Font dropdowns alongside the theme’s built-in options, so you can set it as the default for every heading or all body text.

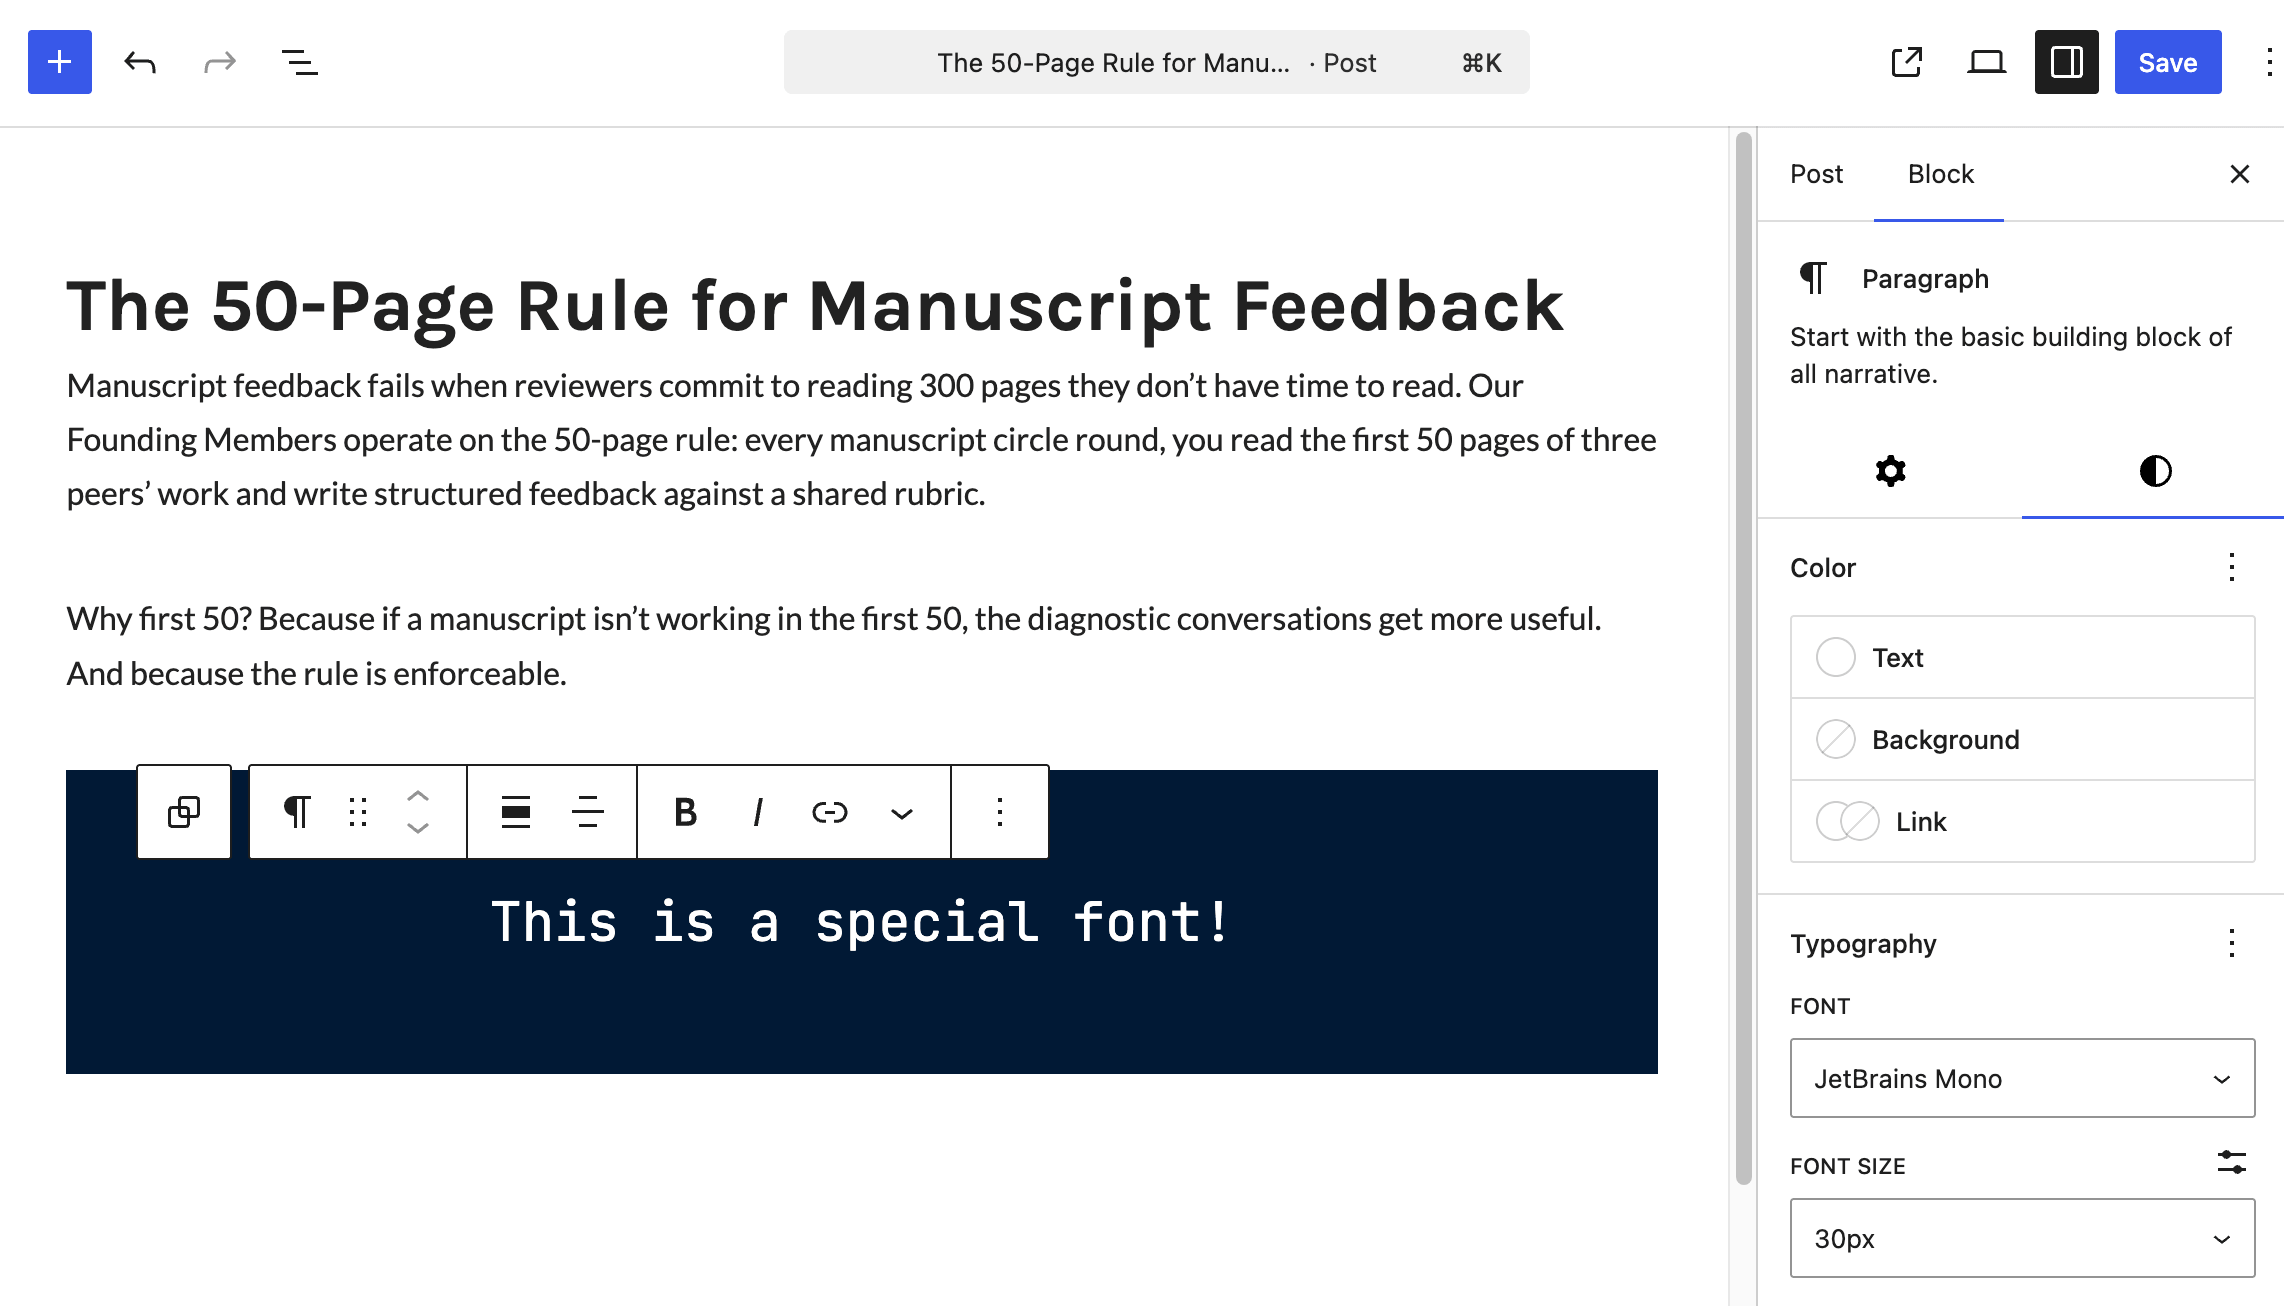
To use it on just one element, select a block in the editor and open the Block tab in the settings sidebar. Under Typography, the Font dropdown lists your custom font, so you can apply it to a single heading or paragraph without changing the rest of the site.
The Code Recipe
Adding the Recipe to Your Website
You can add this recipe to your site by creating a custom plugin or using the Code Snippets plugin available for free in the WordPress repository. Read this companion article for step-by-step directions on either method.
How to Customize This Code Recipe
Use a different font. Swap Pacifico for any font you self-host by changing four values:
fontFamily(in the top-level array): the CSS font stack, for example'"Saira", sans-serif'. Keep a generic fallback (sans-serif,serif,cursive) at the end.name: the human-readable label shown in the font picker, for exampleSaira.slug: a unique, lowercase identifier with no spaces, for examplesaira.src: the path to your font file inside the theme. Update both the folder and the filename to match what you uploaded.
Register each weight and style you need. Some fonts ship as a single file. Pacifico is one of them: it comes in one weight, so the snippet needs only one entry in the fontFace array. Other fonts arrive with several files in their download package. Saira, for example, includes a full range of weights plus matching italics.
For a font like that, add a separate entry to the fontFace array for each file you want to use. Each entry is its own small array with four values: fontFamily (the font name), fontStyle (normal or italic), fontWeight (for example 400 for regular or 700 for bold), and src (the path to that specific font file in your theme). A bold weight points at the bold file, an italic points at the italic file, and so on.
This matters because registering only the regular weight does not give you a real bold or italic. The browser fakes them by stretching and slanting the regular file, which looks worse than the genuine cut. Each weight and style needs its own font file in the theme, just like the regular weight.
Get Support From Our Team of Experts
For more help with this PMPro feature, check out our Support Page with three ways to get support as a free or premium member.