In The Member Directories Hub
WELCOME TO THE
Member Directories Hub
Here you’ll find everything you need to plan, build, and grow a successful member directory using WordPress and Paid Memberships Pro.
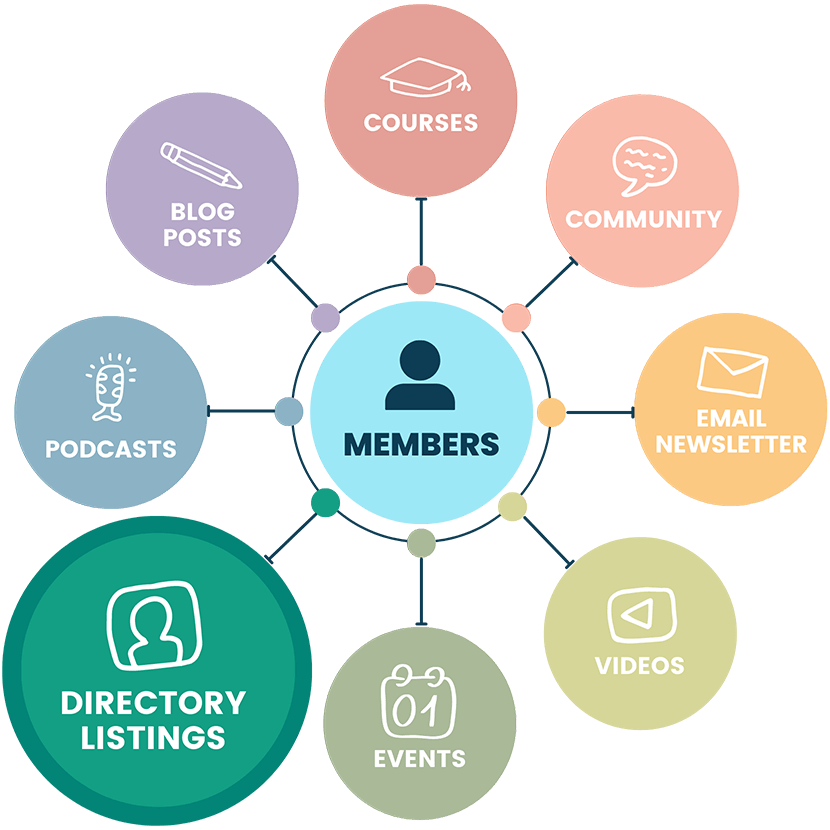
Done right, Member Directories help your association or community connect, increase the value of joining, and even create new revenue opportunities. Use this hub as a step-by-step playbook: dip in where you need, or follow it from start to finish.
1. Plan Your Directory
Before you start setting up plugins or pages, step back and define what you want your directory to accomplish. The clearer your plan, the easier your build will be.
Write down each decision now, so you can configure PMPro and the Member Directory Add On with confidence later.
Who Gets Listed?
Not every member needs to appear in your directory. You may want all members to be visible, or only members on certain levels (like “Professional” or “Premium”). Restricting access keeps your directory aligned with your goals.
Privacy and Consent
Decide whether members are included by default, or if they must opt in. Opt out directories are easier to populate, but opt-in directories often build more trust.
Public vs. Private
- Public directories can attract new members and improve SEO.
- Private directories add exclusivity and protect member privacy.
- Hybrid directories balance both: show a teaser (name + website) publicly, with full profiles reserved for members.
What Fields to Include
Think about what custom user profile information will actually make the directory useful. For a professional directory, fields like Company, Specialties, or Certifications add value. For communities, fun details (hobbies, interests) spark engagement.
Premium Listings
Give higher-tier members a chance to stand out: larger profiles, media uploads, or featured spots at the top of results. This creates an upsell opportunity while funding the value of your directory.
Map or No Map?
An interactive map showcases the reach of your community and helps people connect locally. But maps also raise privacy considerations. With PMPro, members can opt out of location sharing.
2. Choose Your Tools
With your plan in place, it’s time to pick the right software. The good news? With a self-hosted WordPress site, you already have the foundation.
- Core Software: Download Paid Memberships Pro (free) and complete the initial setup. This gives you membership levels, payments, and access rules.
- Add Ons: You’ll definitely need the Member Directory and Profile Pages Add On. Also consider the Approvals Add On for member vetting.
- Integrations: Explore PMPro’s Community features, options to add Events, and more Integration Add Ons here.
- Maps: If you’re showing member locations, you’ll need a Google Maps API key.
- Email Marketing: Connect to Mailchimp, Kit, or MailPoet so you can promote your directory and keep members engaged.
3. Create and Customize
Now it’s time to build your directory inside. This step is where you’ll piece together everything from layout to search filters.
Step 1: Create and Assign Pages
The first step of setup is to create and assign the pages that will display your Member Directory and Member Profiles. You can generate these pages automatically, or create them manually and assign in the settings. Continue Reading
Step 2: Google Maps API Key (Optional)
If you plan to display a map of members in your directory or profiles, you must enter your Google Maps API Key on the Memberships > Settings > Advanced page in the WordPress admin. Continue Reading
Step 3: Customize Your Directory
The Member Directory can be customized by changing attributes of the shortcode or adjusting the settings of the Member Directory Block. Continue Reading
Step 4: Customize Your Member Profile
The Member Profile can be customized by changing attributes of the Shortcode or adjusting the settings of the Member Profile Block. Continue Reading
Step 5: Control Profile Visibility
Members can remove their profile from being included in the Directory and decide if their location is shown on the map. The Add On automatically adds this setting to the Member Profile Edit page. Continue Reading
Step 6: Add a Directory Search
The Search for: shortcode is used to display a search form for the Member Directory Add On. This allows users to search for members within the directory. Continue Reading
Launch a Demo Site
You can create a temporary site on InstaWP that gives you instant access to demo a complete membership site with levels, protected content, a directory, pre-built courses, and more. Your site will be a clone of the demo at the base demo here.
Pro tip: Don’t overcomplicate at launch. Get a usable directory live, then iterate with advanced features later.
4. Attract and Retain Members
A directory is only as valuable as the activity inside it. Once yours is live, you’ll need to drive signups, keep members engaged, and remind them why being listed matters.
Drive Signups
Make your directory a selling point for new members. People love visibility and connections: frame it as a benefit they can’t get elsewhere. Learn more in our guide on how to promote your membership site.
Encourage Engagement
Add ways for members to reach out: a “Contact Member” form, discussion forums, or a BuddyPress or BuddyBoss-powered social space. The more interaction, the more sticky your membership becomes.
Retention Strategies
Highlight members in newsletters, feature profiles on your blog, or offer upsells like “premium directory spots.” Keep giving members reasons to renew. Learn more in our guide on membership site retention strategies.
Your directory should feel like a living benefit, not a static page. Refresh content, highlight members, and keep it front-and-center in your community.
Other Resources
- Help visitors narrow results with filtering options for your directory or a sitewide directory search bar.
- Show members on an interactive map by following this guide: add a membership map.
- Encourage better profiles by using recommended plugins for avatar support so members can upload photos instead of relying on Gravatar.
- Give premium tiers more visibility by showing or hiding fields by membership level.
- Fine-tune how results appear by customizing the default sort order or even ordering by custom user meta fields.
- Keep your directory trustworthy by hiding pending or denied members from results.
- Make connections easier with location-based filtering so members can find others nearby.
- For those with more development experience, this guide shows you how to load a custom template, giving you full control over your directory and profile layouts.
Click here to read our blog posts tagged with “Member Directory”.