The Customizer is where you control the look and feel of your Memberlite site. Most visual settings live here, including your colors, fonts, header, footer, and layout options. You can preview any changes you make before you publish them.
To open the Customizer, go to Appearance > Customize on the WordPress Admin.
The sections below appear in the order you will see their panels in Customizer.
Site Identity
Set your site title, tagline, site icon, and logo under Appearance > Customize > Site Identity. These appear in Memberlite’s default header, in browser tabs, and the browser’s search results.
Add Your Logo
- Click “Select logo” to upload an image for your site’s logo or to select an image from the Media Library.
- The image should be uploaded at 360px x 100px for best appearance.
- If needed, you will be able to “Crop” the image after uploading.
- Click “Save Changes” to apply the logo to your site.
- If you are using header or footer variations, you can use the Site Logo block to pull the logo you’ve set here.
Remove Your Logo
- Click the “Remove” button to remove the logo.
- Click “Save and Publish” to apply the logo to your site.
Update Site Title and Tagline
- You can set the Site Title and Tagline here. This will automatically display in Memberlite’s default header.
- If you don’t want this to display in the header, uncheck the box next to Display Site Title and Tagline. If you are using a header image, you will most likely want to uncheck this box.
- If you are using header or footer variations, you can use the Site Title and Site Tagline blocks to pull what’s saved in these settings.
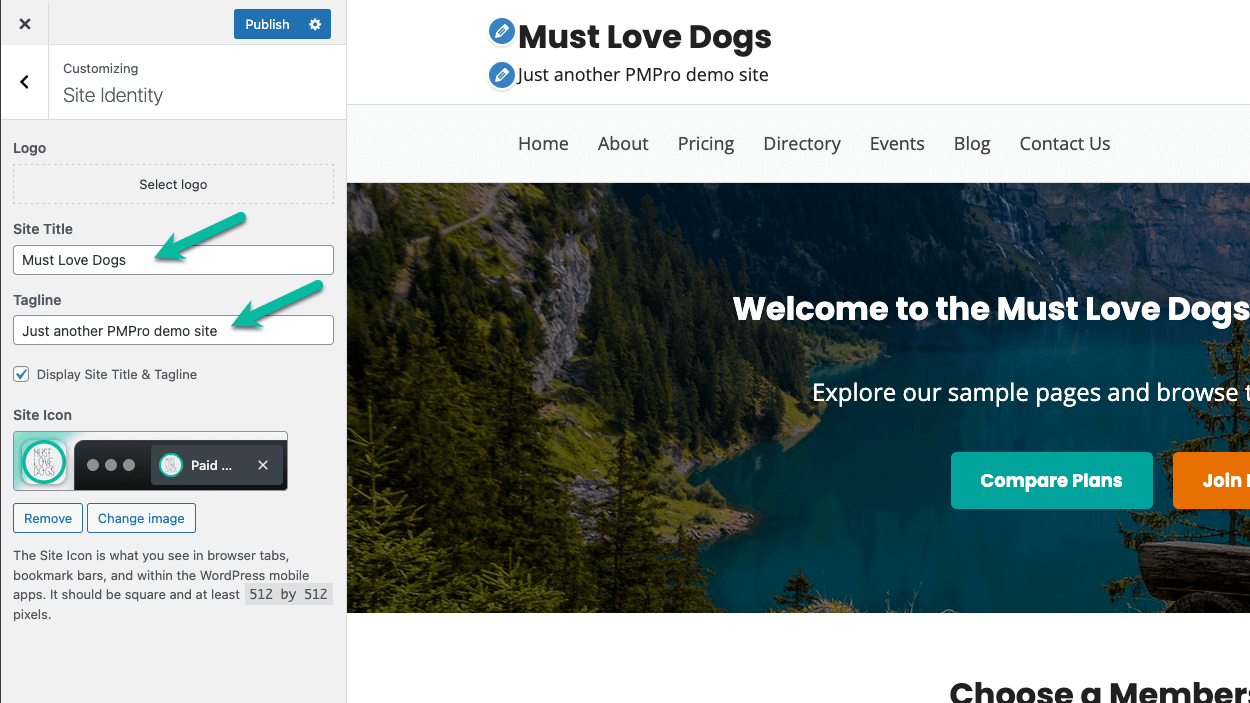
Add a Site Icon
Your Site Icon will be shown in browser tabs (you may have heard this called “favicon” in the past), bookmark menus, and on the home screen of mobile devices.
- Under the “Site Icon” section and click on the “Select Site Icon” button.
- The recommended size is a 512px by 512px square image.
General
The settings under Appearance > Customize > General are where you can find global settings that apply across your entire site, including the back-to-top link style.
Show Back to Top Link: Adds a link or floating button at the bottom of every page so visitors can scroll back to the top quickly. Choose between an inline link in the footer (applies to the default footer only, not a footer variation) or a floating button that gets fixed to the bottom-right corner of the screen.
Colors & Typography
Set your site’s color scheme, individual brand colors, and fonts for headings and body text across your site.
Breadcrumbs
Control whether breadcrumb navigation appears on your site and which page types display it. Options include:
- Pages
- Posts
- Archives
- Attachments
- Search Results
- Profiles
Header
Configure your site header here. For Memberlite’s default header, you can set the Columns Ratio, whether to show the Member Info, whether to show the search field, and enable sticky header. You also have the option to use header variations instead.
Read more about Navigation Menus & Widgets →
Columns Ratio
Controls the widths of the left and right sides of Memberlite’s default header. For example, “4-8” makes the left side narrower and the right side wider.
Show Login/Member Info in Header
Check this checkbox to hide or show the Member Menu or Log In | Register box. In Memberlite’s default header, this displays on the upper right. If you’re using a block-based header variation, you can use the Member Info block to replicate this same behavior and place it where you’d like.
If the user is logged in and Paid Memberships Pro is active, the member will see their display name linked to the “Membership Account” page. If the user is logged out, they will see their display name linked to the “Edit Profile” page.
Show Search Form After Main Nav
Check this checkbox to show a search field. Memberlite’s default header will show this field to the right of the primary navigation.
Post Meta Information
These two settings under Appearance > Customize > Posts & Archives allow you to customize a post’s meta before and after the post. This is the area that displays the various post data, such as author, date, category, and more.
Footer
Configure your site footer here. For Memberlite’s default footer, you can set the copyright text. You also have the option to use footer variations instead.
Read more about Navigation Menus & Widgets →
Copyright Text
Enter the copyright text, attributions, or links to display in a paragraph at the bottom of the screen after the footer menu.
Dynamic Variables for Copyright Text
You can use dynamic variables in the copyright text to automatically display relevant site information. These variables will be replaced with their corresponding values when displayed on the site.
Available Dynamic Variables:
!!current_year!!: Displays the current year (e.g., 2026).!!site_title!!: Displays the site’s title as set in the WordPress settings.!!site_url!!: Displays the site’s URL.!!tagline!!: Displays the site’s tagline.
Posts & Archives
Control how your blog and posts look with settings for Archive Layout, Sidebar Location, and Columns Ratio.
You also have settings to enable the Prev/Next Navigation and Author Block display, Featured Image settings, and the ability to customize the Post Meta that appears before and after a post.
Note: Post meta is the area that displays information like the post’s author, publish date, category, and more.
Read more about Layout Settings →
Pages
Control how your pages look with settings for Sidebar Location, Columns Ratio, and whether to display the Prev/Next Navigation.
There are also more settings when editing your Pages to customize even further.
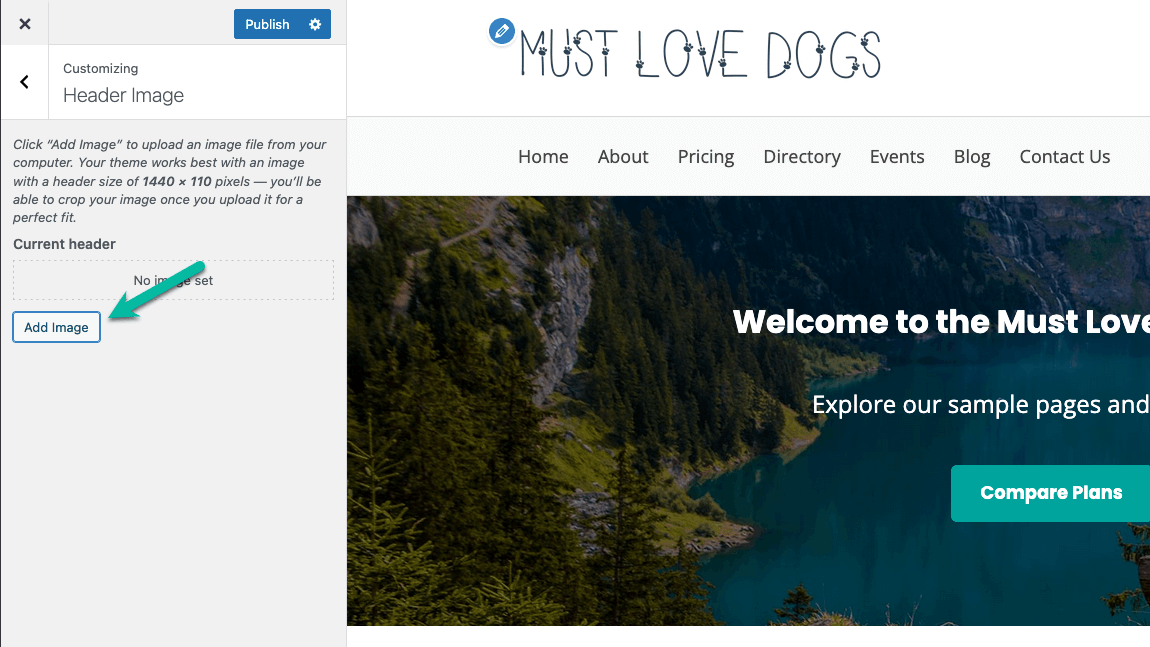
Header Image
Set a default header image that displays in the site header background. This setting applies only when you are using Memberlite’s default header. If you are using a header variation, set images directly inside that header post’s block editor instead.
- Go to Appearance > Header or Appearance > Customize > Header Image.
- Click “Add New Image” to upload an image for your header or to select an image from the Media Library.
- The image should be uploaded at 1440px x 10px for best appearance.
- If needed, you will be able to “Crop” the image after uploading. Click “Save Changes” to apply the logo to your site.
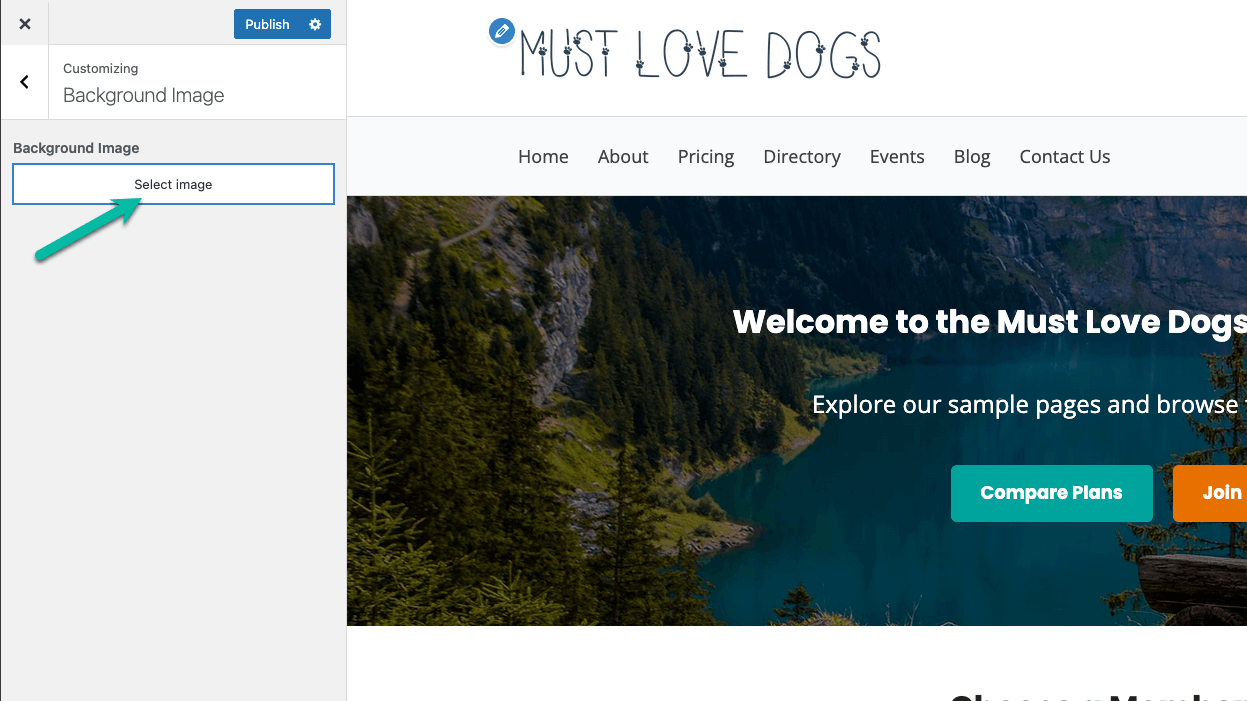
Background Image
Set a background image that tiles or fills behind your site content. This is a standard WordPress option. Most Memberlite designs use a solid background color set from the Colors panel rather than a background image, but the option is available here if you need it.
- Go to Appearance > Background or Appearance > Customize > Background Image.
- In this section, you can upload a background image and set the appearance of the image including tiling/repeat, position, and fixed/scrolling.
Menus
This is a standard WordPress panel where you can build and assign your site’s navigation menus.
Widgets
This is a standard WordPress panel where you can add widgets to your mobile header, sidebar and Memberlite’s default footer. Block-based footer variations are managed under Appearance > Footers instead.
Homepage Settings
Instructions for how to set up your homepage can be found in our Getting Started guide.
Additional CSS
Add custom CSS rules that apply across your entire site under Appearance > Customize > Additional CSS. This is an advanced option intended for small, targeted style changes.
If you find yourself adding more than a few lines here, a child theme is a better long-term approach. A child theme keeps your changes separate from the theme files so they are not lost when Memberlite updates.
Learn how to create a child theme →
Get Support From Our Team of Experts
For more help with this PMPro feature, check out our Support Page with three ways to get support as a free or premium member.
Last updated on June 22, 2026

