WordPress is a flexible tool that can be used to create and display content of all kinds. This post explains various ways to restrict access to your WordPress website. Keep reading to learn how to lock down ANY piece of content, feature, or download you might have on your WordPress site.
All of the instructions below assume that you are running the latest versions of WordPress, Paid Memberships Pro, and any other plugins mentioned.
If we missed something or you still have questions about protecting any specific kind of content on your site, let us know.
Ads
Ads are a classic method of monetizing your blog. For membership sites, you have to consider which ads to display for non-members, per-level, or completely hide for an “ad-free” experience.
Our guide offers six different options for you to control and display ads to non-members and per level for your PMPro-powered membership site.
Another WordPress Site
You can use PMPro on one WordPress site to restrict access to other WP sites. If you are using WordPress Multisite, you can use our Multisite Membership Add On and set up PMPro on the main site while restricting access to subsites.
To restrict access to a separate WordPress site hosted on a different server, you can use the WP Single Sign On plugin, which is available in beta on GitHub. The WP SSO plugin allows users and members of one “host” site to log into a second “client” site where the SSO plugin is set up.
Beaver Builder
Beaver Builder is a page builder we natively support in the core Paid Memberships Pro plugin. With PMPro, you can protect access to Beaver Builder Modules.
This method assumes you have Paid Memberships Pro and Beaver Builder installed and activated on your WordPress site.
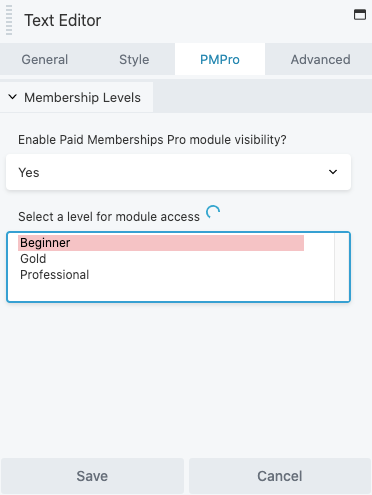
How to Restrict Content with Beaver Builder
- Select a piece of content to edit with Beaver Builder.
- Edit a module and open the “PMPro” tab.
- Enable the Paid Memberships Pro module visibility by selecting ‘Yes‘.
- Now, select the membership level that is required in order to view this Beaver Builder module.
- Save and publish your content.
Visit our documentation page for more information and a video walkthrough of our Beaver Builder Integration.
Blocks
The Block Editor (Gutenberg) is the default builder for WordPress. To show or hide blocks from members, adjust the block’s Content Visibility or use the Content Visibility Block.
Using the Content Visibility Block
- Insert the Content Visibility Block.
- Define Visibility Settings.
- Choose Visibility Mode – Show or Hide
- Select Audience – All Members, Specific Membership Levels or Logged-In Users
- Configure Membership Levels (if applicable)
- Show No Access Message
- Save Changes to the Post/Page.
For more advanced content targeting, you can leverage the power of nested blocks within the WordPress block editor.
Our documentation page provides more details and a video walkthrough of our Content Visibility Block.

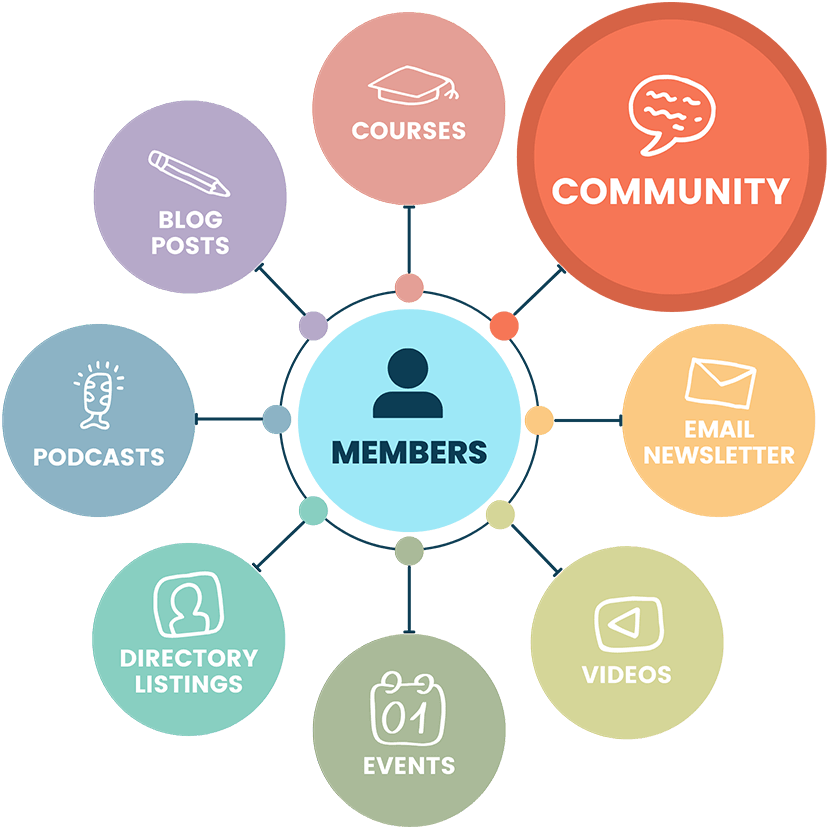
Community
Use the Discord Integration Add On for Paid Memberships Pro to restrict access to your Discord channel.
To keep non-members from posting comments on your WordPress posts, use our recipe.
Check out the Communities Hub™, with all of the best resources we have to help you sell access to your online community with WordPress and Paid Memberships Pro.
To restrict access to your BuddyPress or BuddyBoss community, our BuddyPress Integration Add On page gives you step-by-step instructions to set up your community.
Join our free community of membership site creators.
PMPro offers a community Slack space for members, and you’re invited. Learn more about the community’s free benefits and get a link to join Slack now.
Course
If your course is just a post, page, file, video, or other piece of content listed here, select the type of content and follow the instructions in this guide to protect that kind of content.If your course is just a post, page, file, video, or other piece of content listed here, select the type of content and follow the instructions in this guide to protect that kind of content.

If you would like to organize your course content into Courses and Lesson custom post types (CPTs), try our Courses Add On for Paid Memberships Pro.
The Courses Add On is also our preferred way to restrict access to courses built with LifterLMS, LearnDash, TutorLMS, or Sensei LMS.
Related: Sell Courses with PMPro
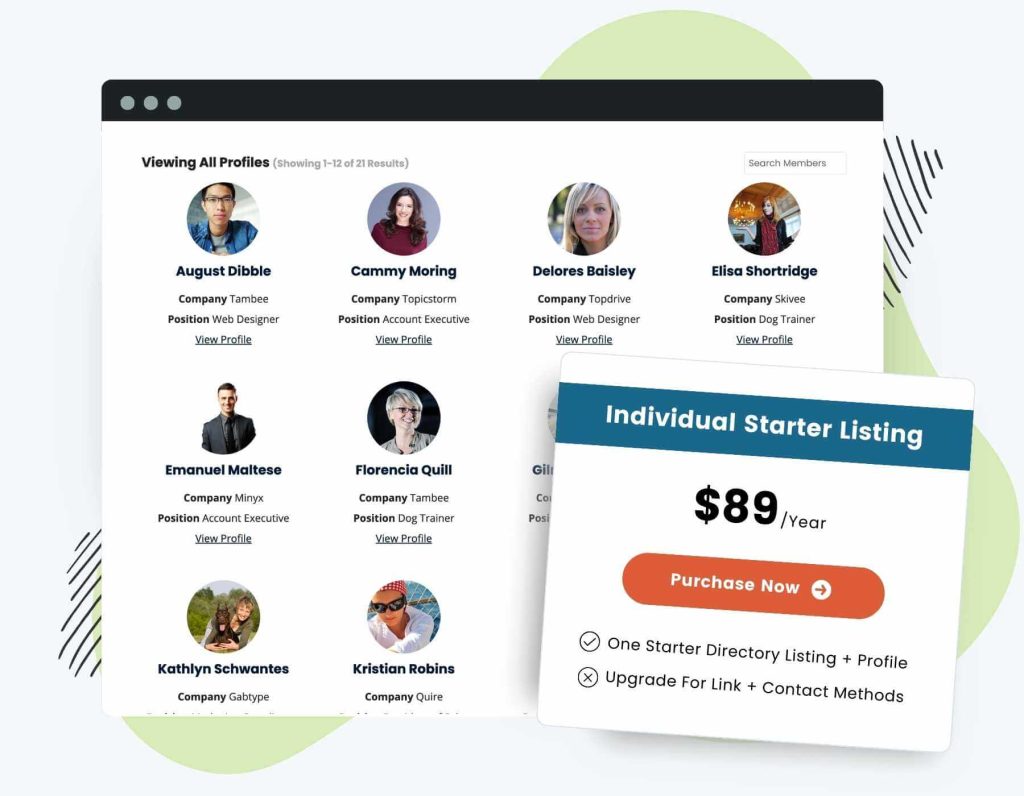
Directory & Profile
If you offer a public or members-only searchable directory, PMPro can restrict access to view the directory, individual profiles, and even control who can view specific profile fields.
Divi
Divi is a popular page builder natively supported in the core Paid Memberships Pro plugin.
This method assumes you have Paid Memberships Pro and the Divi Page Builder Plugin or a Divi Theme installed and activated on your WordPress site.
- Create or edit a post or page you would like to edit.
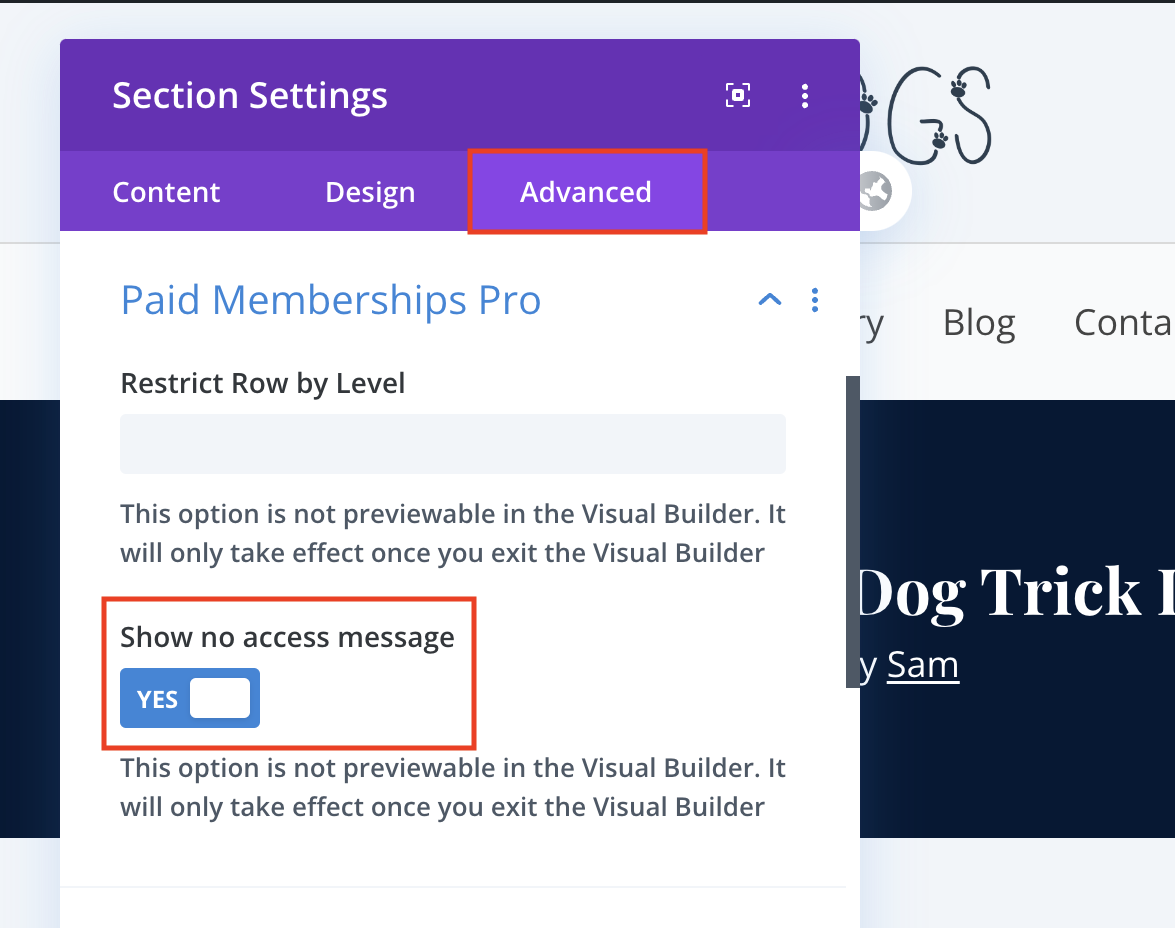
- Edit either the section or row and click on the “settings” icon.
- Select the ‘Advanced’ tab.
- Toggle the “Paid Memberships Pro” row and enter in the membership levels that can view the content of the element.
- Toggle to show a “No Access” message on the frontend to non-members or members without a required membership level.
- Save and publish your content.
View our documentation to learn more about our Divi Integration.
Elementor
Elementor is a popular page builder natively supported in the core Paid Memberships Pro plugin. With this integration, you will be able to restrict content at the element, container or widget level.
To start using Elementor with Paid Memberships Pro, you need to install and activate both plugins.
- Select a piece of content to edit with Elementor.
- Edit a widget and open the “Advanced” tab.
- Toggle the “Paid Memberships Pro” section and select the membership levels that can view the element.
- Leave this section blank if you would like all website visitors, regardless of their membership level status, to view the element.
- Save and publish your content.

Our documentation provides more information about restricting content with Elementor as well as a video walkthrough.
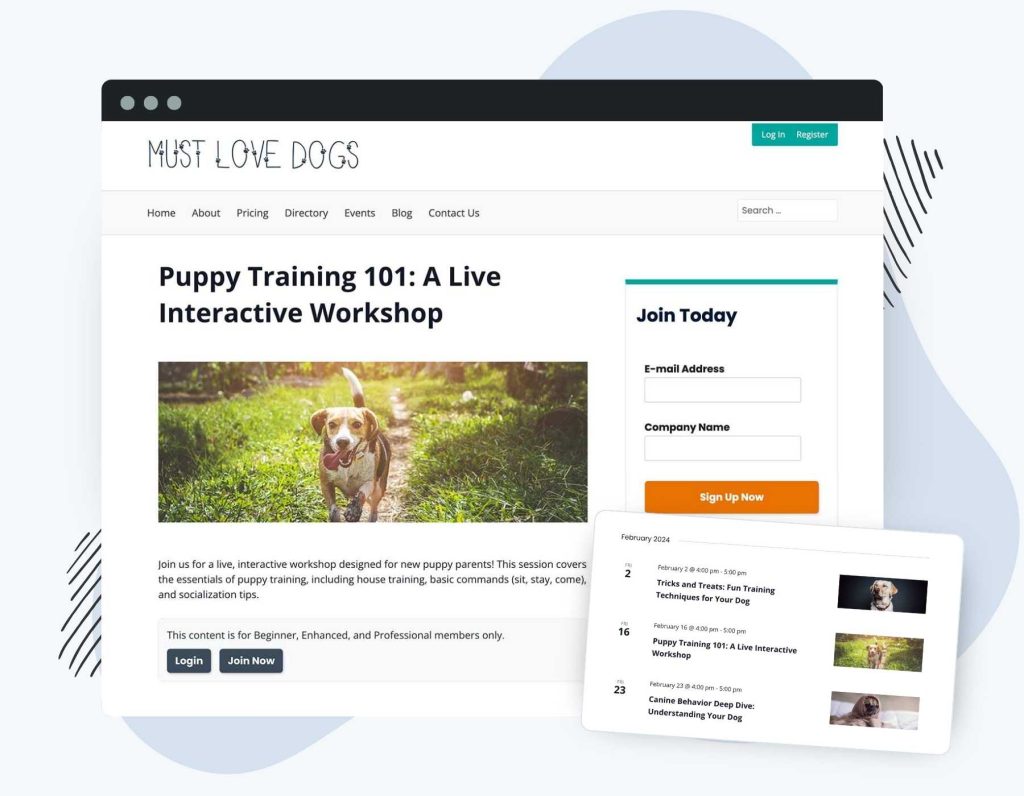
Events
Create exclusive experiences by restricting event access based on membership. The Events for Membership Add On integrates with plugins like Events Manager, The Events Calendar, and Sugar Calendar, letting you control who can view event details, register, or even see the event at all.
Once the plugin is installed and activated, the built-in logic will automatically detect which events plugin is being used on your site—no additional settings required.
- In your events plugin, edit an existing event or create a new event.
- Check the appropriate membership levels in the Require Membership meta box to restrict access.
- Save the event.
For additional information, action and filter hooks, and video walkthroughs for the different event plugins, visit our Events for Membership Add On Page.
Everything
To restrict access to your entire WordPress site, use our Lock Down Everything But Homepage for Non-Users code recipe. This method ensures that non-members are redirected to a landing or login page unless they have the appropriate membership level.
You can optionally allow access to specific public pages—such as your homepage or sales page—while protecting everything else. This setup is ideal for fully gated communities, internal portals, or sites where all content should be members-only.
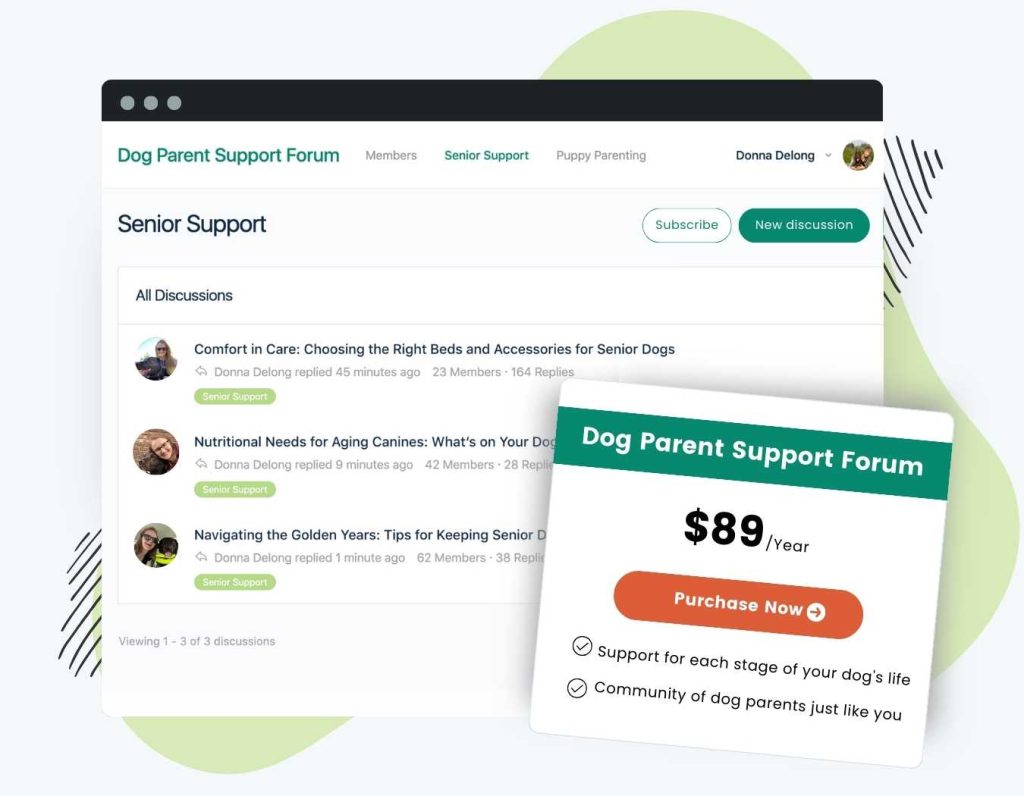
Forums
Paid Memberships Pro can protect forum access for three popular forums plugins or third-party apps.
Our bbPress Integration Add On seamlessly extends PMPro’s membership access controls to your bbPress or BuddyBoss forums.
Restrict a Forum by Level
- Navigate to Forums in your WordPress admin and select a forum to edit.
- On this page, you will see a Require Membership panel in the right column of the editing screen.
- Select membership levels in this box to allow members-only access to the forum. This action protects the forum’s main topic page as well as individual topics.
- Click Update to save your changes.
Other 3rd Party Plugin Forum Options
- PeepSo: Protect your PeepSo forums with the Paid Memberships Pro Integration Plugin for PeepSo.
- phpBB: Restrict access to phpBB forums using the BridgeDD Connect plugin.
Non-WP Files
To protect files that aren’t part of standard WordPress content—like PDFs, ZIPs, or media stored outside the Media Library—use our getfile.php method to route file access through Paid Memberships Pro.
This approach ensures that only logged-in members with the required level can access protected files, even if someone tries to access the file directly by URL. It’s ideal for securing sensitive documents, course materials, software downloads, or other non-WordPress assets.You can lock down non-WordPress files and entire directories of files using Paid Memberships Pro. Read our tutorial to learn how to route file requests through the PMPro getfile script to protect any file or folder using WordPress.
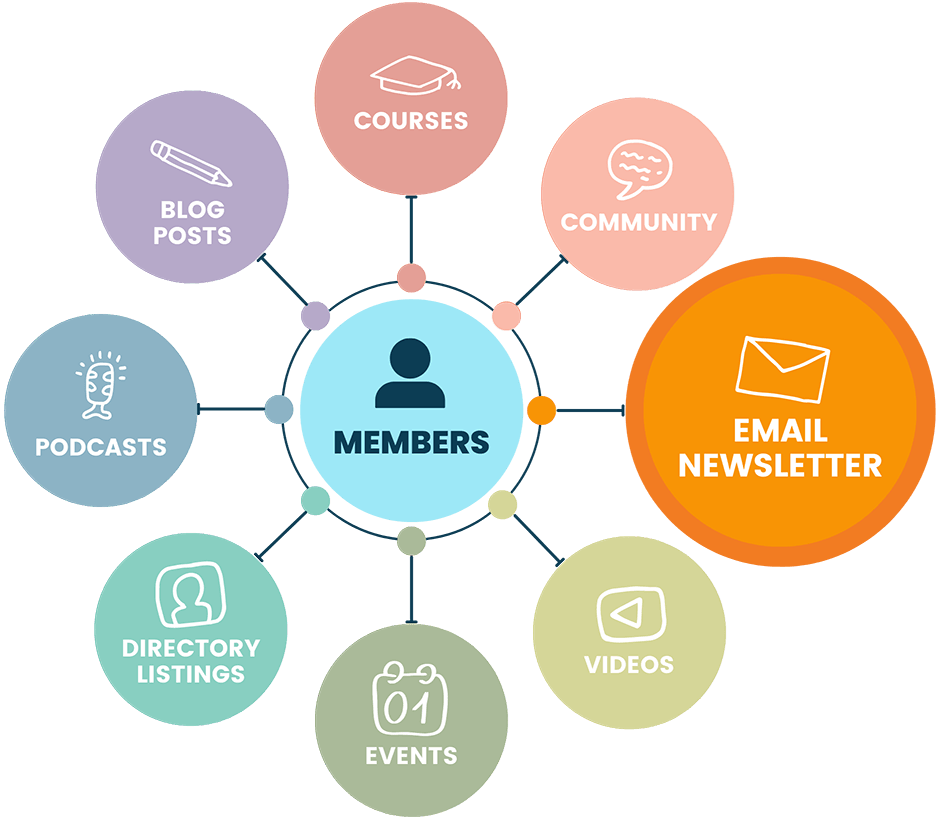
Newsletter & Email
Choose one of our email marketing integrations or use Zapier to add members to your email newsletter. With segmentation and membership level as a profile field, you can target specific member groups in your newsletter or email.
Check out the Paid Newsletters Hub™, with all of the best resources we have to help you sell paid newsletters with WordPress and Paid Memberships Pro.
Other Apps
Paid Memberships Pro adds additional membership endpoints to the WordPress REST API, allowing you to connect any other app to your membership site. For simple integrations, we also have an example of how to build your own RESTful endpoint with WordPress and PMPro.
Zapier is another method to connect your site with third party applications. Checkout our documentation on PMPro’s native support for Zapier.
Page
To restrict a single page in WordPress, look for the “Require Membership” box in the right sidebar of the edit post page. Check any level that should have access to the post.

PDF or Other Files
To restrict access to PDFs and other files uploaded through the WordPress Media Library, embed the file in a post or page, then use the “Require Membership” setting or the Content Visibility Block to protect that content. Only members with access will be able to view or download the file.
For added protection—ensuring files can’t be accessed directly by URL—consider combining this with our getfile.php method, especially if the file contains sensitive or premium content. Or, if you have many files or large files hosted offsite, consider our integration for the Download Monitor plugin.
Podcast
To offer member-only podcast content, use a private feed solution integrated with Paid Memberships Pro. Two recommended options are:
Castos Private Podcasting: Automatically create private podcast feeds linked to a member’s account. Members can access episodes through supported podcast players while non-members are blocked.

Member RSS Add On: Generate unique, private RSS feeds for each member. You can protect audio files hosted in WordPress or offsite and deliver them securely via a podcast app or browser.
Post

To restrict a single post in WordPress, look for the “Require Membership” box in the right sidebar of the edit post page. Check any level that should have access to the post.
Post Categories
You can set which categories members have access to from the edit membership level page in the dashboard.
Navigate to Posts > Categories > Edit to protect a category by membership level.
For more information, visit our documentation page on how to set access at the category level.

Post Tags
Restrict access to a post tag or any other built-in or custom taxonomy.
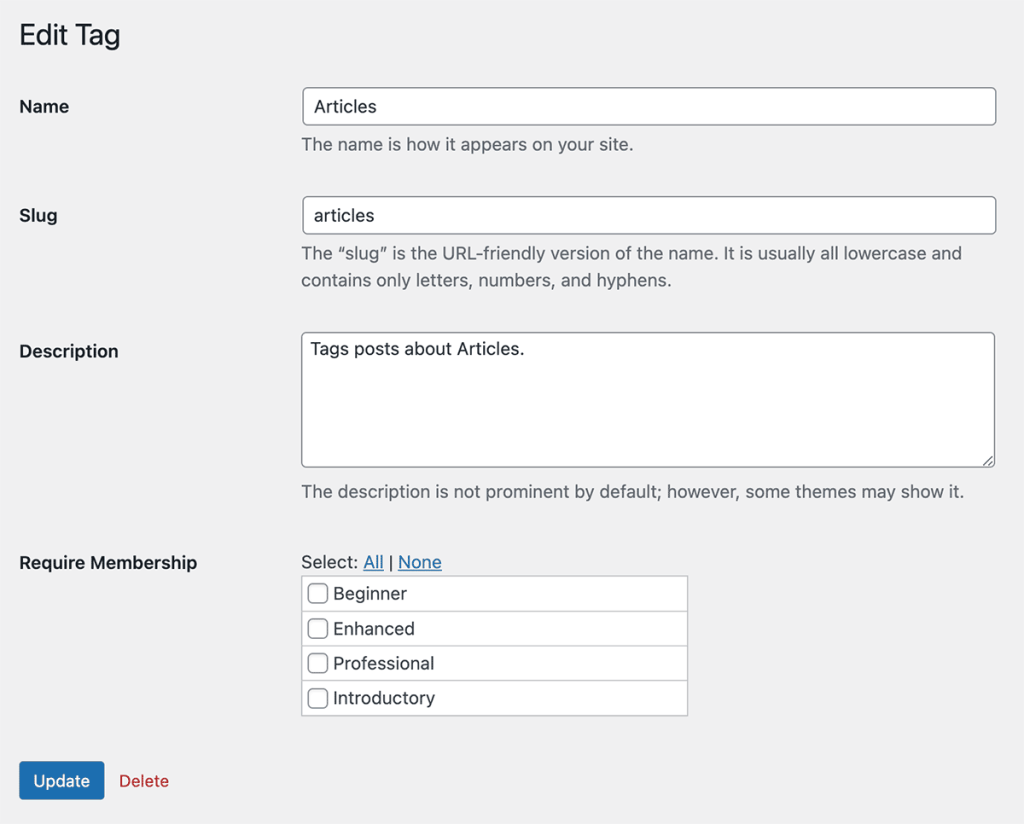
Navigate to Posts > Tags > Edit to protect a tag by membership level.
Post tag protection is built into PMPro, but if you have a custom post taxonomy, check out this companion code recipe to set up membership restrictions for other custom taxonomies and terms in your WordPress site.
Product
The WooCommerce Integration plugin for Paid Memberships Pro can be used to set member prices for products and otherwise link your WooCommerce shop to PMPro.
Here is a guide on how to require a membership level to purchase a specific category of products in WooCommerce.

Another option to restrict access to a WooCommerce product or product from any other WordPress ecommerce plugin is to use the Custom Post Type (CPT) Membership Access Add On for Paid Memberships Pro. Add the product CPT via the settings, then use the “Require Membership” meta box on the edit product page to choose which membership levels can see that product.
Shortcodes
To hide a shortcode from non-members, wrap it in the membership shortcode and set which levels have access. You can also use the membership shortcode to show content to non-members and logged-out users only.
Shortcode example:
[membership]
	Will show up for all members.
[/membership]
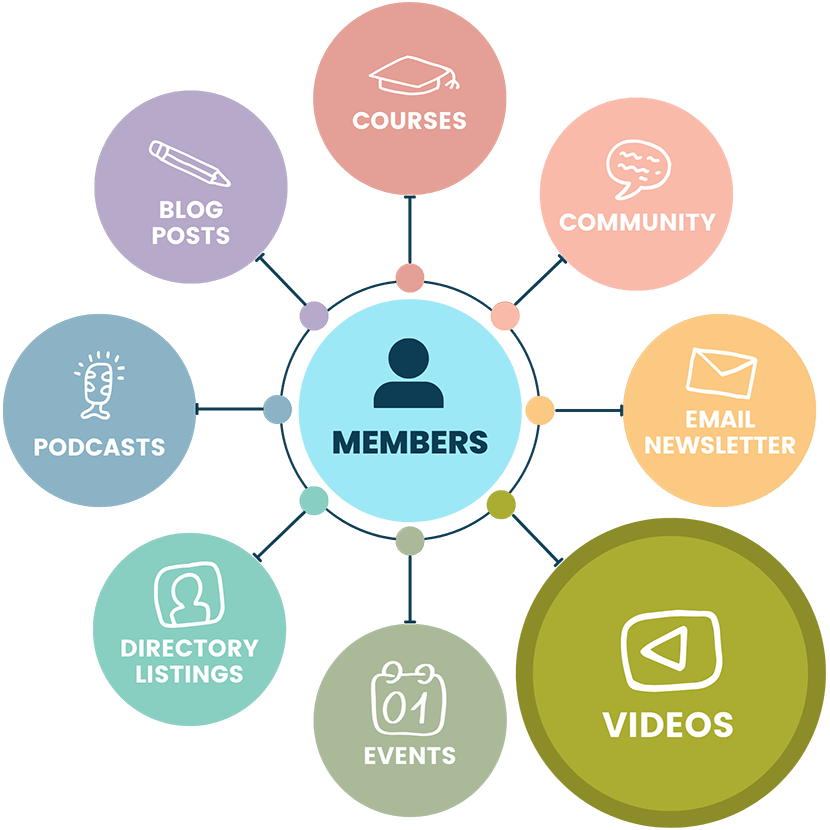
Video
To restrict access to a video on WordPress, simply embed that video into a post or page, then mark that post or page to require membership. Only members will be able to view the page.
Check out the Private Video Hub™, with all of the best resources we have to help you sell access to your private videos with WordPress and Paid Memberships Pro.
For more details, see our guides on how to sell videos online, including tutorials for restricting YouTube, Vimeo, Bunny.net, or Amazon S3 hosted videos. For a general overview, refer to our complete guide on private video membership sites with PMPro.
Ready to Lock Down Your Content?
WordPress paired with Paid Memberships Pro gives you complete control over who can access every part of your site—from posts and pages to events, files, and beyond. Whether you’re offering premium content, running a private community, or selling digital products, the tools and methods outlined here can help you restrict access exactly where and how you need.
If you didn’t see your specific use case covered, or if you need help implementing any of these methods, reach out to our team or explore our documentation for more examples and code recipes. We’re here to help you build a membership site that fits your goals.
Free Download: The AI-Powered Membership Site Blueprint
Download the free guide: Learn how to plan, build, and grow a membership site using AI as your strategic partner: from buyer persona to launch and beyond.


